I was standing on a shaky kitchen chair, squinting at a piece of sheer fabric that looked more like a glorified bedsheet than actual window decor, wondering why I ever thought I could pull this off. My first attempt at diy curtains was, quite frankly, a disaster—the hems were wonky, the tension was all wrong, and I spent more time fighting with a sewing machine than actually enjoying my afternoon. But that’s the thing about home projects: we often get paralyzed by the idea that if it isn’t Pinterest-perfect, it’s a failure.
I’m not here to teach you how to become a master seamstress or how to achieve that untouchable, showroom look that requires a degree and a massive budget. Instead, I want to show you how to make diy curtains that actually hang straight, block out just enough light, and—most importantly—fit your real, messy life. We’re going to focus on functional shortcuts and smart fabric choices so you can get some privacy and a bit of style without losing your mind in the process.
Table of Contents
Guide Overview
Tools & Supplies
- Sewing machine for stitching hems and edges
- Fabric scissors for clean cutting
- Measuring tape for precise dimensions
- Pins or clips to hold fabric in place
- Iron and ironing board to press seams
- Fabric (2-3 yards depending on width)
- Thread (1 spool matching fabric color)
- Curtain rod or tension rod
- Measuring tape or ruler
Step-by-Step Instructions
- 1. First things first, grab a measuring tape and actually measure your window twice. I know, it sounds basic, but I’ve spent way too many Sunday afternoons staring at curtains that are three inches too short because I eyeballed it. You want to measure the width of your rod, not just the glass, and then decide how much “drop” you want. If you’re like me and just want to block out the light without a sewing machine, aim for a length that hits just above the floor so you don’t have to deal with the dust bunnies underneath.
- 2. Next, go shopping—but don’t get lost in the “luxury linen” aisle. Since we’re keeping this low-stress, I highly recommend hitting up a local fabric store or even a thrift shop for some sturdy cotton or a heavy polyester blend. Look for something with a decent weight to it; if the fabric is too flimsy, it’s just going to look like a bedsheet hanging from your ceiling, and we’re going for functional, not accidental.
- 3. If you don’t own a sewing machine, don’t panic and don’t go buy one just for this project. Instead, pick up a roll of iron-on hem tape. It’s basically magic for people who (like me) view sewing as a high-stakes contact sport. You just fold your fabric to the desired length, sandwich the tape between the layers, and press it with an iron. It creates a clean, professional-looking edge without you ever having to thread a needle.
- 4. Once your fabric is hemmed and cooling, it’s time to figure out how they’re actually going to hang. You have two real-world options here: curtain rods or command hooks. If you’re renting and don’t want to lose your security deposit, I’m a huge fan of using tension rods inside the window frame. They stay up through sheer physics and require zero holes in your walls, which is a massive win for my sanity.
- 5. Now, let’s talk about the “loops.” If you aren’t using rings, you can create simple rod pockets by folding the top of your fabric over and using that same iron-on tape to secure it. This creates a sleeve that the rod slides right through. It’s a minimalist approach that looks intentional rather than messy, and it’s much easier than trying to sew individual pleats.
- 6. Before you commit to the final hang, do a quick “drape test.” Hold the fabric up to the window to make sure the light filtration is actually doing what you wanted it to do. If it’s too sheer and you can still see your neighbor’s messy garage, you might want to double up the fabric or add a second layer. It’s much easier to adjust now than it is to realize you’ve made a mistake once everything is pinned and permanent.
- 7. Finally, hang them up and give them a good shake to settle the folds. Don’t stress if they aren’t perfectly symmetrical or if there’s a tiny wrinkle here or there. The goal was to get some privacy and a bit of character into the room, and you actually did it. Take a second to appreciate the win—you just upgraded your space without breaking the bank or your spirit.
Smart Fabric Selection for Window Treatments That Last

Look, I know the temptation to just grab the prettiest patterned fabric you see at the discount bin, but let’s talk reality for a second. If you’re putting these in a sunny living room, that gorgeous thin linen is going to turn into a sad, faded mess within six months. When you’re diving into fabric selection for window treatments, you have to think about light and weight. If you want something that actually holds its shape and blocks out the morning sun, go for a heavier cotton duck or a synthetic blend that mimics linen but handles UV rays a bit better.
Another thing that trips people up is the “drape” factor. Some fabrics are so stiff they look like cardboard, while others are so flimsy they won’t even hang straight on the rod. I usually recommend doing a quick “scrunch test” in the store; if it doesn’t fall back into a soft, natural fold, it’s probably going to be a headache to work with. If you’re feeling a bit overwhelmed by the technical side, don’t sweat it—just aim for durability over perfection. It’s much easier to live with a slightly heavy curtain than one that disintegrates by next summer.
Measuring Windows for Curtains Without the Stress
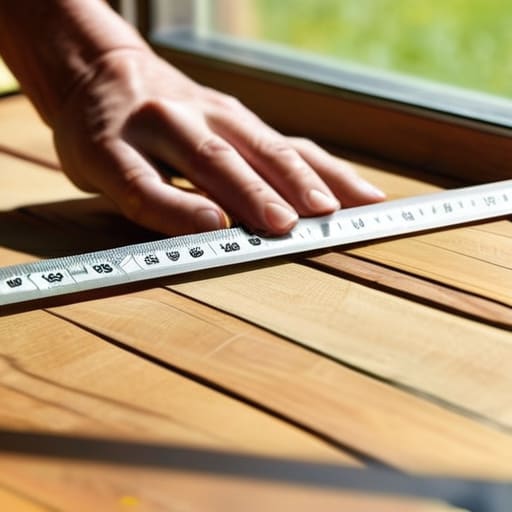
Look, I know the idea of pulling out a metal tape measure feels like the start of a headache, but trust me: getting the numbers right now saves you from the heartbreak of a “too-short” curtain later. When you’re measuring windows for curtains, the biggest mistake I see is people only measuring the glass itself. You aren’t just covering a window; you’re framing a view. I always recommend measuring at least six inches above the frame and extending the width about eight to twelve inches on each side. This trick makes your window look much larger and prevents that awkward “peek-a-boo” effect where light leaks in through the sides.
Don’t try to eyeball it, either. Even if you think you have a steady hand, precision is your best friend here. Grab a pencil and a piece of painter’s tape to mark your spots on the wall before you commit to drilling any holes. If you’re working with tricky architectural details or won’t-be-straight window frames, just take three different measurements (top, middle, and bottom) and go with the smallest one. It’s better to have a tiny bit of extra fabric to play with than to end up with a curtain that looks like a high-water pant.
Pro-Tips to Keep Your DIY Project from Becoming a Disaster
- Don’t skip the pre-wash. If you’re working with cotton or linen, wash that fabric exactly how you plan to wash the finished curtains. Trust me, nobody wants to hang beautiful drapes only to have them shrink three inches and look like high-water pants a week later.
- Use a heavy-duty iron like it’s your job. The difference between “I made this in my kitchen” and “this actually looks intentional” is almost entirely in the crispness of your seams. If the edges are wavy or wrinkled, the whole vibe falls apart.
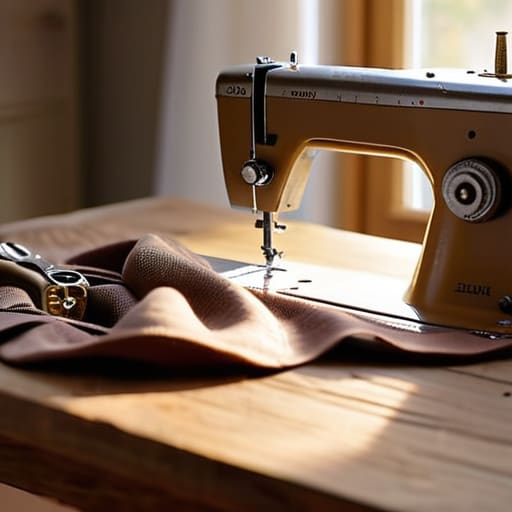
- Grab some hem tape if you’re feeling lazy (or just short on time). Look, I love a sewing machine as much as the next person, but if you’re staring at a mountain of fabric and feeling overwhelmed, iron-on hem tape is a perfectly valid way to get the job done without the headache.
- Weight your hems for that high-end feel. If your curtains feel a bit flighty or lightweight, sew a small drapery weight into the bottom hem. It helps them hang straight and gives them that satisfying “thud” when you pull them shut, rather than just fluttering around.
- Mind the “return.” When you’re deciding where your curtains end, don’t just stop right at the window frame. Let them extend a few inches past the sides. It makes the window look larger and, more importantly, prevents that annoying sliver of light from peeking through the edges.
Forget the Showroom Standard
“Your curtains don’t need to look like they were installed by a professional interior designer to be a win; they just need to stop the light from hitting your face at 6:00 AM and make your space feel a little more like home.”
Audrey Lin-McCallum
Done is Better Than Perfect

At the end of the day, we’ve covered the heavy lifting: picking a fabric that won’t fall apart after one wash, getting those measurements right so you aren’t staring at awkward gaps, and actually getting the thing hung up. It’s easy to get stuck in “analysis paralysis,” staring at a dozen different swatch options or worrying that your hemline is a millimeter off. But remember, the goal here isn’t to win a design award; it’s to stop the sunlight from hitting your eyes at 6:00 AM and to make your space feel a little more like yours. You’ve got the tools, you’ve got the plan, and now you just need to trust your process and finish the job.
If your curtains end up looking a little more “lived-in” than “showroom-ready,” let them. That’s the beauty of doing this yourself. There is a specific kind of quiet satisfaction that comes from looking at a window and knowing you solved that problem with your own two hands. We aren’t chasing a curated, untouchable aesthetic here; we are building a life that actually functions for us. So, grab your multi-tool, pull those pleats tight, and give yourself some credit. You didn’t just hang some fabric; you claimed your space.
Frequently Asked Questions
I don't have a sewing machine; is there a way to do this using just fabric glue or iron-on hem tape?
Honestly? Yes, and please don’t feel guilty about it. I spent my first year in my apartment relying almost entirely on iron-on hem tape because, frankly, I didn’t have the space (or the patience) for a sewing machine. Hem tape is actually my preferred way for quick fixes—it gives a much cleaner edge than glue. Just use a heavy iron to really set it, and it’ll hold up just fine for daily use.
How do I figure out how much extra fabric I actually need so I don't end up with curtains that look like flat sheets?
This is the part where most people panic and buy way too much fabric, or worse, end up with curtains that look like flat, sad bedsheets. To get that nice, gathered look, you need “fullness.” My rule of thumb? Multiply your window width by 2 or 2.5. If your window is 40 inches wide, aim for 80 to 100 inches of fabric. It gives you those beautiful folds without looking like you’re hiding a crime scene.
What’s the best way to hang these if I’m renting and can't go drilling massive holes into the walls?
The “landlord-friendly” struggle is real. If you’re dodging those drill bits, tension rods are your best friend—they just wedge between the window frames, no holes required. If you need something a bit more substantial, look into Command curtain rod hooks. They’re a lifesaver, but please, for the love of your security deposit, check the weight limit on the package first. We want style, not a holey wall and a fine at move-out.
