I was halfway through a frantic Tuesday afternoon, staring at a pile of cracked terracotta pots and a handful of dying succulents, when I realized I was doing it all wrong. I was trying to force these plants into “aesthetic” containers I’d seen on Pinterest, but they were either too shallow for the roots or too expensive to risk losing. That’s when it hit me: you don’t need a showroom-ready garden to have a green thumb; you just need diy planters that actually respect the biology of the plant and the reality of your floor plan. I spent years in cramped apartments learning that a planter isn’t just a pretty face—it’s a functional home for something living.
In this guide, I’m stripping away the fluff and the “perfect” lifestyle nonsense to show you how to build containers that actually work. We aren’t aiming for a magazine spread here; we’re focusing on drainage, scale, and using materials you probably already have in your junk drawer or recycling bin. I’ll walk you through a few simple, sturdy methods for creating diy planters that fit your specific space and, more importantly, your budget. Let’s get your hands a little dirty and build something functional.
Table of Contents
- Step-by-Step Instructions
- Upcycled Container Gardening Using Repurposed Household Items for Plants
- Smart Drainage Solutions for Handmade Pots That Actually Work
- Five things I wish I knew before I started my first DIY garden
- A Note on the "Perfect" Pot
- Making It Work for You
- Frequently Asked Questions
Guide Overview
Tools & Supplies
- Drill with drill bits for drainage holes
- Measuring tape for sizing materials
- Sandpaper to smooth rough edges
- Upcycled containers (tin cans, plastic bottles, or wooden crates) 1-3 units
- Potting soil 1 bag
- Small pebbles or gravel 1 small bag
- Decorative paint or twine 1 set
- Small plants or seeds 1 set
Step-by-Step Instructions
- 1. First, let’s talk about the foundation: your container. You don’t need to run to a high-end boutique; honestly, some of my favorite planters started as repurposed kitchen items or old wooden crates I found at a thrift store. Just make sure whatever you choose is sturdy enough to hold the weight of wet soil, and if it doesn’t have holes in the bottom, you’re going to need to drill some drainage points immediately.
- 2. Once you’ve picked your vessel, grab your multi-tool or a drill and get to work on that drainage. If you’re using something like a plastic bin or a ceramic pot, you want at least three or four holes to prevent root rot. If you’re working with wood, just a few small holes in the base will do. Trust me, saving your plants from drowning is much more important than a seamless bottom.
- 3. Next up is the layering phase. If you’re using a deeper container than your plant actually needs, don’t just fill the whole thing with expensive potting soil—that’s a waste of money. Instead, add a layer of small pebbles or even broken-up terracotta bits at the bottom to help with water flow. It’s a little hack I learned growing up in a tiny apartment where I had to make every bag of soil count.
- 4. Now, it’s time for the soil. Skip the heavy garden soil from the outdoor section; it’s way too dense for containers and will turn into a muddy brick. Grab a bag of high-quality potting mix that’s specifically designed for containers. It’s lighter, holds moisture better, and gives those roots the breathing room they actually need to thrive.
- 5. When you’re ready to plant, don’t just shove the plant in and call it a day. Gently loosen the roots of your plant before placing it in the hole to encourage them to spread out into the new soil. Fill in the gaps around the sides with more potting mix, pressing down very lightly with your hands just to remove large air pockets. You aren’t trying to compact it; you just want it to feel secure.
- 6. Give your new plant its first drink. I like to water it slowly until I see a little bit of moisture trickling out of those drainage holes we made earlier. This ensures the entire root ball is hydrated right from the start. If you’re using a planter without a saucer, maybe grab a cheap one or a small tray to sit it on so you don’t end up with a muddy mess on your floor.
- 7. Finally, find the right spot. This is where the “functional” part of my philosophy really kicks in. Don’t put a sun-loving herb in a dark corner just because it looks “minimalist.” Match the plant to the actual light levels of your space. It’s much easier to live with a plant that’s thriving in a slightly awkward corner than one that’s slowly dying on a beautiful, sunny windowsill.
Upcycled Container Gardening Using Repurposed Household Items for Plants
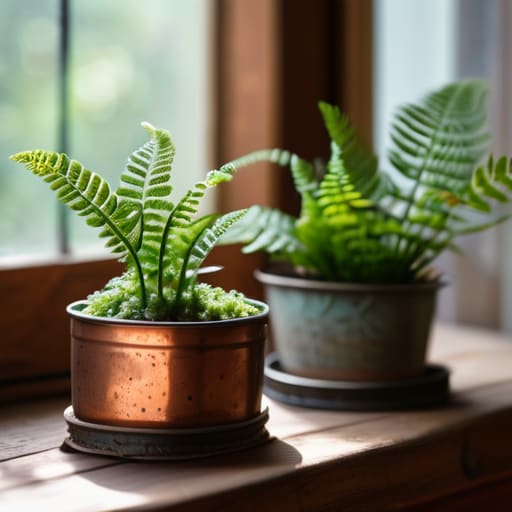
If you’re anything like me, your “junk drawer” or that cabinet under the sink is basically a goldmine for upcycled container gardening. Before you head to the big-box store to spend forty bucks on a ceramic pot that you’ll probably just crack during a move, look around your kitchen. Old tea tins, cracked colanders, or even sturdy yogurt containers can become fantastic homes for greenery. The trick is to stop looking at these objects as trash and start seeing them as vessels with character.
The one thing I always tell people—especially if you’re starting an indoor herb garden diy project—is don’t skip the prep work. Since most household items weren’t originally designed for soil, you have to get creative with your drainage solutions for handmade pots. If you’re using a tin or a plastic container, grab your multi-tool and carefully puncture a few holes in the bottom. If you’re worried about water leaking onto your floor, just nestle your repurposed container inside a slightly larger, decorative saucer. It’s not about achieving a Pinterest-perfect look; it’s about making sure your plants actually survive the week.
Smart Drainage Solutions for Handmade Pots That Actually Work
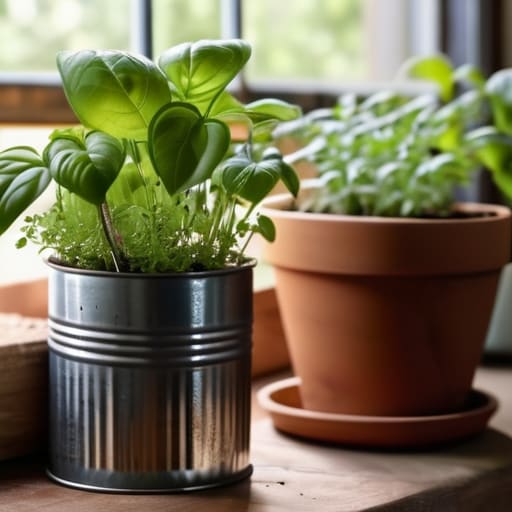
Here’s the thing about making your own containers: if you don’t prioritize drainage, you’re basically just building a tiny, expensive swamp for your plants. I’ve learned this the hard way more times than I’d like to admit. When you’re working with repurposed household items for plants, like old tin cans or plastic yogurt tubs, you can’t just assume they’ll breathe. You need to grab your multi-tool and actually commit to drilling holes in the bottom. If you’re working on an indoor herb garden diy project, even a few extra holes can be the difference between a thriving basil plant and a mushy, root-rotted mess.
If you’re worried about water leaking all over your wooden coffee table or hardwood floors, don’t panic. You don’t need a professional setup; you just need a system. I usually layer a bit of crushed charcoal or even some coarse gravel at the very bottom of my pots to create a buffer zone. This helps prevent the soil from compacting directly against your drainage holes. It’s a simple, budget friendly garden decor hack that keeps the roots happy without requiring you to buy fancy specialized liners.
Five things I wish I knew before I started my first DIY garden
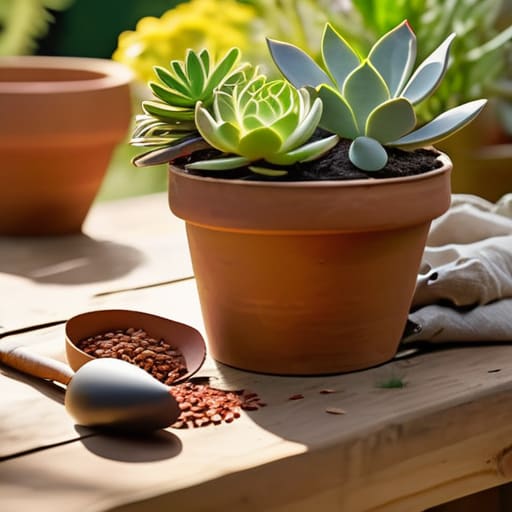
- Don’t get precious about the “look.” If you find a perfect vintage tin at a thrift store but it doesn’t have drainage, just drill a hole in the bottom. Functionality wins over aesthetics every single time.
- Size matters more than you think. It’s tempting to go small to save space, but tiny pots dry out incredibly fast. If you have the room, go a little bigger to give your plants a buffer against neglect.
- Test your materials for toxicity. If you’re upcycling old containers—like old food tins or wooden crates—make sure they aren’t coated in anything that could leach into the soil and mess with your plants.
- Group your planters by “thirst level.” I started putting all my high-maintenance herbs together and my desert succulents in another corner. It makes watering a lot less of a guessing game.
- Always keep a backup stash of pebbles or broken terracotta bits. When you’re building handmade pots, having a layer of drainage material at the bottom is the difference between a happy plant and a root rot disaster.
A Note on the "Perfect" Pot
“Stop waiting for the perfect ceramic planter to show up in your budget or your feed. A cracked mug or a sturdy tin can with a few well-placed drainage holes does the job just as well, and honestly, it has way more character than something mass-produced.”
Audrey Lin-McCallum
Making It Work for You
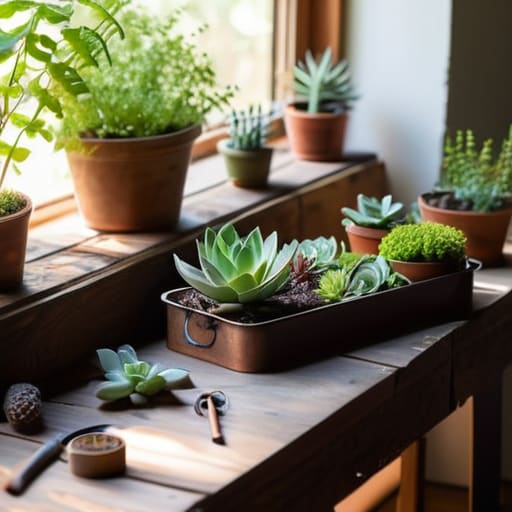
At the end of the day, whether you’re repurposing an old coffee tin or building something custom from scrap wood, the goal is the same: getting some greenery into your life without losing your mind. We’ve covered how to scavenge for containers that actually fit your aesthetic (or lack thereof), how to ensure your plants don’t drown thanks to decent drainage, and how to keep things low-maintenance. You don’t need a professional workshop or a massive backyard to start. All you really need is a functional system that respects your time and a little bit of dirt under your fingernails.
Please, don’t get paralyzed by the idea that your DIY projects need to look like they belong in a high-end boutique. If a planter is a little lopsided or the paint isn’t perfectly even, it doesn’t matter—as long as the plant is thriving and the space feels a bit more like home. Life is messy, and your indoor garden can be, too. Just start small, keep it practical, and remember that we are building these spaces to serve us, not to serve an Instagram feed. You’ve got this.
Frequently Asked Questions
I'm worried about my floors—how can I use these DIY planters indoors without worrying about water leaks or stains?
Look, I get it. There is nothing worse than realizing your favorite hardwood floor has a permanent ring from a leaky pot. To keep your floors safe, I always use a “double-potting” system: keep your DIY planter as a decorative outer shell and put the actual plant in a plastic nursery pot inside it. Add a deep saucer underneath to catch any overflow. It’s a simple buffer that saves your floors and your sanity.
What kind of soil mix should I actually use for these, or can I just use whatever's in the bag from the garden center?
Honestly? Please don’t just grab the cheapest bag of “dirt” you see. Most generic garden center soil is way too heavy and dense for containers; it turns into a muddy brick that suffocates your plant’s roots. If you’re using these DIY planters, grab a high-quality potting mix instead. It’s lighter and designed to breathe. If you want to get fancy, mix in some perlite for extra drainage—your plants will thank you.
If I'm using upcycled items like tin cans or plastic containers, how do I make sure they won't rot or degrade too quickly?
Honestly, this is where most people hit a wall. If you’re using tin, give them a quick coat of spray paint or a sealant to stop the rust from eating through the metal. For plastic, try to find something thicker than a yogurt cup—those get brittle and crack in the sun way too fast. If you’re using anything repurposed, a little bit of waterproof sealant or even just a layer of outdoor paint goes a long way in keeping things functional.