I was standing in my living room three years ago, staring at a half-assembled bookshelf and a very expensive, very intimidating power tool, wondering if I should just call a professional or accept my fate as someone who lives in a house of leaning towers. I had this irrational fear that if I didn’t know exactly how to use a drill with surgical precision, I’d somehow end up splitting the wood or, worse, drilling a hole straight through my floorboards. But here’s the thing I learned while living in cramped apartments and fixing up old thrift store finds: you don’t need to be a master carpenter to get things done; you just need to stop being afraid of the noise.
In this guide, I’m stripping away all the intimidating jargon and the “perfect” workshop aesthetics you see on social media. I’m going to show you the actual, unglamorous mechanics of how to use a drill so you can hang that heavy mirror, tighten that loose cabinet hinge, or finally build that floating shelf. We aren’t aiming for perfection here—we are aiming for functional results that actually work for your life.
Table of Contents
Guide Overview
Tools & Supplies
- Power drill (cordless or corded)
- Drill bits (various sizes for drilling and driving)
- Workpiece (wood, metal, or plastic)
- Safety glasses (1 pair)
Step-by-Step Instructions
- 1. First things first, pick your bit. Don’t get paralyzed by the massive selection at the hardware store; if you’re drilling into wood, grab a twist bit, and if you’re hitting a wall, you’ll want a masonry bit. Just make sure it actually fits into the chuck (that little adjustable part at the front) before you start getting excited.
- 2. Pop the bit into the chuck and tighten it up. You can do this by hand on most modern cordless drills, but if it feels a little loose, give it a firm twist to make sure it’s locked in. If the bit wobbles even a tiny bit when you spin it, it’s not secure, and trust me, you don’t want that happening halfway through a project.
- 3. Mark your spot. I know, it feels like an extra step, but trying to “eyeball” a hole is a one-way ticket to a crooked shelf and a headache. Use a pencil to make a tiny dot exactly where you want the hole to go, and if you’re feeling extra organized, tap a small notch into the surface with a nail so the bit doesn’t skitter across the wood when you start.
- 4. Get your stance right. Hold the drill with both hands—one on the grip and the other on the back or the side handle if your drill has one. You want to be able to apply steady pressure without leaning your entire body weight into it. If you’re too stiff, you’ll lose control; if you’re too loose, you’ll just spin the bit without actually making progress.
- 5. Start slow. This is where most people mess up. Instead of pulling the trigger like you’re racing a car, give it a gentle squeeze to get the bit biting into the material. Once you’ve established a little groove, you can increase the speed. If you go full throttle immediately, you’re likely to slip or burn out the tip of your bit.
- 6. Watch your depth. If you don’t want to drill all the way through your coffee table, use a piece of painter’s tape wrapped around the bit at the desired depth. It’s a low-tech hack, but it works every single time and saves you from the “oops, I went too deep” moment.
- 7. Pull it out clean. Once you’ve hit the depth you need, keep the drill spinning as you slowly retract it from the hole. This helps clear out the dust and debris that gets packed in there, which makes the hole much cleaner and easier to work with when you’re ready to insert your screw or anchor.
Mastering Drill Bit Types and Uses Without the Stress
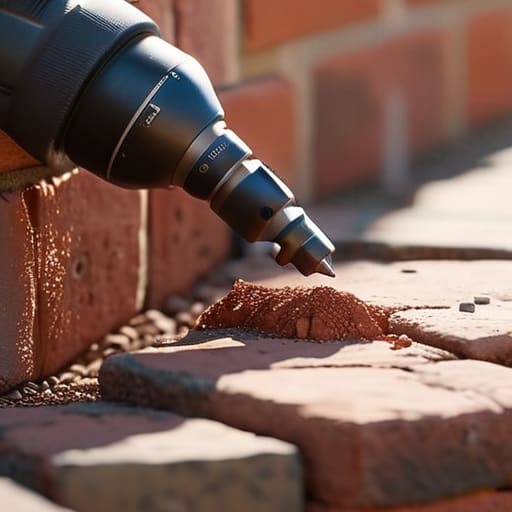
Look, I know the hardware aisle can feel like a sensory overload nightmare. You’re standing there staring at a wall of tiny metal spirals, wondering if you’re about to ruin your weekend project. Here’s the secret: you don’t need every single attachment in the catalog. If you’re working with wood, just grab a standard twist bit. If you’re tackling something tougher, like a brick patio or an exterior wall, you’ll need to know how to drill into masonry using a masonry bit—those have a little wider, sturdier tip that looks a bit different.
One thing I wish someone had told me when I was first starting out is the importance of drilling pilot holes. It sounds like an extra, annoying step, but it actually prevents your wood from splitting and keeps everything much more stable. Also, don’t ignore your torque settings. If you’re driving a screw, adjusting your drill torque settings to a lower number prevents you from stripping the head or driving the screw halfway into oblivion. It’s all about working with the material, not fighting it.
Drilling Pilot Holes and Adjusting Torque Settings for Success
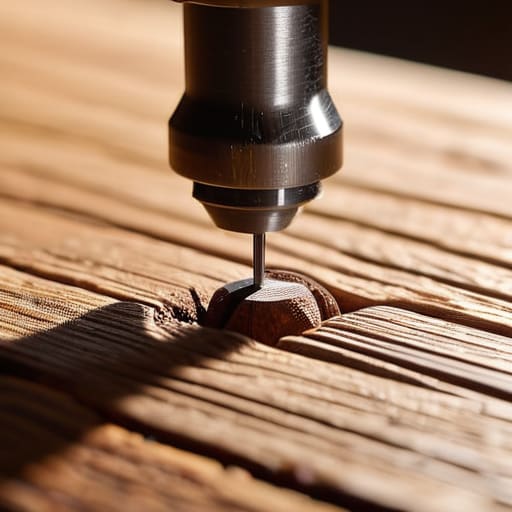
If you’ve ever tried to drive a screw into a piece of hardwood only to have the wood split right down the middle, you know exactly why drilling pilot holes is a non-negotiable step. Think of it as a little “scout mission” for your screw. By using a bit that is slightly thinner than the screw itself, you’re clearing a path so the threads can bite into the wood without forcing it to move. It takes an extra thirty seconds, but it saves you the heartbreak of ruining a perfectly good piece of furniture.
While you’re at it, let’s talk about that little numbered ring near the chuck—the torque settings. I used to ignore it, but adjusting drill torque settings is actually the secret to not stripping your screws or snapping them off. If you’re working on something delicate, like a vintage cabinet I’m restoring, dial that number down. You want the drill to “click” and stop spinning once the screw is snug, rather than just powering through and crushing the material. It’s all about controlled force, not just raw power.
Five Ways to Keep Your Project (and Your Sanity) Intact
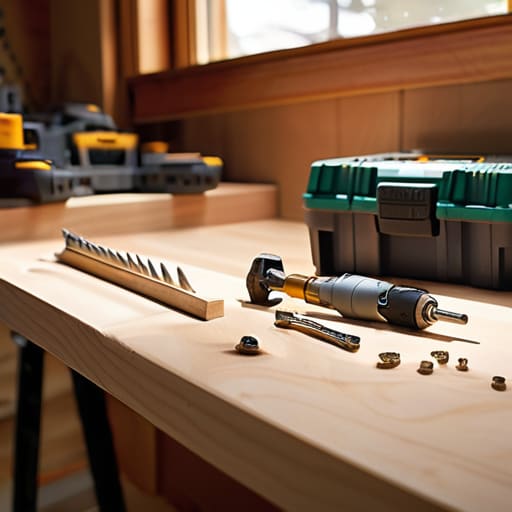
- Hold it like you actually mean it. I know it feels like a lot of weight, but grip that drill firmly with both hands. If you’re using a driver, keep your wrist steady so you aren’t fighting the tool the entire time.
- Don’t be afraid to lean into it. You shouldn’t be wrestling the drill, but you do need to apply consistent, even pressure. If you just let the bit spin on the surface without pushing, you’re going to end up with a messy, scorched hole instead of a clean one.
- Watch your exit strategy. Most people focus so much on getting the hole started that they forget about the back side of the material. Slow down your pressure right as the bit is about to break through, or you’ll end up with a nasty splintered mess on the underside.
- Listen to the machine. If the motor starts sounding strained or high-pitched, you’re likely pushing too hard or using the wrong speed. A good drill should hum, not scream. If it sounds angry, back off for a second.
- Keep your workspace clear of the “debris zone.” I used to ignore sawdust until it ended up in my coffee or all over my rug. Keep a small shop vac or even just a piece of cardboard handy to catch the mess as you go—your future self will thank you.
## A Quick Reality Check
“Look, the goal isn’t to become a master carpenter overnight; it’s just to get that shelf on the wall so you can actually stop looking at the empty space and start living in your home.”
Audrey Lin-McCallum
You've Got This
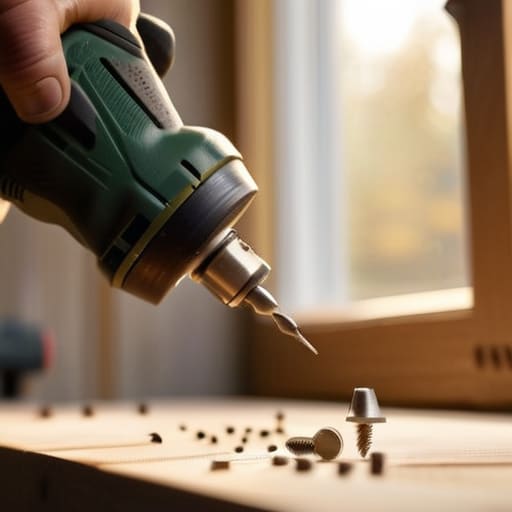
Look, we’ve covered a lot of ground here, from matching the right bit to the job to making sure you aren’t stripping out your hardware by ignoring torque settings. It can feel like a lot of technical jargon when you just want to hang a shelf or fix a wobbly chair, but it really boils down to a few simple habits. If you remember to start slow, use pilot holes to prevent splitting, and keep your eyes on the work rather than the tool itself, you’re already ahead of most people. Don’t let the fear of making a mistake keep you from starting; even a crooked hole can be fixed with a little bit of patience and the right filler.
At the end of the day, the goal isn’t to become a master carpenter or a professional contractor. The goal is simply to have a home that works for you and a toolkit that actually serves a purpose. Every time you pick up that drill, you’re reclaiming a little bit of your own space and independence. So, grab your gear, find that project you’ve been putting off, and just get moving. You don’t need a perfect workshop to build a functional life—you just need to start.
Frequently Asked Questions
Is it actually okay to use a cordless drill for everything, or am I going to need a heavy-duty corded one for real projects?
Honestly? For 90% of what we do—hanging shelves, assembling furniture, or fixing a loose cabinet—a solid cordless drill is your best friend. The freedom to move around without tripping over a cord is worth its weight in gold. You only need to dig out the heavy-duty corded beast if you’re tackling serious masonry or drilling through thick, dense timber all day. For real life? Stick to cordless. It’s easier, lighter, and much less of a headache.
How do I know if I'm applying too much pressure and about to snap a bit or strip a screw?
Listen, I’ve definitely felt that heart-stopping moment where you think, “Please don’t snap.” If you feel the drill starting to bounce or “chatter” against the screw head, back off immediately. That’s your sign you’re pushing too hard. If the screw feels like it’s slipping instead of biting, you’re either applying too much downward force or your bit isn’t seated right. Take a breath, ease up the pressure, and let the tool do the heavy lifting.
What’s the best way to keep my workspace from becoming a total mess of sawdust and metal shavings?
Honestly, the secret is to stop treating cleanup like a “final step” and start treating it like part of the job. I keep a small, handheld vacuum right next to my workbench—not a fancy shop vac, just something that reaches the corners. Also, grab a cheap magnetic tray for those metal shavings; it keeps them from migrating into your coffee or your rug. Clean as you go, even if it’s just a quick sweep between tasks.
