I was halfway through trying to prune my overgrown tomato plants last weekend when my shears decided they were officially done for the decade. Instead of a clean snip, I got this pathetic, crushing squeeze that left the stems mangled and my hands aching. It’s one of those moments where you realize you’ve been ignoring a basic necessity for months. Most people think you need a fancy, expensive electric grinder or a professional workshop to fix this, but honestly? That’s just a way to spend money you don’t have. Learning how to sharpen tools isn’t about achieving some pristine, museum-quality finish; it’s about making sure your gear actually does its job without making your life harder.
I’m not here to give you a lecture on high-end metallurgy or suggest you buy a kit that costs more than your monthly groceries. Instead, I want to show you how to get a functional edge using the stuff you likely already have in your junk drawer or a simple whetstone. We’re going to focus on a few straightforward, repeatable methods for your knives, shears, and even those dull garden trowels. My goal is to help you stop fighting your equipment and start working with it, so you can get back to your actual projects instead of wrestling with blunt metal.
Table of Contents
Guide Overview
Tools & Supplies
- Knife (Kitchen or utility)
- Garden shears (Pruning or loppers)
- Whetstone (Dual-grit combination stone)
- Honing rod (Steel rod)
- Lubricant (Water or honing oil)
- Microfiber cloth (For cleaning)
Step-by-Step Instructions
- 1. First things first, you need to gather your gear. You don’t need a professional-grade workshop, but you do need a decent whetstone or a diamond plate. If you’re working on kitchen knives, a simple honing rod works for maintenance, but for my gardening shears or old chisels, a dual-grit whetstone is the gold standard. Grab a damp cloth too, because things are about to get a little messy.
- 2. Before you even touch the stone, clean your tools thoroughly. I’ve learned the hard way that trying to sharpen a blade covered in dried sap, rust, or old food residue is just a recipe for a dull, uneven edge. Use some warm soapy water and a stiff brush to get all the grit off. If there’s stubborn rust, a little bit of steel wool will do the trick without you having to spend an hour scrubbing.
- 3. Now, let’s talk about the angle. This is where most people get intimidated, but it’s actually pretty intuitive. You want to find the existing bevel—that slanted part where the edge meets the flat of the blade—and match it. For most household tools, that’s usually around a 20-degree angle. If you aren’t sure, just look closely at the edge; once you find that “sweet spot,” try to hold it steady.
- 4. Start with the coarse side of your stone. If your tool feels like it could cut through a piece of cardboard with the grace of a spoon, you need the heavy lifting. Apply light, even pressure and move the blade in a sweeping motion, like you’re trying to shave a thin layer off the stone. You’re looking for that slurry—that little muddy buildup—to form; it actually helps the process along, so don’t wipe it away immediately.
- 5. Once you feel a consistent “bite” coming back to the metal, flip the stone over to the fine-grit side. This step is all about refinement rather than removing metal. Think of it like the finishing touch on a piece of furniture; you’re smoothing out the microscopic scratches you made during the coarse stage. Keep your movements light and consistent to polish that edge until it feels smooth to the touch.
- 6. Here is my favorite little trick: the burr test. As you sharpen, you’ll eventually feel a tiny, microscopic lip of metal curling over the opposite side of the edge. That’s called a burr. Once you feel it, switch to the other side of the blade and repeat the process to flatten that burr out. If you don’t address the burr, your tool will feel sharp for exactly one use before it feels dull again.
- 7. Finally, give everything a quick wipe down and test it safely. I always keep a scrap piece of wood or a piece of paper nearby. Don’t go slicing into your finger to see if it works; just try to slice through the paper or make a clean nick in the wood. If it catches or tears, you probably didn’t hold your angle steady enough, and you might need to go back a step and try again.
Mastering Whetstone Sharpening Techniques for Real Life
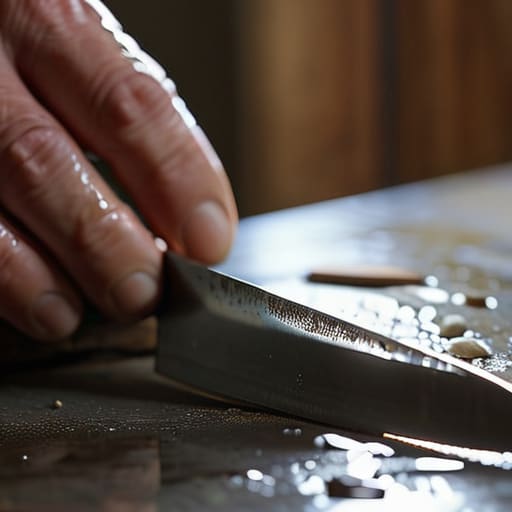
Look, I know the idea of sitting down with a whetstone feels a bit intimidating—like you’re prepping for a masterclass instead of just trying to fix a dull kitchen knife or a garden trowel. But once you get the rhythm, it’s actually pretty meditative. The biggest thing I learned the hard way is that you can’t just wing the angle. You really need to find the right sharpening angle for different tools; a paring knife needs a much shallower slant than, say, a heavy-duty garden spade. If you’re too steep, you’re just grinding away metal without actually creating an edge, and that’s a waste of your time and your stone.
Another thing people always ask me is about honing steel vs sharpening stone. Here’s the real talk: a honing steel isn’t actually “sharpening” your blade—it’s just realigning the edge that’s already there. It’s great for a quick fix before dinner, but if your tool is truly struggling, you need the stone to actually remove metal and reset the bevel. To keep things simple, I always keep a little bit of mineral oil on hand for maintaining blade edge longevity and preventing that annoying orange rust from creeping in.
Honing Steel vs Sharpening Stone Choosing What Actually Works
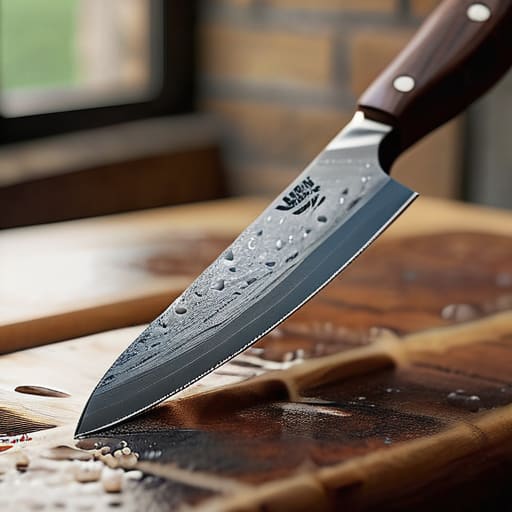
I see this confusion all the time, especially when someone is first trying to build a functional toolkit. The biggest mistake is thinking a honing steel is a substitute for a real sharpening session. It’s not. Think of a honing steel like a quick touch-up on your hair before a meeting; it realigns the microscopic edge of the blade that’s gone a bit wonky during use. It’s great for maintaining blade edge longevity between deep sessions, but it won’t actually remove metal to fix a dull edge.
If your knife or garden shears are truly struggling to bite into whatever you’re working on, you need to move past the steel and get the stone out. When we talk about honing steel vs sharpening stone, the stone is the heavy lifter that does the actual repair work. A steel might keep things smooth for a week, but a stone is what brings a dead tool back to life. If you find yourself constantly fighting a dull blade, stop reaching for the rod and invest some time in a proper grit session instead.
Five Reality Checks for Your Sharpening Routine
- Don’t obsess over the “perfect” angle. If you’re trying to sharpen a kitchen knife or a garden trowel, aim for consistency rather than precision. If you keep your angle the same throughout the stroke, you’re already halfway there.
- Stop using your tools the second they feel a little dull. If you catch a dull edge early, you only need a quick pass on a honing rod or a fine-grit stone. Once you let them get truly blunt, you’re looking at a much longer, more frustrating afternoon of work.
- Water isn’t just for show. If you’re using a whetstone, keep it soaked or dripping wet. A dry stone creates friction that heats up the metal and ruins your edge, and honestly, it just makes the whole process a lot more annoying.
- Listen to the metal. You’ll actually start to hear a difference in the sound—a consistent “shing” or scrape—when you’ve found the right pressure. If it sounds screechy or uneven, you’re probably pushing too hard or your angle is all over the place.
- Clean your tools after you’re done. It sounds basic, but metal filings and grit from the sharpening process can cause rust if you just toss the tool back in the drawer. A quick wipe with a rag and a tiny drop of oil goes a long way in making your hard work actually last.
## The Real Goal of a Sharp Edge
We aren’t sharpening these tools to win a trophy or satisfy some perfectionist’s vision of a pristine workshop; we’re doing it so that when we actually sit down to work, the tool does the heavy lifting instead of us.
Audrey Lin-McCallum
Don't Let the Dullness Win
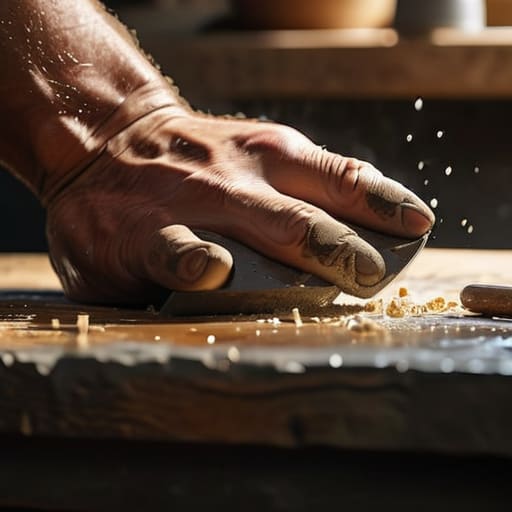
At the end of the day, sharpening your tools isn’t about achieving some kind of workshop perfection or having a collection of blades that look like they belong in a museum. It’s really just about functional maintenance. Whether you’ve decided that a quick pass with a honing steel is enough for your daily tasks, or you’ve finally embraced the slightly more meditative (and messy) process of using a whetstone, the goal remains the same: making sure your tools actually work when you need them to. You don’t need a masterclass in metallurgy to get the job done; you just need to stop fighting your equipment and start working with it.
I know that looking at a dull blade or a rusted trowel can feel like just one more thing on an already overflowing to-do list. But try to look at it differently. Taking ten minutes to restore an edge isn’t a chore; it’s a way of respecting the things you own and, more importantly, making your own life a little bit easier. When your tools are sharp, the work flows better, the frustration melts away, and you can get back to the parts of your projects that you actually enjoy. You don’t need a perfect setup to build a functional life, you just need tools that show up for you.
Frequently Asked Questions
Is it actually worth the time to sharpen my old, beat-up tools, or should I just bite the bullet and buy new ones?
Honestly? It depends on the tool, but more often than not, don’t toss them just yet. If it’s a high-quality vintage chisel or a decent kitchen knife, sharpening is a total game-changer. If the metal is pitted or the handle is literally falling apart, then yeah, bite the bullet and buy new. But for most of my gear, a little grit and some patience can turn a useless hunk of metal back into something actually useful.
How often do I really need to do this without it becoming just another chore on my weekend to-do list?
Look, I get it. If we turn every little maintenance task into a “project,” we’ll never actually have a weekend. Don’t aim for a schedule; aim for the friction. If you’re slicing a tomato and it feels like you’re sawing through a piece of leather, that’s your cue. For my kitchen knives, that’s usually once a month. For my garden shears? Probably once a season. Just fix it when it starts fighting you.
If I mess up the angle while I'm practicing, am I going to ruin the tool for good?
Honestly? Take a breath—you’re almost certainly fine. Unless you’re literally grinding the metal into nothingness with a power tool, a little wobbling won’t ruin your gear. You might just end up with a slightly uneven edge, which is a great lesson in muscle memory. If you mess up the angle, just keep going; you’re essentially just reshaping the metal. It’s not a permanent failure, just a slightly longer practice session.
