I was staring at my kitchen table, which was currently buried under a mountain of sticky measuring cups, a half-empty bottle of bubbles, and a tray of coasters that looked more like distorted glass puddles than actual art. I had spent three hours trying to follow a hyper-aesthetic tutorial, only to realize I was making a huge mess for something that looked… well, nothing like the picture. If you’ve ever felt intimidated by the sheer amount of gear required for resin crafts for beginners, I’m here to tell you that the glossy, perfect results you see on social media are often a lie. You don’t need a laboratory-grade setup or a pristine studio to get started; you just need to understand how the stuff actually behaves when it hits the tray.
In this guide, I’m stripping away the fluff and the expensive, unnecessary gadgets to give you a no-nonsense roadmap for your first few projects. We’re going to talk about the essential supplies that actually matter, how to avoid the dreaded “sticky top” disaster, and how to manage the inevitable mess without losing your mind. My goal isn’t to turn you into a professional artist overnight, but to help you create functional, beautiful things that actually work in your real, busy life.
Table of Contents
Guide Overview
Tools & Supplies
- Silicone molds for shaping the resin
- Measuring cups for precise mixing ratios
- Wooden stir sticks for blending ingredients
- Heat gun or lighter to remove surface bubbles
- Nitrile gloves for skin protection
- Epoxy resin kit (2-part liquid)
- Silicone molds (various shapes)
- Liquid pigments or glitter for coloring
- Sandpaper for smoothing edges
Step-by-Step Instructions
- 1. First things first, you need to set up a workspace that won’t make you want to scream when you’re cleaning up later. Clear off a flat table and lay down a thick layer of silicone mats or even just some old parchment paper. Resin is notoriously unforgiving when it comes to surfaces, so don’t even think about doing this on your favorite reclaimed wood desk without protection.
- 2. Grab your safety gear before you even touch the bottles. I know, it’s not the most glamorous part of the process, but you really need a pair of nitrile gloves and a well-ventilated area. If you’re working in a tiny apartment like I am, crack a window or turn on a fan immediately. You want to avoid breathing in those fumes, no matter how much you want to get started.
- 3. Now, let’s talk mixing, because this is where most people trip up. Most beginner kits use a 1:1 ratio, so grab a couple of small, disposable silicone cups. Pour your resin and hardener slowly and stir like you actually mean it—aim for about three full minutes of steady, consistent movement. If you see streaks or “swirls” in the liquid, you haven’t stirred enough, and it won’t cure properly no matter how long you wait.
- 4. Once your mixture looks crystal clear, it’s time to add your personality. This could be a drop of pigment, some dried flowers from your garden, or even a bit of glitter. I usually recommend starting with just a tiny bit of color at a time; it’s much easier to add more than it is to fix a project that looks like a neon explosion.
- 5. Pour your mixture into your molds, but do it with intention. If you’re making coasters or jewelry, pour slowly to avoid creating massive air bubbles. If you see a few tiny bubbles floating to the surface, don’t panic—just take a toothpick or a lighter and gently pop them before the resin starts to set. It’s a small tweak that makes a huge difference in the final look.
- 6. Now comes the hardest part for anyone with a busy schedule: the waiting game. Cover your molds with a cardboard box or a plastic bin so nothing falls into them (looking at you, cat), and leave them alone. Depending on your specific resin, this could take anywhere from 12 to 24 hours. Resist the urge to peek every twenty minutes; let the chemistry do its thing so you don’t end up with a sticky, half-cured mess.
- 7. Once everything feels hard and cool to the touch, pop your creations out of the molds. If the edges feel a little sharp or uneven, you can easily smooth them down with a fine-grit sandpaper while they are still slightly “green” (meaning they’re hard but not fully cured). It’s a little bit of extra work, but it makes your DIY look like something you actually bought at a boutique rather than something you scrambled to make on a Tuesday night.
Mastering Essential Resin Art Supplies Without the Clutter
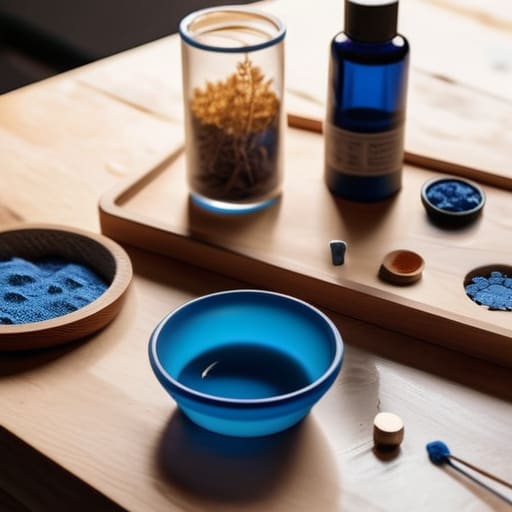
Look, I’ve been there—standing in the middle of a craft aisle feeling like I need to buy the entire store just to make one coaster. But here’s the truth: you don’t need a professional studio to get started. When gathering your essential resin art supplies, think about utility over volume. A few decent silicone molds, some pigment pastes, and a sturdy mixing set are plenty. I always tell people to invest in a few versatile molds rather than a dozen niche shapes; you can do way more with a basic tray than a specific, tiny charm mold you’ll only use once.
One thing I learned the hard way is that the “fun” part can get messy—and potentially irritating—if you skip the basics. Please, don’t skimp on the safety precautions for epoxy resin. A good respirator mask and some nitrile gloves aren’t just suggestions; they’re non-negotiable for keeping your workspace (and lungs) happy. Also, keep an eye on your resin mixing ratios. If you’re off by even a tiny bit, you’ll end up with a sticky, half-cured mess that won’t dry no matter how long you wait. Stick to the measurements, stay safe, and keep your kit lean.
Navigating Safety Precautions for Epoxy Resin in Real Spaces
Look, I know the idea of working with chemicals in a tiny apartment can feel a little daunting, but we aren’t running a laboratory here. The key is to respect the process without letting it turn your living room into a hazard zone. First things first: ventilation is your best friend. If you aren’t working in a garage or a dedicated studio, crack a window and keep a small fan running. It’s not about being paranoid; it’s just about making sure you aren’t breathing in those fumes while you’re trying to focus on your project.
I also can’t stress enough that you need to invest in a good pair of nitrile gloves. Resin is incredibly sticky, and once it gets under your fingernails, you’ll regret not being prepared. While you’re setting up your workspace, try to clear a dedicated zone—even if it’s just a tray on the kitchen table—to keep things contained. Following basic safety precautions for epoxy resin doesn’t mean you have to be a professional; it just means you’re looking out for your future self so you can actually enjoy the finished piece without the headache.
Five Ways to Keep Your First Resin Project from Turning Into a Total Disaster
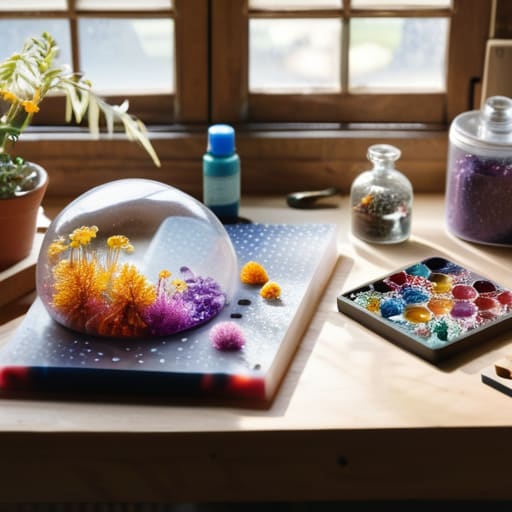
- Trust the thermometer, not your gut. Resin is finicky about temperature, so if your apartment is freezing or sweltering, your mix might end up cloudy or never fully cure. Keep your workspace at a steady, comfortable temp—the same one you’d want to sit in for an hour.
- Stop trying to color the whole batch at once. If you’re using mica powders or alcohol inks, start with tiny drops. It is way easier to add more pigment to a clear pool than it is to fix a neon-pink puddle that’s already gone wrong.
- Embrace the “oops” bubble. You’re going to get bubbles, even if you follow the instructions to a T. Instead of panicking, grab a cheap butane torch or even a quick pass with a hair dryer to pop them. It’s not about perfection; it’s about getting the air out so the piece actually works.
- Give it more time than you think it needs. Your brain will tell you it’s dry in four hours, but your resin will disagree. If you touch it too early, you’ll leave a permanent fingerprint that’ll haunt you. Let it sit, go grab a coffee, and walk away.
- Prep your “landing zone” before you even open the bottles. Once you mix that two-part epoxy, the clock is ticking. Have your molds, your stir sticks, and your silicone mat laid out so you aren’t scrambling while the resin starts to thicken and get gummy.
## Finding the Flow
“Forget about achieving that flawless, glass-like finish you see in professional tutorials; the real win is finding a way to turn a little bit of sticky, messy creativity into something that actually makes your space feel like yours.”
Audrey Lin-McCallum
Beyond the Sticky Mess
At the end of the day, getting started with resin is really just about managing the chaos. We’ve covered how to pick your supplies without turning your kitchen into a permanent workshop, how to keep your workspace safe, and the basic steps to actually getting a pour that doesn’t look like a disaster. Remember, you don’t need a studio full of professional-grade gadgets to make something beautiful; you just need a solid plan and a bit of patience. If your first tray comes out with a few stubborn bubbles or a slightly uneven edge, don’t toss it in the bin just yet. It’s all part of the learning curve, and honestly, even the pros have days where their projects don’t go exactly to plan.
My biggest piece of advice? Just start playing. We spend so much time scrolling through perfectly curated tutorials that we forget the actual point of a hobby is to enjoy the process, not to achieve immediate perfection. Your first few pieces might not be destined for a gallery, but they are proof that you’re building a new skill. Whether you’re making a tiny coaster or a full-blown tray, let it be a way to unwind rather than another item on your to-do list. You’re doing great, and I can’t wait to see what you create.
Frequently Asked Questions
How do I stop those annoying tiny bubbles from ruining my piece without buying a massive, expensive vacuum chamber?
Look, I get it. You don’t need a piece of industrial equipment taking up precious real estate on your kitchen table. Honestly? Most of those tiny bubbles are just trapped air. Try a slow, steady pour—don’t rush it. Once you’ve poured, take a long-neck lighter or a heat gun and just lightly skim the surface. The heat pops them instantly. It’s a little bit of patience and a steady hand, no vacuum chamber required.
Is it actually okay to do resin projects in a small apartment, or am I going to regret the smell and the mess?
Look, I’ve spent half my life in tiny apartments, so I get it. You aren’t going to regret it if you respect the chemistry. If you try to pour resin in your living room without a plan, yeah, you’ll hate it. But if you set up a dedicated “station”—even if it’s just a tray on your dining table—and keep a window cracked, it’s totally doable. It’s about managing the chaos, not needing a studio.
What’s the best way to clean up a sticky spill if I mess up mid-pour and don't want to ruin my tabletop?
First, don’t panic—I’ve definitely had a “heart-in-throat” moment with a runaway pour. If it’s still liquid, grab some paper towels and blot (don’t wipe!) to lift as much as possible. If it’s already getting tacky, grab some isopropyl alcohol on a rag to clean the residue. If it’s a total disaster on a finished surface, sometimes you just have to let it cure, sand it smooth, and call it a “texture choice.”
