I was sitting on my kitchen floor three years ago, surrounded by half-empty bags of thin-set and a pile of subway tiles that looked significantly more intimidating in person than they did on my mood board. My back ached, my hands were coated in grey sludge, and I was staring at a slightly uneven corner, wondering if I should just call a professional and admit defeat. But here’s the thing: you don’t need a master craftsman’s license or a perfectly level house to figure out how to tile a backsplash without losing your mind. Most of the tutorials out there make it look like a seamless, meditative process, but the reality is a bit more messy and unglamorous than that.
If you’re tired of looking at that bare, depressing strip of drywall between your counter and cabinets, I’ve got you. This isn’t a guide on how to achieve a flawless, museum-grade installation that requires a degree in geometry; instead, I’m sharing the actual, grit-under-your-fingernails steps to get the job done. We’re going to focus on functional results—getting those tiles up straight enough to look great and, more importantly, making sure your kitchen is actually usable again by dinner time.
Table of Contents
- Step-by-Step Instructions
- Mastering the Essentials Tiling Tools for Beginners and Smart Measuring
- The Workflow Kitchen Backsplash Installation Steps That Actually Fit Your L
- Five Real-World Rules for Not Losing Your Mind During the Process
- The Reality Check
- The Finish Line (And What Comes Next)
- Frequently Asked Questions
Guide Overview
Tools & Supplies
- Tile cutter or wet saw for precise cuts
- Notched trowel for applying adhesive
- Rubber grout float for smoothing grout
- Spacers to maintain even gaps
- Level to ensure straight lines
- Backsplash tiles (enough for area + 10% extra)
- Tile adhesive or mastic (1 small bucket)
- Grout (1 bag based on joint width)
- Tile sealer (1 bottle for finishing)
Step-by-Step Instructions
- 1. First things first, clear out everything from your counters and give those walls a good scrub. If there’s old grease or crumbs hiding behind your toaster, the adhesive isn’t going to stick, and we definitely don’t want a tiling disaster six months from now. Once the wall is dry, grab a piece of painter’s tape and mark where you want your first tile to sit; I usually start in the center of the most visible wall so the cuts at the corners look intentional rather than accidental.
- 2. Next, you’ll need to prep your thin-set (that’s your tile glue). Don’t go overboard trying to mix a massive bucket all at once; just make enough to last you a little while so it doesn’t dry out on you before you’re finished. Mix it until it reaches a consistency similar to peanut butter. If it’s too runny, your tiles will slide right off the wall, and if it’s too thick, you’ll be fighting it the whole time.
- 3. Now, grab your notched trowel and start spreading the thin-set onto a small section of the wall—only as much as you can actually cover in ten minutes. Use the notched side to create those little ridges; they might look messy, but those grooves are what create the suction that holds everything in place. Try to keep the ridges running in one direction to make sure you don’t trap any excessive air bubbles under your tiles.
- 4. This is the part where you actually lay the tiles, and honestly, it’s weirdly meditative if you don’t overthink it. Press each tile into the thin-set with a little bit of a twist to ensure it’s seated properly. Use your spacers—those little plastic crosses—between every single tile. I know it feels like a chore, but they are the only thing standing between you and a crooked, lopsided mess that will drive you crazy every time you make coffee.
- 5. Once your tiles are up, let them sit for at least 24 hours. I know, the urge to start grouting immediately is intense, but please resist it. Your tiles need time to actually bond to the wall. If you rush this, you’ll end up with tiles that feel “squishy” when you press on them, and that is a one-way ticket to a very frustrating weekend of repairs.
- 6. When everything is firm, it’s time to grout. Mix your grout and smear it into the gaps using a rubber grout float, pushing it in deep so there are no empty voids. After it sits for a bit, take a damp (not soaking!) sponge and gently wipe away the excess from the tile surfaces. It’s a bit of a workout for your forearms, but seeing those clean lines emerge is the best kind of payoff.
- 7. Finally, once the grout has wiped clean and dried, grab a microfiber cloth to buff away that hazy film left on the tiles. If you have any stubborn bits stuck in the grout lines, don’t go hacking at them with a screwdriver; just use a little more water and a gentle touch. Once that haze is gone, step back, grab a drink, and admire the fact that you just upgraded your entire kitchen without a professional crew.
Mastering the Essentials Tiling Tools for Beginners and Smart Measuring
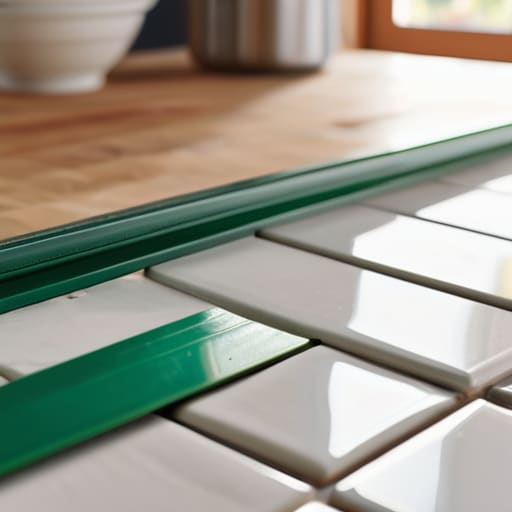
Before you go out and buy every gadget in the hardware aisle, let’s get real about tiling tools for beginners. You don’t need a professional-grade wet saw unless you’re doing something incredibly intricate; for a standard subway tile backsplash DIY, a decent manual tile cutter and a simple notched trowel will get you through most of the heavy lifting. I always tell people to invest in a solid spirit level and a few spacers. Trust me, skipping the spacers is the fastest way to end up with a wavy mess that will drive you crazy every time you make coffee in the morning.
When it comes to the math, don’t just eyeball it. Measuring backsplash area is where most people trip up and end up running back to the store for more materials mid-project. Grab a piece of painter’s tape and map out your tile layout patterns on the wall before you even touch the adhesive. It helps you visualize where those awkward, tiny cuts will land—usually near the corners or outlets—so you aren’t left staring at a half-finished wall wondering where that last piece went.
The Workflow Kitchen Backsplash Installation Steps That Actually Fit Your L
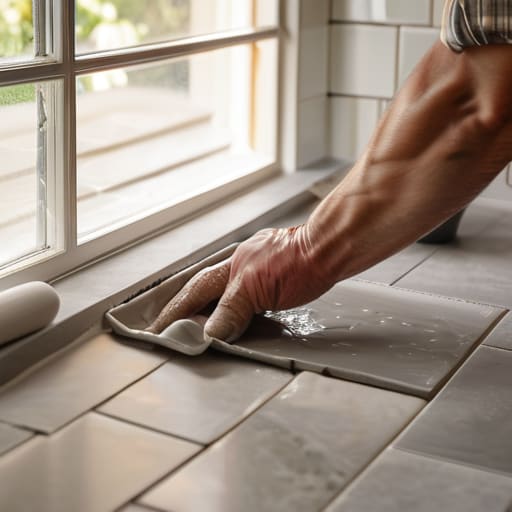
Look, I know the idea of a full-blown renovation sounds exhausting, but the trick to surviving your subway tile backsplash diy is to treat it like any other project: break it into bite-sized chunks. Don’t try to do the whole kitchen in one frantic Saturday. I usually tackle the layout one section at a time, making sure I’m not leaving myself with a tiny, awkward sliver of tile at the corners. If you’re feeling overwhelmed, just focus on one wall. Progress over perfection is my mantra here; even if your lines aren’t laser-straight, once the grout is in, it’s going to look great and, more importantly, it’ll be easy to wipe down.
When you finally get to the sticky part, don’t skimp on the prep. Choosing the best tile adhesive for backsplash depends on your surface, but generally, a high-quality mastic is your best friend for indoor walls. Also, a pro tip from my own messy kitchen experiments: keep a bucket of clean water and a sponge within arm’s reach. You’ll need them more than you think.
Five Real-World Rules for Not Losing Your Mind During the Process
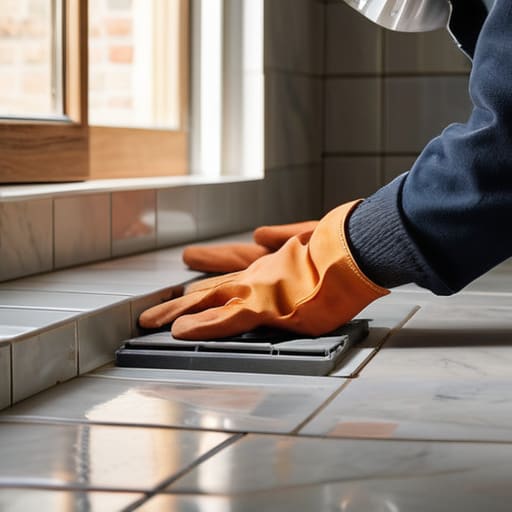
- Don’t aim for mathematical perfection. If your countertop isn’t perfectly level—and trust me, most aren’t—don’t try to force the tiles to follow a straight line that doesn’t exist. Adjust your starting point so the error is hidden at the bottom or tucked under a cabinet.
- Buy way more grout and spacers than you think you need. There is nothing more soul-crushing than being halfway through a Saturday afternoon, covered in dust, only to realize you’re running low on the one thing that actually holds it all together.
- Test your grout color on a scrap piece first. Lighting in a kitchen changes constantly throughout the day. What looks like a sophisticated “warm greige” in the hardware store might look like “muddy beige” once it’s actually stuck to your wall under your under-cabinet lights.
- Keep a damp sponge in your hand at all times. If you let grout dry too hard on the surface of your tiles, you’ll be scrubbing for three hours straight, and you’ll likely scratch the finish. Clean as you go; your future, less-exhausted self will thank you.
- Forgive the “oops” moments. You’re going to chip a tile, or a line might look a little wonky when you step back. Just remember: once the stove is back in place and the lights are on, nobody is going to be inspecting your backsplash with a magnifying glass. It just needs to be clean and functional.
The Reality Check
“Forget about that flawless, showroom-perfect finish you saw on Instagram. Your kitchen isn’t a museum; it’s where you make coffee and deal with life. If a tile is a millimeter off, just keep moving—the goal is a space that works for you, not a project that drains your soul.”
Audrey Lin-McCallum
The Finish Line (And What Comes Next)
Look, if you’re standing there staring at a slightly uneven grout line or a tile that’s sitting a millimeter off, take a breath. You’ve done the hard part. You measured twice, you fought with the thin-set, and you actually stuck to a workflow that didn’t leave you spiraling by mid-afternoon. At the end of the day, the goal wasn’t to create a museum-grade installation; it was to transform a functional space so you can actually enjoy making coffee or cooking dinner without looking at bare, depressing drywall. As long as the tiles are secure and the grout is sealed, you have successfully upgraded your home on your own terms.
I know it feels massive when you first start pulling tools out of the bag, but I promise you, these small wins add up. Tiling a backsplash is just one more way you’re proving to yourself that you can handle the “adulting” stuff without needing a professional crew or a massive budget. Don’t let the pursuit of a perfect, curated aesthetic stop you from actually living in your space. Grab a drink, lean against your new counter, and just enjoy the fact that you built something with your own two hands. You earned this.
Frequently Asked Questions
I messed up the spacing halfway through—can I pull the tiles off and fix them without ruining the wall?
Deep breaths—you haven’t ruined everything. If the thin-set (that adhesive stuff) is still wet, you’re in luck; just grab a damp sponge and reposition them. If it’s already started to skin over or harden, you’ll need to carefully pry the tiles off with a putty knife. It’s a bit of a mess, and you’ll likely need to scrape the old gunk off the wall before trying again, but it’s totally fixable.
Do I really need to spend money on a fancy tile saw, or can I get away with a cheap manual cutter?
Honestly? If you’re just doing a straight pattern with standard subway tiles, a manual cutter is your best friend. It’s cheaper, easier to store in a small apartment, and way less intimidating. Save your money for better grout or some cute hardware. However, if you’re tackling complex patterns or heavy natural stone, that’s when the fancy wet saw becomes a necessity. For most of us, the manual cutter gets the job done just fine.
How do I clean the grout without accidentally scrubbing it right off the tiles?
The golden rule? Stop the aggressive scrubbing immediately. If you’re using a stiff brush, you’re basically sanding the grout away. Instead, try a soft-bristled toothbrush and a dedicated grout cleaner—or even just a paste of baking soda and water. Apply it, let it sit for ten minutes to do the heavy lifting, and then gently wipe. It’s about letting the chemistry work so your muscles (and your tiles) don’t have to.
