I was standing in my tiny kitchen last Tuesday, staring at those dated, honey-oak cabinets, feeling that familiar wave of “adulting overwhelm” wash over me. I had this vision of a Pinterest-perfect, seamless transformation, but the reality was a pile of sandpaper and a looming sense of dread about the mess. Here’s the thing most DIY influencers won’t tell you: you don’t need a professional workshop or a month of unpaid leave to learn how to paint kitchen cabinets that actually look good. You just need a solid plan that respects your actual, messy life and a little bit of grit to get through the prep work.
In this guide, I’m skipping the fluff and the “perfect aesthetic” nonsense to give you a realistic roadmap. We’re going to walk through the essential steps—from cleaning off the years of cooking grease to choosing a finish that won’t chip the first time you bump a pot against it—without turning your home into a construction zone for three weeks. My goal isn’t to help you build a showroom; it’s to show you how to create a functional, refreshed space that works for your budget and your schedule.
Table of Contents
Guide Overview
Tools & Supplies
- Screwdriver or drill for removing hardware
- Sandpaper (120 and 220 grit) for smoothing surfaces
- High-quality angled brush for cutting in
- Small microfiber roller for a smooth finish
- TSP or degreaser for cleaning cabinets
- Cabinet primer (1-2 gallons depending on size)
- Cabinet-grade enamel paint (1-2 gallons)
- Painter's tape for masking edges
Step-by-Step Instructions
- 1. First things first: clear the decks. You can’t paint a kitchen while you’re still trying to make toast. Take everything out of the cabinets—and I mean everything—and move it to a temporary station like your dining table or a cleared-off counter. Once the insides are empty, grab a screwdriver and remove all the doors and drawer fronts. Don’t just pull them off; unscrew the hardware carefully. I always keep a small labeled bag or even just a muffin tin to organize the screws so you aren’t hunting for them three days from now when you’re exhausted.
- 2. Now comes the part everyone skips, but please, don’t skip it. Your cabinets are likely covered in a fine layer of cooking grease and invisible film that will make your new paint peel right off. Grab a heavy-duty degreaser—something like TSP (trisodium phosphate) if you can find it—and scrub every inch of the surfaces. It’s a bit of a workout, but if you don’t get that grease off, you’re basically painting on top of oil, and that’s a recipe for a disaster you’ll have to redo in six months.
- 3. Once they’re clean and bone-dry, it’s time to sand. You don’t need to sand them down to the raw wood like you’re stripping a vintage table; you just need to scuff the surface so the primer has something to grab onto. A medium-grit sandpaper works wonders here. Your goal isn’t a perfectly smooth finish—it’s just to take the shine off the existing finish. After you’re done, wipe everything down with a tack cloth to ensure there isn’t a single speck of dust left behind.
- 4. This is where the magic (and the patience) happens: priming. Don’t try to save money by using a “paint + primer” all-in-one product for this specific job. Cabinets take a lot of abuse, so use a high-quality bonding primer. Apply it in thin, even layers. It might look a little streaky or uneven at first, but don’t panic. The primer is the unsung hero that creates the bridge between your old cabinet and your new color.
- 5. Now, let’s get to the actual color. If you’re feeling brave, you can use a brush, but if you want to avoid those annoying brush marks, I highly recommend a small foam roller or a high-quality microfiber roller. Apply the paint in thin, manageable coats. It is much better to do three thin coats than one thick, gloopy layer that takes forever to dry and ends up looking like plastic. Take breaks between coats to let the paint truly set—patience is your best tool here.
- 6. While you’re waiting for the paint to dry, take a moment to clean up your workspace. There is nothing worse than finishing a project only to realize you’re staring at a mountain of sticky brushes and spilled cans. Once the final coat is dry (and I mean really dry—give it a full day if you can), carefully reattach your hardware. If you’ve upgraded to new handles, this is your moment to shine.
- 7. Finally, rehang the doors. If they feel a little wonky or don’t line up quite right, don’t let it ruin your day. Most hinges have a little screw that allows you to adjust the alignment slightly. It’s rarely perfect on the first try, but once you put your dishes back in and the kitchen feels functional again, you’ll realize that it looks great because it’s yours.
Smart Prep How to Prep Cabinets for Painting Without Losing Your Mind
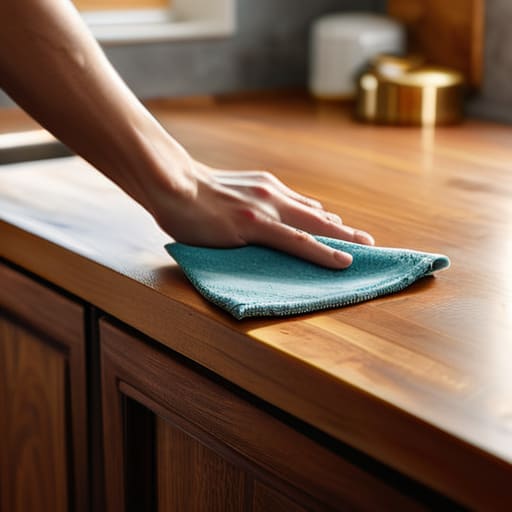
Look, I know the “prep” part of any DIY project feels like the part where you’re just doing chores instead of actually making progress. But here’s the reality: if you rush the cleaning or skip the sanding, you’re basically setting yourself up for a peeling nightmare in six months. When I’m looking at how to prep cabinets for painting, I don’t aim for a laboratory-clean surface; I just want to make sure there’s no grease or old wax blocking the bond. Grab a heavy-duty degreaser and hit those areas around the handles extra hard—that’s where the invisible kitchen grime hides.
Once they’re clean, don’t feel like you need to spend three days with a power sander. A quick, light scuff with some medium-grit sandpaper is usually enough to give the new layer something to grab onto. This is where most people get tripped up, so keep your cabinet sanding techniques simple and consistent. You aren’t trying to strip them down to the bare wood; you’re just removing the shine so the primer can actually do its job. If you get this part right, the rest of the project will feel like a breeze rather than a battle.
The Essential Cabinet Painting Supplies List for Busy Schedules
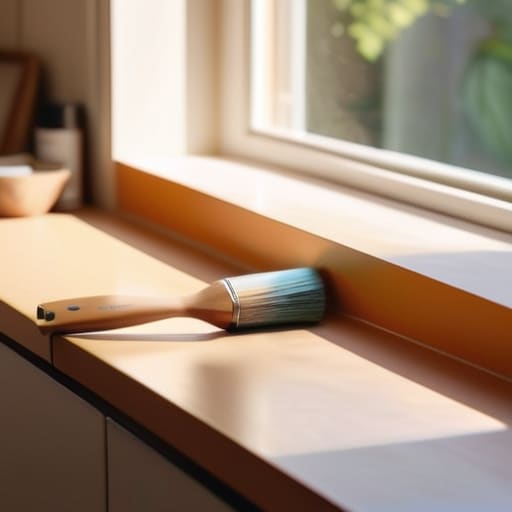
Look, I’ve learned the hard way that showing up to a DIY project with a half-baked shopping list is the fastest way to turn a fun weekend into a three-day meltdown. You don’t need a professional workshop, but you do need the right tools to ensure you aren’t running back to the hardware store mid-project. My personal cabinet painting supplies list always starts with high-quality microfiber cloths and a degreaser; if you skip the cleaning, nothing else matters. I also swear by a high-quality synthetic brush and a small foam roller. Using the right combo is the secret to preventing brush marks on cabinets, which is the difference between a “DIY job” and something that actually looks intentional.
When it comes to the actual liquids, don’t let the aisles overwhelm you. You’ll likely face the classic debate of cabinet primer vs paint, and honestly, don’t skimp on the primer. A good primer is your insurance policy against peeling. As for the finish, look for a specialized enamel; finding the best paint for kitchen cabinets means choosing something that can actually handle the occasional spilled coffee or greasy fingerprint without turning into a gummy mess.
Five Reality Checks for a Smooth Cabinet Refresh
- Don’t try to do it all in one weekend. I know the “before” photos look depressing, but if you try to strip and paint every single door in forty-eight hours, you’re going to end up with a half-finished kitchen and a massive headache. Break it down by zone or even just by door sets.
- Embrace the “good enough” sanding approach. You don’t need to sand down to the raw wood like you’re restoring a 1920s heirloom; you just need to scuff the surface enough so the primer actually has something to grab onto. If it’s smooth but dull, you’re winning.
- Invest in a decent microfiber cloth and some tack cloths. I used to think I could just wipe the dust away with an old t-shirt, but that’s a recipe for a gritty, bumpy finish. A quick, thorough wipe-down before you even touch the brush is the difference between a pro look and a DIY disaster.
- Work in small, manageable batches. If you’re painting the frames, do one section at a time rather than trying to tackle the whole kitchen at once. It keeps the wet paint from collecting dust and lets you actually use your kitchen for a sandwich break without feeling like you’re living in a construction zone.
- Accept that the first coat will look terrible. Seriously. It’s going to look streaky, thin, and honestly kind of patchy. Don’t panic and start dumping more paint on it—that’s how you get drips. Just let it dry, trust the process, and get that second (and maybe third) coat on.
The Reality Check
“Forget the Pinterest-perfect dream of a weekend makeover; we’re not aiming for a showroom, we’re just trying to make this kitchen feel like ours again without letting the project swallow our entire lives.”
Audrey Lin-McCallum
The Finish Line (And What Comes Next)
Look, I know that standing in a kitchen full of half-empty paint cans and slightly crooked cabinet doors can feel a bit overwhelming, but you’ve already done the hardest part. We’ve covered everything from the deep cleaning and sanding that makes the finish actually stick, to grabbing the right tools so you aren’t running to the hardware store three times in one afternoon. Remember, the secret isn’t in having a professional-grade spray booth; it’s about the intentional prep work and choosing a paint that can actually handle your morning coffee spills and late-night snacks. If a corner looks a little wonky or a drip dried a bit too fast, don’t sweat it. You’ve built a functional, refreshed space that belongs to you, and that is a massive win.
At the end of the day, your kitchen isn’t a showroom for a magazine; it’s the heart of your home and the place where life actually happens. If these cabinets look a little less “perfect” than a Pinterest photo, but they feel refreshingly new and suit your budget, then you have absolutely succeeded. We aren’t chasing an unattainable aesthetic here; we are just making our environments work a little harder for us. So, grab a drink, take a second to appreciate the progress you’ve made, and enjoy your newly transformed space. You earned it.
Frequently Asked Questions
How long do I actually have to wait before I can start using my kitchen again without ruining the finish?
Here’s the real talk: you can technically use your kitchen immediately, but please, don’t touch the cabinets. While the paint might feel dry to the touch in a few hours, it’s actually “curing” for much longer. I usually tell people to give it a full week of very gentle use before being heavy-handed. If you start scrubbing or slamming doors too early, you’ll ruin that fresh finish and end up back at square one.
Is it worth the extra effort to sand everything down, or can I get away with just using a good primer?
Look, I get it—the thought of sanding every inch of your kitchen feels like a marathon you didn’t sign up for. If your cabinets are in decent shape and just look a bit dull, a high-quality, grippy primer can definitely do the heavy lifting. But, if they’re super glossy or have layers of old, greasy finish, you really can’t skip the sanding. Just a light scuff is enough to help that primer actually bite.
What’s the best way to deal with those annoying little details like hinges and handles without spending three days on one cabinet?
Look, I get it. Dealing with tiny screws and hardware can feel like a massive sinkhole for your time. My rule of thumb? Don’t overcomplicate it. Instead of unscrewing every single thing, just take a quick photo of each door and drawer before you start. That way, you aren’t staring at a pile of metal wondering where anything goes. If you do remove them, keep the screws in labeled sandwich bags. It’s a five-minute fix that saves hours of frustration later.
