I was sitting on my floor last Tuesday, surrounded by half-empty paint cans and a single, sad-looking drop cloth, staring at a streak of “eggshell white” that looked more like “unfiltered regret.” I had spent three hours trying to follow a professional tutorial that demanded a pristine, museum-grade surface, and frankly, I was about five minutes away from throwing my multi-tool at the wall. We’ve been sold this lie that learning how to paint a room requires a degree in fine arts and a budget that rivals a small nation’s GDP. But here’s the truth: your walls don’t need to be perfect to feel like home; they just need to be finished.
In this guide, I’m stripping away the intimidating fluff and the expensive, unnecessary gadgets. I’m going to show you how to tackle a project without losing your entire weekend or your sanity. We’re going to cover the actual essentials—from patching the holes that actually matter to choosing a finish that won’t show every single fingerprint—so you can get the job done and actually enjoy the space you’ve created. No curated aesthetics, no perfectionism, just a functional room that looks great because you did it yourself.
Table of Contents
Guide Overview
Tools & Supplies
- Paintbrush [2-inch angled for edges and trim]
- Roller and tray [9-inch roller for large wall surfaces]
- Drop cloths [Canvas or plastic to protect floors]
- Painter's tape [To mask off baseboards and ceilings]
- Interior paint [1-2 gallons depending on room size]
- Primer [1 gallon if changing colors significantly]
- Sandpaper [Fine grit for smoothing walls]
Step-by-Step Instructions
- 1. First things first: clear the decks. You don’t need to move every single piece of furniture out of the room like you’re prepping for a crime scene, but you do need to get the big stuff to the center. Push your sofa or bed toward the middle of the floor and cover them with a cheap drop cloth. If you have small knick-knacks or precious plants, just tuck them into a box and move them to another room entirely so you aren’t sweating over them while you work.
- 2. Next, we deal with the walls. I know, I know—it sounds tedious, but if you skip this, your new paint job will just highlight every dent and scratch you already had. Grab a small container of spackle and a putty knife to fill in those annoying nail holes. Don’t worry about getting it perfectly level with the wall; just get it flat enough that it doesn’t catch the light. Once it’s dry, give it a quick sand with a fine-grit sanding block so the surface feels smooth to the touch.
- 3. Now, let’s talk protection. This is the part where people usually get lazy and end up with more paint on their baseboards than on the walls. Take your painter’s tape and run it along the edges of your ceiling, your trim, and your window frames. I’ve learned the hard way that if you don’t press the tape down firmly with your fingernail, the paint will bleed underneath it. It’s a little bit of extra work now that saves you an absolute headache later.
- 4. Time to prep your gear. Don’t go out and buy a professional-grade sprayer unless you actually need one; a decent roller set and a couple of high-quality brushes are plenty for a DIYer. Open your paint cans and give them a good stir with a wooden stick—sometimes the pigment settles at the bottom, and you don’t want your first coat to look streaky. I always keep a damp rag nearby to wipe up drips immediately before they have a chance to harden.
- 5. Let’s get into the actual painting. Start with the “cut-in” phase: use your brush to paint a border around the edges, corners, and trim where the roller can’t reach. Don’t try to do the whole room in one go; just do one wall at a time so the “wet edge” stays consistent. Once you’ve framed the wall, grab your roller and use a figure-eight motion to fill in the large middle sections. It feels a bit weird at first, but it’s the best way to avoid those annoying roller marks.
- 6. Patience is your best friend here: wait for the first coat to dry completely before even thinking about a second one. If you try to rush it, you’ll just end up pulling the paint off the wall or creating a texture that looks like orange peel. Once it’s dry, do one more quick pass with the roller to ensure the color is even and solid. If you see a spot that looks a little thin, don’t panic—just hit it with a tiny bit more paint and let it be.
- 7. Finally, the most satisfying part: the cleanup. Peel your painter’s tape off while the paint is still slightly tacky; if you wait until it’s bone-dry, the tape might actually pull chunks of your new paint right off the wall. Wash your brushes with warm soapy water so they’re ready for your next project, and once the walls are dry, move your furniture back. It won’t look like a magazine cover, but it will look like your space, and that’s what actually matters.
The Realistic Painting Supplies Checklist for Busy People
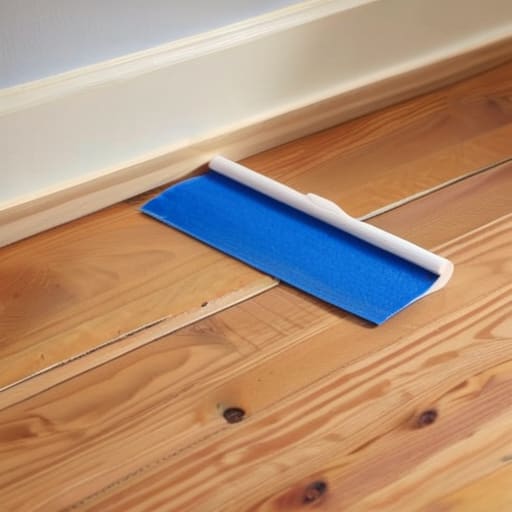
Look, I’ve been there—standing in the middle of a hardware store aisle, paralyzed by forty different types of rollers and brushes, wondering if I’m about to waste fifty bucks on something I don’t need. Here is the truth: you don’t need a professional contractor’s kit to get decent results. My personal painting supplies checklist is pretty stripped back. Grab a decent angled brush for the edges (don’t skimp here, it makes life so much easier), a medium nap roller, a sturdy tray, and a roll of high-quality painter’s tape. If you try to save money with the cheap, paper-thin tape, you’ll spend your entire Sunday scraping dried edges off the baseboards instead of relaxing.
The biggest mistake I see people make is focusing on the fancy tools while ignoring the boring stuff. If you don’t spend a little time on how to prep walls for painting—like a quick wipe-down to remove dust or a light sanding—the most expensive paint in the world will still peel off in six months. Also, keep a damp rag tucked in your back pocket. It’s the ultimate hack for preventing paint drips from becoming permanent fixtures on your floor. Just wipe it away before it sets, and you’re golden.
Mastering How to Prep Walls for Painting Without Perfectionism
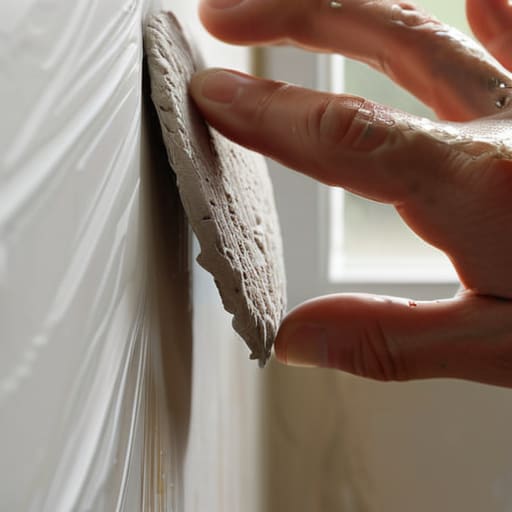
Look, I get it. You look at a wall with a few scuffs and a mysterious dent, and suddenly you feel like you need a degree in masonry just to start. You don’t. When it comes to how to prep walls for painting, the goal isn’t to make the surface look like it was poured in a factory; it’s just about making sure the new layer actually sticks. Grab a damp cloth and wipe away the dust first. If there are actual holes, a quick dab of spackle is your best friend. Don’t spend three hours sanding a tiny imperfection that’s only going to be covered by a fresh coat anyway. Focus on the big stuff.
Once the walls are clean and patched, let’s talk about the edges. Learning how to use painter’s tape is less about surgical precision and more about setting boundaries so you don’t end up with blue strips on your ceiling. Press the edge down firmly with your fingernail—it’s a small move that makes a huge difference in preventing paint drips from creeping where they don’t belong. If you’re feeling overwhelmed, just remember: we’re building a functional space, not a museum exhibit.
Five Ways to Keep This From Becoming a Total Disaster
- Don’t buy the cheapest brushes you can find. I know, it feels counterintuitive when you’re trying to save a few bucks, but a $5 brush leaves streaks that will make you want to cry, and then you’ll end up spending twice as much on more paint to fix it.
- Forget the “perfect” lighting. If you’re painting in the evening, just use your brightest lamp and move it around. You don’t need a professional studio setup; you just need enough light to see if you’re accidentally painting your baseboards.
- Embrace the “good enough” rule for edges. If you aren’t a pro with painter’s tape, don’t stress about getting a laser-straight line on the ceiling. Just take your time, and if it’s a little wonky, call it “character” and move on to the big surfaces.
- Work in small, manageable chunks. Instead of deciding you’re going to do the whole room in one marathon session, tell yourself you’ll just do one wall. It stops that “I can’t do this” feeling from creeping in when you’re halfway through.
- Keep a damp rag in your back pocket—literally. I always keep one tucked into my waistband or sitting on the tray. If you drip a bit of paint on the floor or a trim piece, you can wipe it up instantly before it turns into a permanent part of your decor.
The Perfectionism Trap
“If you wait until you have the perfect lighting, the perfect tools, and a completely empty schedule, you’ll never pick up a brush. Paint the walls so you can actually live in the room, not so you can post a flawless photo of it.”
Audrey Lin-McCallum
The Finish Line (And What Comes Next)
At the end of the day, you’ve done the heavy lifting. You’ve gathered your supplies, patched those annoying little divots in the drywall, and managed to protect your floors without losing your mind. Remember, the goal wasn’t to achieve a flawless, showroom-ready masterpiece; it was to change the energy of your space so you can actually enjoy living in it. If there’s a tiny drip on the baseboard or a spot where the coverage is a little thin, just leave it for now. You’ve successfully navigated the most stressful parts of the process, and that is a massive win for your weekend productivity.
Now that the rollers are soaking and the fumes are starting to clear, take a second to actually look at what you’ve accomplished. It’s easy to get caught up in the mess and the fatigue, but you just transformed a room with your own two hands. This isn’t about having a “Pinterest-perfect” life; it’s about building a home that feels like it belongs to you. Don’t let the fear of a little imperfection stop you from starting the next project. You have the tools, you have the system, and most importantly, you have the momentum to keep making your space work for you.
Frequently Asked Questions
How do I figure out how much paint I actually need without buying way too many expensive cans?
The “math” part of DIY always makes me want to close my laptop and nap, but don’t let it stall you. Here’s the shortcut: measure your wall width and height, multiply them to get the square footage, and then subtract any big windows or doors. A good rule of thumb? One gallon usually covers about 350 to 400 square feet. Since you’ll almost always need two coats for a decent finish, just double that number. Better to have a little left for touch-ups than to run out mid-stroke.
Can I just paint over my existing dark walls with a lighter color, or am I going to end up with a streaky mess?
If you try to just slap light paint over dark walls, you’re definitely going to end up with a streaky, patchy mess that looks more like a watercolor experiment gone wrong. My advice? Don’t skip the primer. Think of it as the “reset button” for your walls. A good coat of primer kills that old dark pigment so your new color actually shows up true. It’s one extra step, but it saves you from three more coats of expensive paint later.
What’s the realistic timeline for this—how long do I actually have to wait before I can move my furniture back in?
The “official” word is 24 hours, but let’s be real: if you’re not touching the walls, you can usually slide the heavy stuff back in after about six or eight hours. Just give it a full day before you start shoving bookshelves right up against the baseboards. If you’re in a rush, just keep the high-traffic areas clear for an extra night. Your sanity is worth more than a perfectly cured coat of paint.
