I was standing in my tiny backyard last spring, staring at a pile of cedar planks and a very expensive, very intimidating Pinterest board, wondering why I felt like I needed a degree in architecture just to grow some basil. We’ve been sold this idea that if you want to start gardening, you need a perfectly symmetrical, reclaimed-wood masterpiece that looks like it belongs in a high-end lifestyle magazine. But here’s the truth: your plants don’t care about your aesthetic, they care about good soil and drainage. If you’re feeling paralyzed by the pressure to make it look “Instagram-perfect,” let’s just stop. I’m going to show you how to build a raised garden bed that is sturdy, functional, and—most importantly—actually finished by the time the sun goes down.
In this guide, I’m stripping away the fluff and the fancy tools you don’t actually need. I’ll walk you through selecting the right materials that won’t rot in six months, a simplified assembly process that won’t leave you with a headache, and the real-world logistics of filling it without breaking your back. We aren’t aiming for perfection here; we are aiming for a system that works for your space and your schedule.
Table of Contents
Guide Overview
Tools & Supplies
- Drill/Driver for securing screws
- Measuring Tape for accurate cuts
- Level to ensure even ground
- Hand Saw if pre-cutting is needed
- Untreated Cedar or Redwood planks (approx. 4-6 pieces)
- Galvanized wood screws (1 box)
- Garden Soil/Compost mix (enough to fill volume)
- Hardware cloth or landscape fabric (to prevent weeds/pests)
Step-by-Step Instructions
- 1. First things first, let’s talk about the hardware. You don’t need a workshop full of fancy power tools, but you do need to pick your wood wisely. I highly recommend cedar or redwood because they naturally resist rot without you having to slather them in toxic chemicals that will end up in your tomatoes. If you’re on a tight budget, heat-treated lumber is a decent middle ground, just avoid anything treated with old-school CCA—we want to eat this stuff, not the chemicals.
- 2. Once you’ve got your lumber, it’s time to measure and cut. If you don’t own a miter saw, don’t sweat it; most big-box hardware stores will make the cuts for you if you bring in your measurements. I usually aim for a width of about three to four feet maximum. Why? Because you want to be able to reach the center of the bed from either side without stepping into it and compacting your precious soil.
- 3. Now, let’s get to the assembly. Lay your boards out on a flat surface (like your driveway or a patch of grass) to make sure everything is square. I like to use exterior-grade wood screws—the kind that won’t snap when the wood expands and contracts—and I usually pre-drill my holes. It feels like an extra step, but it prevents the wood from splitting, which saves you a massive headache and a trip back to the store later.
- 4. Before you fill anything up, you need to prep the ground. You don’t need to dig up the grass or spend hours tilling; that’s a recipe for burnout. Just mow the area as short as possible and then layer down some thick cardboard over the spot where the bed will sit. This acts as a natural weed barrier that eventually decomposes, letting the worms do the heavy lifting of aerating your soil for you.
- 5. This is where most people go wrong: they buy the cheapest “topsoil” they can find. Please, for the love of your future basil plants, invest in a good soil mix. I usually do a blend of one-third compost, one-third peat moss or coconut coir, and one-third vermiculite. It’s a bit more expensive upfront, but it creates a loamy, nutrient-dense foundation that actually holds moisture instead of turning into a brick of clay.
- 6. Finally, get that soil in there and level it out. If you have a heavy rain coming, you might want to add an extra inch or two of soil because it will settle almost immediately. Once it’s level, tamp it down lightly—not too hard, we aren’t building a sidewalk—and you are officially ready to plant. Now, grab your notebook, write down what you’re planting where, and stop worrying about whether it looks perfect.
Choosing Your Foundation Cedar vs Pressure Treated Lumber
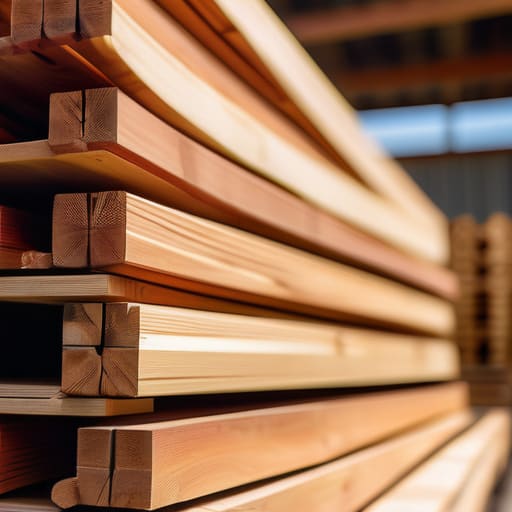
When you’re standing in the lumber aisle, staring at a sea of wood planks, it’s easy to feel a bit paralyzed. Most people get stuck on the cedar vs pressure treated lumber debate, and honestly, there isn’t a single “right” answer—just what works for your budget and your peace of mind. If you have the extra cash, cedar is my go-to. It’s naturally rot-resistant, smells amazing, and won’t leach anything into your soil. It’s the gold standard for longevity, but it definitely carries a premium price tag.
On the flip side, if you’re working with a tighter budget or trying to get a garden started quickly, modern pressure-treated wood is a much more affordable option. I used to worry about the chemicals, but current treatments are significantly safer than the old-school stuff. If you’re still feeling a little squeamish about it, you can always line the inside with heavy-duty plastic to create a barrier. At the end of the day, the best wood for raised beds is simply the one that actually gets built. Don’t let the search for perfection stop you from getting your hands dirty.
The Right Raised Bed Construction Tools for Busy Schedules
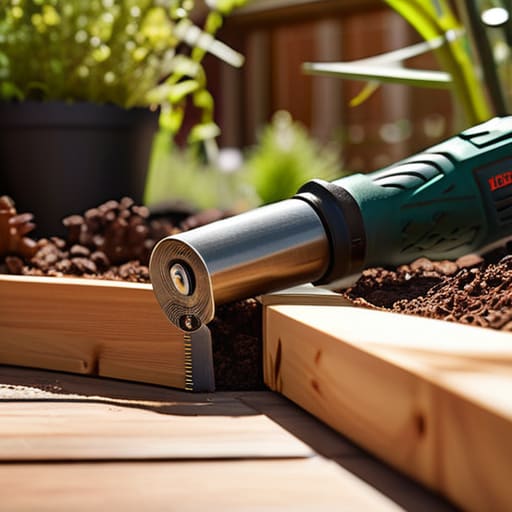
Look, I know the temptation to head straight to the hardware store and grab every power tool in the aisle, but let’s be real: you don’t need a professional workshop to get this done. If you’re working with a tight schedule, the goal is to minimize the time spent measuring and maximizing the time spent actually gardening. For a standard build, a reliable drill with a few different bits and a high-quality tape measure are your non-negotiables. I always keep my multi-tool handy for those tiny, annoying adjustments that usually happen right when you think you’re finished.
Don’t get caught in “analysis paralysis” trying to find the most high-tech gear. If you’re opting for cedar vs pressure treated lumber, your tool needs stay pretty much the same; you just need something sturdy enough to drive screws through thicker wood without stripping them. My biggest tip? Invest in a decent impact driver rather than a basic screwdriver. It’ll save your wrists a massive amount of grief and cut your assembly time in half, which is a win for anyone trying to squeeze a project into a busy weekend.
Five ways to keep this from becoming a weekend-ruining disaster
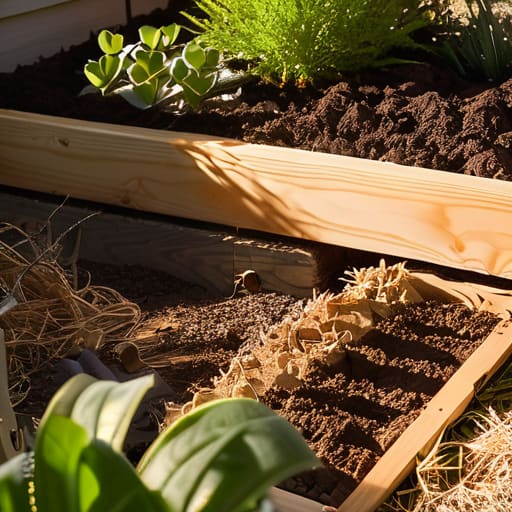
- Don’t overthink the dimensions. If you build a bed that’s four feet wide, you can actually reach the middle without stepping on your soil and compacting it. If it’s wider than that, you’re going to be fighting your own design every time you go to weed.
- Skip the fancy decorative trim for now. A raised bed’s job is to hold dirt and help things grow, not to win a design award. Focus on sturdy corner posts—that’s where the real structural integrity lives.
- Prep your ground better than you think you need to. I know, it’s tempting to just toss the wood on the grass and call it a day, but if you don’t clear the weeds or lay down some cardboard first, you’ll be battling the same old pests in your “new” garden by July.
- Buy your lumber in lengths that actually make sense for your plan. There is nothing more frustrating than being halfway through a project and realizing you’re three inches short because you tried to “save money” by buying odd-sized scraps.
- Keep your hardware heavy-duty. Using cheap, thin screws is a recipe for a collapsed bed by next season. Spend the extra five bucks on high-quality exterior screws; your future, exhausted self will thank you when the corners stay put.
Function Over Perfection
“Your garden bed doesn’t need to look like a Pinterest board to be successful; it just needs to be sturdy enough to hold dirt and easy enough for you to actually maintain when life gets messy.”
Audrey Lin-McCallum
Get Your Hands Dirty
At the end of the day, you’ve picked your wood, grabbed your tools, and hopefully didn’t spend three hours overthinking the exact shade of cedar. Whether you went with the classic cedar or opted for the more budget-friendly pressure-treated route, the most important thing is that you actually finished the build. You’ve got your foundation set, your materials are ready, and you’ve avoided the trap of waiting for the “perfect” moment or the perfect backyard setup. Remember, the goal wasn’t to win a landscaping award; it was to create a functional space where you can actually grow something tangible.
Now comes the part where the real magic happens—the dirt, the seeds, and the inevitable learning curves. There will be bugs, there might be a wilted tomato plant or two, and your bed might not look like a Pinterest board by next week. That’s okay. We aren’t aiming for a curated garden aesthetic; we are building a living system that feeds us. So, grab your trowel, get some soil in those beds, and stop worrying about the mess. You’ve done the hard part of building the structure; now just go out there and let it grow.
Frequently Asked Questions
Do I really need to line the bottom with hardware cloth or landscape fabric, or can I just put the soil straight on the ground?
Honestly, you can just dump the soil straight on the ground, but I wouldn’t recommend it if you want to save yourself some future headaches. If you’re worried about weeds or critters tunneling up from below, a layer of hardware cloth or landscape fabric is worth the extra ten minutes. It’s not about being precious; it’s about building a system that doesn’t require you to weed every single weekend.
How much soil am I actually going to need to buy so I don't end up with five extra bags taking up space in my hallway?
The last thing we need is a mountain of soil bags blocking the hallway for three weeks. To figure this out without the guesswork, just multiply your bed’s length by width by depth (in feet), then multiply that by 0.75. That gives you the cubic feet you actually need. Most bags are sold in 1.5 or 2 cubic foot increments, so round up slightly, but don’t go overboard. Better to be a tiny bit short than to have a surplus you’ll eventually just end up dumping in a corner.
If I'm building this on a patch of grass or weeds, how do I stop them from just growing right through my new garden bed?
Honestly, this is the part that usually trips people up, but don’t overthink it. You don’t need fancy landscape fabric that’ll just tear anyway. My go-to? A thick layer of plain, brown cardboard. Just peel off any plastic tape and lay it down right over the weeds inside your frame. It smothers them and eventually breaks down into the soil. If you’re dealing with really aggressive stuff, layer some newspaper underneath too.
