I was hunched over my kitchen floor last Tuesday, scrubbing a tiny patch of tile with a toothbrush and a sense of profound defeat, when I realized something: we’ve been lied to about home maintenance. Most people think you need a chemistry degree and a suite of expensive, caustic cleaners to figure out how to clean grout effectively, but honestly? That’s just a recipe for a headache and a ruined floor. I spent years thinking that if my grout wasn’t a blinding, sterile white, I was somehow failing at adulthood. But after living in cramped apartments where every inch of space counts, I’ve learned that the goal isn’t a showroom floor—it’s a space that doesn’t make you feel gross when you’re making coffee.
In this guide, I’m skipping the fancy, overpriced products that promise miracles but mostly just smell like bleach. Instead, I’m going to show you the low-effort, high-impact methods I actually use to get the grime out so your kitchen or bathroom feels usable again. We’re going to talk about the right tools, the few ingredients you probably already have in your pantry, and how to do this without spending your entire Saturday on your hands and knees. Let’s make your home functional again, one line at a time.
Table of Contents
Guide Overview
Tools & Supplies
- Stiff-bristled brush for scrubbing lines
- Microfiber cloth for wiping residue
- Sponge for rinsing surfaces
- Baking soda 1 cup
- White vinegar 1/2 cup
- Warm water 2 cups
Step-by-Step Instructions
- 1. First, clear the decks. I know, it sounds obvious, but move the toaster, the spice rack, or whatever is currently cluttering your backsplash out of the way. You can’t effectively scrub what you can’t see, and trying to navigate around clutter just leads to unnecessary frustration.
- 2. Grab your cleaning kit. You don’t need to run out and buy a specialized, expensive chemical cocktail. I usually just stick to a decent dish soap, some white vinegar, and baking soda. If you have an old toothbrush, that’s perfect, but if the grime is really stubborn, a stiff-bristled grout brush is a total game-changer for your sanity.
- 3. Mix up a quick paste. In a small bowl, mix a few spoonfuls of baking soda with just enough water (or vinegar if you’re feeling extra ambitious) to create a consistency similar to toothpaste. It should be thick enough to stay in the lines without immediately running all over your floor.
- 4. Apply and let it sit. Spread that paste over the grout lines and, this is the most important part, actually walk away. Give it about 10 to 15 minutes to do the heavy lifting. If you start scrubbing immediately, you’re just working harder than you need to; let the chemistry do the work while you grab a coffee.
- 5. Get in there and scrub. Once the paste has had its time, use your brush to work the mixture into the lines using circular motions. Don’t feel like you have to achieve a surgical level of precision—you’re just trying to loosen the grit so it can be wiped away.
- 6. Wipe it all clean. Use a damp microfiber cloth or a sponge to wipe up the residue. I find that doing this in small sections prevents the dirty water from just sitting on the tile and making a new kind of mess.
- 7. Dry the area. Take a dry towel and buff the tiles and grout lines one last time. Leaving them damp can sometimes lead to streaks or even mildew if you’re in a humid environment, so a quick dry ensures your hard work actually stays looking decent for a little longer.
Finding the Best Grout Cleaner for Tile Without Wasting Time
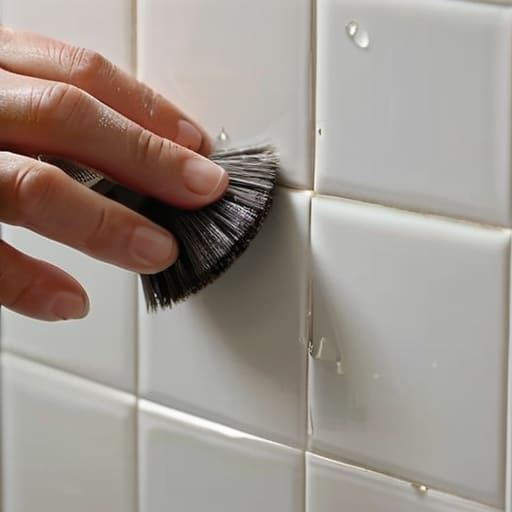
Look, I’ve spent way too many Saturday mornings wandering down the cleaning aisle of big-box stores, staring at a wall of neon-colored liquids, wondering if I actually need something that smells like a chemical factory to get the job done. Here’s the truth: you don’t need a PhD in chemistry to find the best grout cleaner for tile. If you’re dealing with standard kitchen grime, a decent commercial spray works fine. But if you’re tackling a bathroom where things have gotten a bit… damp, you might need something more targeted for removing mold from grout before it settles in for good.
If the thought of harsh fumes makes you want to retreat to your balcony garden, don’t sweat it. I’m a huge fan of natural grout cleaning solutions—usually just a mix of baking soda and vinegar—because they actually work without making my eyes water. Just remember that the “magic” isn’t just in the liquid; it’s in the friction. Grab some decent grout scrubbing tools, like a stiff-bristled brush or even an old toothbrush, so you aren’t just moving the dirt around. It’s about working smarter, not harder.
Natural Grout Cleaning Solutions That Actually Fit Your Busy Life
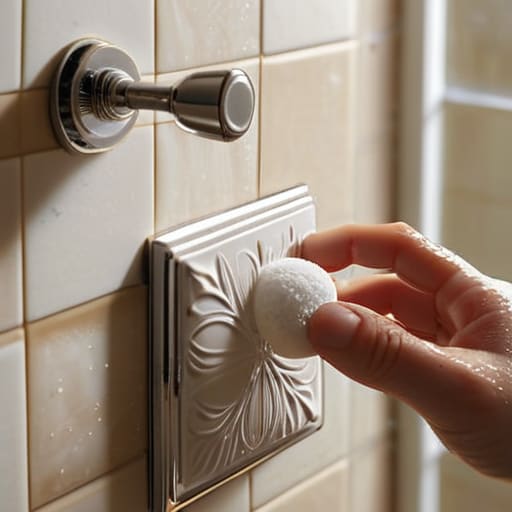
Look, I get it. Sometimes the last thing you want to do after a long day of freelance calls is go out and buy a chemistry set of industrial-strength chemicals just to tackle your bathroom. If you’re looking for natural grout cleaning solutions that won’t leave your house smelling like a bleach factory, I’ve found that a simple paste of baking soda and a splash of hydrogen peroxide does the heavy lifting. It’s not magic, and it won’t give you that “brand new showroom” look instantly, but it’s incredibly effective for cleaning bathroom tile grout without the harsh fumes.
If you’re dealing with something a bit more stubborn, like dark spots in the shower, you might need to focus on removing mold from grout specifically. In those cases, I usually reach for a bit of white vinegar, but let it sit for a few minutes first—don’t just spray and pray. The key is patience rather than elbow grease. Just let the solution do the work while you finish your coffee, then come back with your favorite grout scrubbing tools to lift the grime away. It’s about working smarter, not harder.
Five Ways to Keep Your Grout From Becoming a Full-Time Job
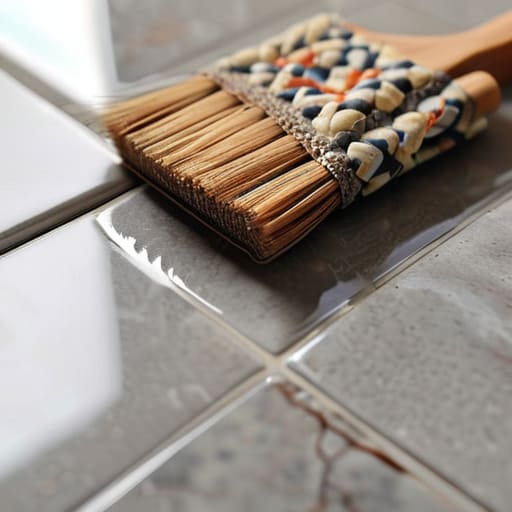
- Don’t go overboard with the scrubbing; if you’re using a heavy-duty brush, you’re probably working harder than you need to. A medium-stiff nylon brush is usually the sweet spot for getting the dirt out without wearing down the grout itself.
- If you have a tiny bit of time on a Sunday, just run a dry microfiber mop over the floor. It won’t get the deep stains out, but it stops the dust from settling into those lines in the first place, which saves you a massive headache later.
- Seal your grout once it’s clean and dry. I know, it feels like one more thing on the to-do list, but it’s a total game-changer. It creates a barrier so spills don’t soak in immediately, meaning your next cleaning session will be way faster.
- Stop treating every single line like a crime scene. If you have a corner that’s slightly discolored but doesn’t bother you, leave it. Focus your energy on the high-traffic areas like the kitchen floor or the shower entrance where the grime actually impacts how the space feels.
- Keep a spray bottle of your go-to cleaner (even if it’s just a diluted vinegar mix) under the sink. If you see a fresh spill on the tile, wipe it up right then. It’s much easier to manage a small spot than to wait until it’s baked into the grout line.
## Forget the "Perfect" Kitchen
“I used to think I needed a professional-grade deep clean to feel like I had my life together, but honestly? If you can just scrub away the grime so the floor stops looking dingy and starts feeling usable again, you’ve already won the day.”
Audrey Lin-McCallum
Done and Dusted
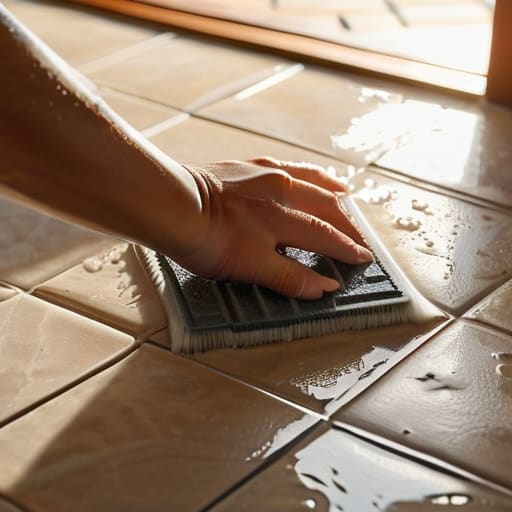
At the end of the day, cleaning your grout isn’t about achieving that showroom-ready, Pinterest-perfect finish that looks impossible to maintain. It’s really just about getting the grime out of the way so your home feels like a place where you can actually breathe. Whether you decided to go the route of a heavy-duty commercial cleaner to save time or stuck to a simple DIY mix of baking soda and vinegar, the goal was the same: making a functional space. You’ve got the tools, you know which solutions actually work, and most importantly, you’ve got a manageable system in place so this doesn’t become a massive, overwhelming weekend project every single time.
If you’re feeling a little exhausted now that the scrubbing is done, give yourself some credit. We spend so much time chasing an aesthetic that doesn’t exist in real life, but you just did something much more important: you maintained your environment. Your kitchen or bathroom doesn’t need to look like a magazine spread to be a sanctuary; it just needs to work for you. Remember, progress over perfection is my golden rule for a reason. Now, grab a coffee, sit down, and enjoy the fact that your space is actually usable again. You earned it.
Frequently Asked Questions
My grout is stained dark from years of use; is it actually possible to get it back to its original color, or should I just accept it?
Look, I get the “is it even worth it” feeling—I’ve stared at my own bathroom floor wondering if I should just lean into the grime. Honestly? It depends on if the stain is in the grout or just on it. If it’s surface-level, a heavy-duty scrub can work wonders. But if the color has actually changed due to age or deep saturation, you might not get that “day one” brightness back. If it’s truly hopeless, don’t sweat it; a grout pen is a much faster, more realistic win for your sanity.
How often do I actually need to do this deep clean to keep things from getting gross again?
Look, I’m not going to tell you to scrub your floors every weekend—I have a life, and so do you. If you’re doing a deep clean once every few months, you’re doing great. But if you want to avoid that “gross” feeling, just do a quick pass with a damp microfiber cloth once a week. It keeps the grime from actually settling in, so the big, heavy-duty scrubbing stays a rare event.
Is there a way to seal the grout after cleaning so I don't have to deal with this whole process again in two months?
Honestly, I wish there were a “set it and forget it” button for this, but sealing is definitely your best bet to buy some breathing room. Once your grout is bone-dry, grab a penetrating sealer. It doesn’t make the tiles look shiny or fake; it just creates a barrier so spills don’t soak in immediately. It’s a bit of a weekend project, but it’ll keep that grime at bay way longer than just scrubbing.
