I used to spend way too much time scrolling through Pinterest, feeling completely defeated by those pristine, white-washed living rooms that looked like nobody actually lived in them. It’s easy to feel like your home is a failure just because you’re working with a mismatched thrift store find or a desk with a wobbly leg. But here’s the truth: we don’t need a massive renovation budget or a professional design degree to make our spaces feel intentional. I’ve found that the best way to bridge that gap between “cluttered chaos” and “functional sanctuary” is through realistic upcycling furniture ideas that actually fit into a busy work week.
In this post, I’m stripping away the fluff and sharing five of my favorite ways to breathe new life into the pieces you already own. We aren’t aiming for a museum-quality restoration here; we are looking for smart, sustainable wins that make your home work harder for you. From quick hardware swaps to clever paint hacks, these five projects will show you how to transform your old stuff into something useful, stylish, and—most importantly—totally doable even if you only have a single Saturday afternoon to spare.
Table of Contents
The "Not-Quite-Broken" Side Table
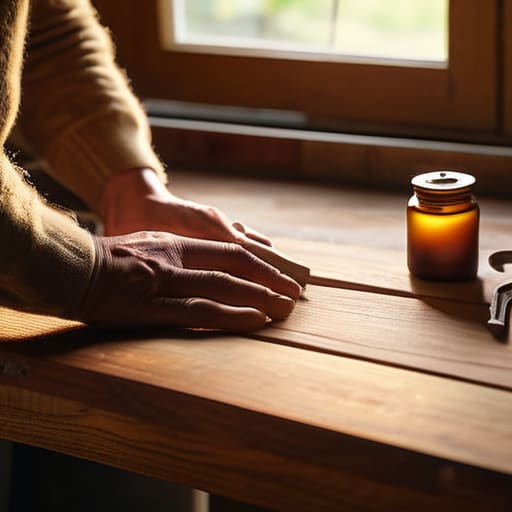
We’ve all been there—you find a beautiful mid-century side table at a thrift store, but it’s got a wobbly leg or a surface that looks like it’s seen better decades. Most people see a piece of junk, but I see an opportunity to practice some low-stakes restoration. You don’t need a woodshop to fix a wobble; sometimes a bit of felt padding or a quick tightening of the hardware is all it takes to make it functional again.
Drawer Transformation Magic
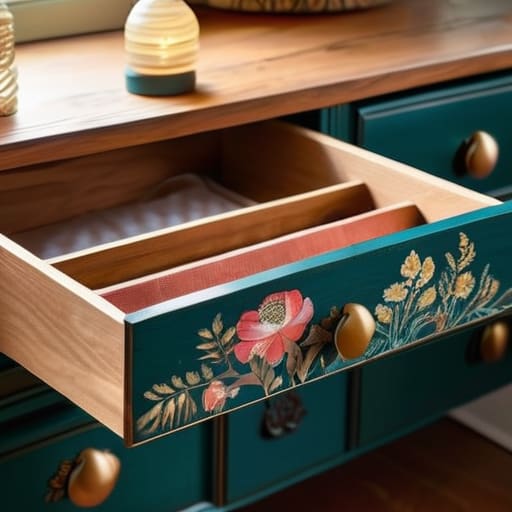
If you have a dresser that’s technically fine but looks incredibly boring, stop looking at the exterior and start looking at the inside. I love the idea of “hidden personality.” When you pull out a drawer to grab your socks, there should be a little moment of joy. You can use leftover wallpaper or even some durable contact paper to line the bottom of the drawers.
Hardware is Your Secret Weapon
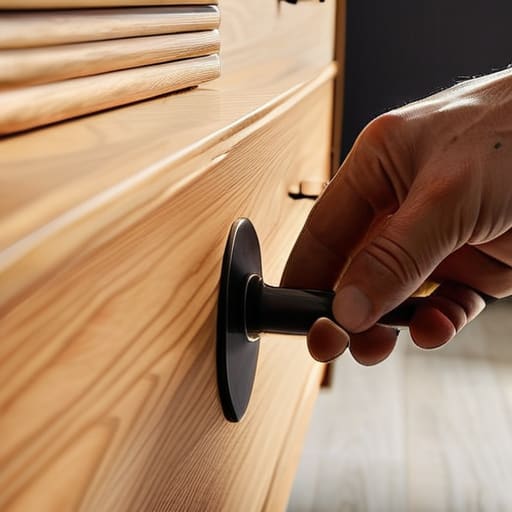
This is my favorite “lazy girl” hack for when I simply do not have the bandwidth for a full DIY project. Sometimes, a piece of furniture looks dated simply because the handles are clunky, brassy, or just plain ugly. Swapping out old, generic pulls for something a bit more modern—like matte black or brushed nickel—can completely shift the vibe of a cabinet or desk.
The Bookshelf to Plant Stand Pivot
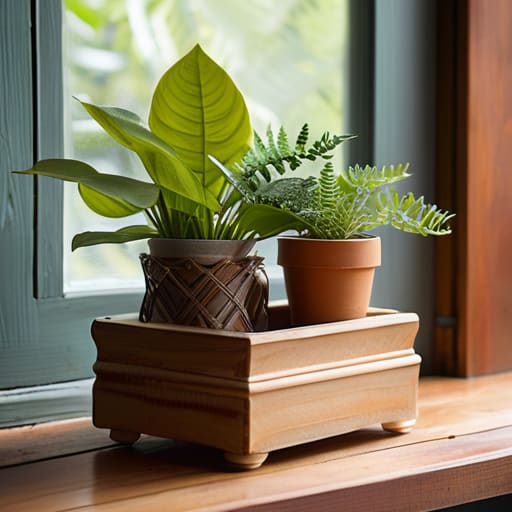
As someone who spends way too much time hovering over my urban garden, I’ve learned that furniture doesn’t have to stay in its original lane. If you have an old, lightweight bookshelf that’s a bit too flimsy for heavy encyclopedias, stop trying to force it to be a library. Instead, turn it into a tiered plant station for your sunroom or kitchen corner.
Give Old Chairs a Second Chance
I have a rule: never throw away a chair just because the fabric is ugly. Fabric is temporary; the bones of a good chair are forever. If you find a sturdy wooden chair with a seat that’s seen better days, you can easily swap out the upholstery. You don’t need professional skills—just some heavy-duty staples and a piece of fabric that you actually love.
The Real Goal of Upcycling
“Forget the Pinterest-perfect showroom look; upcycling isn’t about creating a masterpiece, it’s about taking something that’s gathering dust and turning it into something that actually serves your life.”
Audrey Lin-McCallum
Stop Overthinking and Start Doing
At the end of the day, whether you’re just slapping some new hardware on a tired dresser or spending a Saturday sanding down an old side table, the goal isn’t to win a design award. It’s about taking something that was taking up dead space and turning it into something that actually serves a purpose in your home. We’ve looked at everything from simple paint refreshes to more involved structural tweaks, and the common thread is that you don’t need a massive workshop or a degree in carpentry to see results. You just need a little bit of patience and the willingness to get your hands a little dirty to make your space feel more like yours.
Please, do me a favor and don’t let the fear of a “bad” DIY project stop you from even trying. I have definitely botched a few staining jobs in my time, and honestly? The world didn’t end, and the table still holds my coffee mug just fine. Your home should be a reflection of your life, which means it’s allowed to have a few character marks along the way. Focus on making your environment functional and comfortable, and let the perfectionism slide. You’ve got this, so go grab that multi-tool and see what you can create.
Frequently Asked Questions
I found a great piece at a thrift store, but how do I tell if it’s actually worth the effort or just a lost cause?
Look, I’ve been there—standing in a dusty thrift aisle, staring at a wobbly dresser, wondering if I’m a genius or just delusional. My rule of thumb? Check the bones first. If the frame is solid wood and the structure is sound, it’s a winner. If it’s particle board held together by hope and prayers, walk away. Don’t waste your weekend fighting bad materials; focus your energy on pieces that actually have a future.
What are the absolute bare-minimum tools I need to get started without spending a fortune at the hardware store?
Look, I’ve been there—standing in the hardware aisle feeling like I need a professional workshop just to fix a chair. You don’t. Honestly, if you’re just starting, grab a decent multi-tool (it’s a lifesaver), a small screwdriver set, and some sandpaper. If you’re painting, a cheap roller and a drop cloth will do. Don’t go overboard on the fancy power tools yet; let your projects dictate what you actually need to buy next.
How do I deal with that weird, lingering smell or old finish on vintage wood before I start painting?
First things first: don’t just dive in with paint. If that old finish is greasy or smells funky, your new coat will peel faster than my motivation on a Monday. Grab some mineral spirits and a good scrub sponge to strip away the grime. If it’s a deep, musty scent, let it breathe outside for a day or hit it with a light sanding. You want a clean, neutral surface—not a scented candle hiding under layers of acrylic.
