I used to think that if I wanted to start composting, I needed a high-end, cedar-lined rotating tumbler and a backyard the size of a small park. I spent weeks scrolling through Pinterest, feeling totally overwhelmed by these perfectly manicured, “aesthetic” garden setups that looked more like expensive furniture than actual waste management. But here’s the truth: you don’t need a boutique setup to stop throwing away perfectly good nutrients. Learning how to make a compost bin isn’t about achieving some organic garden perfection; it’s about finding a way to turn your kitchen scraps into something useful without it becoming a second full-time job.
In this guide, I’m stripping away the fluff and the expensive gear. I’m going to show you a few different ways to build a system that actually works for your specific space—whether you have a tiny balcony or a patch of dirt in the yard. We’ll focus on functional, low-maintenance builds using stuff you probably already have in your garage or can grab for a few bucks at the hardware store. No gatekeeping, no complicated science lectures, just a straightforward plan to help you get started today.
Table of Contents
Guide Overview
Tools & Supplies
- Drill with spade bit for aeration holes
- Measuring tape for sizing components
- Handsaw or utility knife for cutting
- Plastic storage bin (approx. 18-30 gallons)
- Drill bits (1/4 inch to 1/2 inch)
- Hardware cloth or mesh (optional for base)
- Small stones or gravel (for drainage)
Step-by-Step Instructions
- 1. First, let’s talk about your “bin.” If you’re living in an apartment or have a tiny patio, don’t go out and buy a massive, expensive rotating tumbler. Honestly, a sturdy plastic storage bin with a lid works just fine. Just make sure it’s something you don’t mind getting a little messy, and grab a drill to prep it for some much-needed airflow.
- 2. Once you have your container, you need to drill some holes. This is where most people mess up—if there’s no oxygen, your compost will start to smell like a swamp, and nobody wants that. Drill about ten to fifteen small holes across the bottom and around the sides. It’s not about making it look professional; it’s about giving those tiny microbes enough room to breathe.
- 3. Now, we need a base layer. Think of this as the foundation of your little ecosystem. Grab some small sticks, dried twigs, or even some torn-up cardboard from your last delivery. You want to create a coarse layer of “browns” at the bottom to help with drainage and air circulation. It’s basically the lungs of your bin.
- 4. Time to start layering your scraps. The golden rule I live by is the 3:1 ratio: three parts “browns” (dried leaves, shredded paper, or cardboard) to one part “greens” (your actual food scraps like coffee grounds, fruit peels, or veggie ends). If you just dump a pile of wet food in there, it’ll turn into a slimy disaster. Always aim to cover your fresh scraps with a layer of dry material to keep things balanced.
- 5. Keep a small, lidded container on your kitchen counter to collect your daily scraps. I know, it sounds like one more thing to clean, but it’s actually much easier than walking outside with a handful of banana peels every single morning. When your counter bin is full, dump it in, add your browns, and give it a quick stir with a small garden trowel or a sturdy stick.
- 6. Don’t forget the “maintenance” part—and by that, I mean just checking in on it once a week. If it looks too dry, splash a little water on it (it should feel like a wrung-out sponge). If it smells funky, you probably have too many “greens” and not enough “browns,” so just toss in some more shredded paper and give it a turn.
- 7. Finally, be patient. You aren’t making gourmet soil overnight. Depending on the weather and how often you stir it, you’ll start seeing dark, crumbly, earthy-smelling material in a few months. When it looks like rich soil and you can’t recognize the original scraps anymore, you’ve officially succeeded.
Choosing Your Build Wood vs Plastic Compost Bins
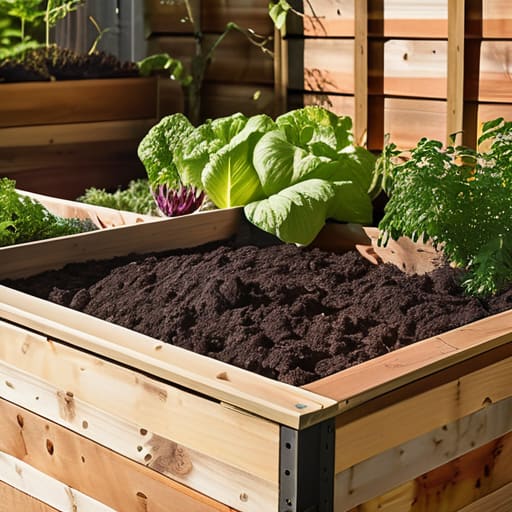
When you’re staring at your hardware store list, the big question is usually wood vs plastic compost bins. If you’re like me and love the look of a reclaimed cedar crate or some old pallet scraps, wood is your best friend. It’s breathable, which is huge for natural aeration for compost bins, and it looks much more intentional in a backyard setting. The downside? It’s a bit more work to build, and you have to keep an eye on rot over the years.
On the flip side, if you want a “set it and forget it” vibe, plastic is the way to go. You can even get creative by recycling plastic bins for compost—I’ve had great luck drilling holes into old storage totes to save a few bucks. They hold moisture better, which is great if you live in a drier climate, but they can sometimes get a little too stagnant if you don’t turn the pile regularly. Honestly, don’t overthink the perfection of it; just pick the material that fits the tools you already have in your garage.
The Real World Compost Bin Materials List You Actually Need
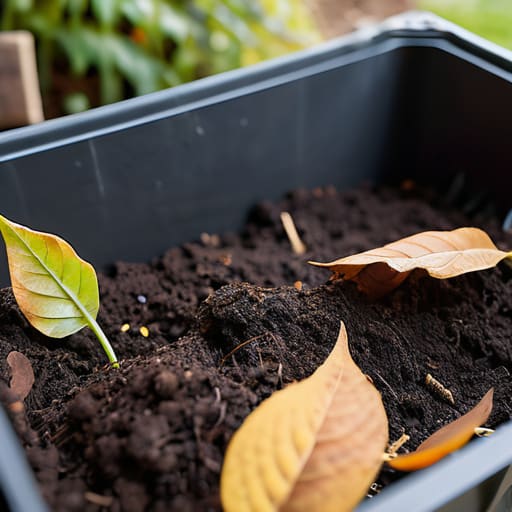
Look, I’ve seen those Pinterest-perfect garden setups, and honestly? They’re usually a nightmare to maintain. When you’re putting together your compost bin materials list, don’t get distracted by expensive, designer hardware. If you’re on a budget or trying to be extra eco-friendly, recycling plastic bins for compost is a total game-changer. A heavy-duty storage tote from a thrift store or even an old trash can works perfectly fine once you drill a few holes in it. You aren’t building a monument; you’re building a tool.
The most important thing to remember isn’t how the bin looks, but how it breathes. Regardless of whether you went with wood or plastic, you need to prioritize aeration for compost bins. Without airflow, your pile just turns into a smelly, soggy mess that no one wants near their patio. I always suggest keeping a small hand drill or even just a sturdy screwdriver handy to ensure you have enough ventilation holes. If you’re working with a tiny balcony instead of a yard, we can talk about a vermicomposting setup later, but for now, let’s just get the basics right.
Five ways to keep your bin from becoming a total disaster
- Don’t aim for a perfect ratio right out of the gate. If your pile smells like a swamp, you’ve got too much moisture or “green” stuff—just toss in some shredded cardboard or dry leaves to balance it out.
- Location is everything. Don’t tuck it into a far corner of the yard where you’ll forget it exists; put it somewhere you’ll actually walk past it during your morning coffee run.
- Airflow is your best friend. If you’re building a DIY wooden bin, make sure there are gaps between the slats. Compost needs to breathe, otherwise, you’re just making a soggy, stinky mess.
- Keep a “scrap bucket” on your kitchen counter. If you have to walk all the way to the backyard every time you peel a carrot, you won’t do it. Make it easy on your future, tired self.
- Size matters more than you think. If your bin is too small, it won’t retain enough heat to actually break things down; if it’s too massive, you’ll never be able to turn it. Aim for something manageable that fits your actual kitchen output.
The Philosophy of the Bin
“Look, your compost bin doesn’t need to be a Pinterest-worthy centerpiece for your backyard; it just needs to be a functional system that turns your kitchen scraps into something useful without adding more stress to your plate.”
Audrey Lin-McCallum
Getting Started Without the Stress
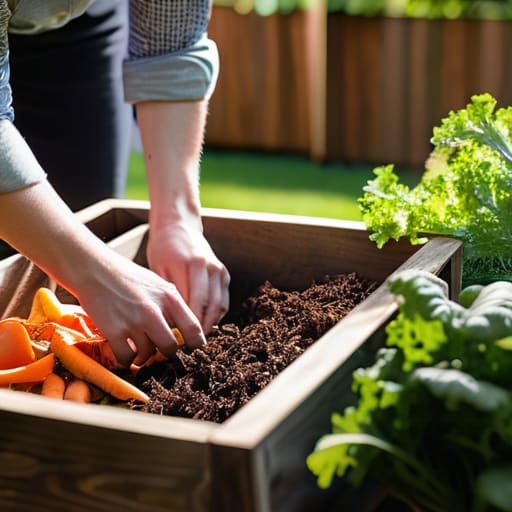
At the end of the day, whether you went with a sleek plastic bin or built a rugged wooden crate from scrap lumber, the goal is the same: getting those scraps out of your trash and into the soil. You’ve got your materials, you’ve picked your method, and you’ve realized that you don’t need a professional-grade setup to make a difference. Just remember that the most important part isn’t having a perfectly balanced nitrogen-to-carbon ratio right out of the gate; it’s simply about creating a consistent habit that fits into your actual weekly routine without adding more mental clutter to your plate.
I know that starting a new project—especially one that involves literal dirt and potential smells—can feel a little daunting when your schedule is already packed. But trust me, once you see that first handful of rich, dark compost, the sense of accomplishment is worth every bit of the initial effort. Don’t let the fear of doing it “wrong” stop you from doing it at all. We aren’t aiming for a Pinterest-perfect garden here; we are just building small, functional systems that make our lives—and our planet—a little bit better. Now, go grab those scraps and get to work.
Frequently Asked Questions
How do I stop the bin from smelling like a literal landfill if I do it wrong?
Look, if your bin starts smelling like a landfill, don’t panic—it usually just means things are too wet or there’s not enough air. It’s a classic imbalance. The quick fix? Toss in a handful of “browns”—think shredded cardboard, dried leaves, or even old newspaper—to soak up that excess moisture. Give it a good stir to get some oxygen in there, too. Think of it as a quick reset rather than a total failure.
Do I really need to turn the pile all the time, or can I just let it sit?
Look, if you’re looking for a science experiment, turn it every few days. But if you just want compost? You can totally let it sit. It’ll take longer—think months instead of weeks—but it works. I usually aim for a quick stir once a week just to get some oxygen in there, but don’t let it become another chore on your to-do list. If it’s sitting, it’s still working. Just let it be.
Is there a way to keep the local critters—like raccoons or even just neighborhood cats—from treating my new bin like a buffet?
Ugh, the “uninvited guests” phase. I’ve definitely had a raccoon try to turn my bin into a midnight snack buffet before. Honestly, the best defense is a good latch. If you’re using a plastic bin, swap those flimsy clips for something heavy-duty or even a simple bungee cord. If you went the wooden route, just make sure your lid is weighted down or secured with a latch. It’s not about being airtight—they still need air—just make it a hassle for them to get in.
