I was sitting on my floor last Tuesday, surrounded by three different types of upholstery needles, a tangled mess of twine, and a mid-century armchair that looked more like a crime scene than a piece of furniture. My hands were covered in old foam dust, and I was staring at a YouTube tutorial that made the whole process look like a zen-like art form. Let’s be real: most guides on how to reupholster a chair act like you need a professional studio and a degree in textile engineering to get started. But here’s the truth I learned while scraping grit out of my floorboards: you don’t need a perfectly curated showroom finish to make a piece of furniture feel new again.
In this guide, I’m stripping away the intimidation factor and giving you the actual, gritty steps to get the job done. We aren’t aiming for museum-quality perfection here; we’re aiming for functional, beautiful, and doable on a real person’s schedule. I’ll walk you through choosing fabric that won’t drive you crazy, managing your tools without a massive investment, and how to handle those inevitable little lumps and bumps. Let’s stop letting good bones go to waste and actually start making things work for us.
Table of Contents
Guide Overview
Tools & Supplies
- Staple gun and staples for attaching fabric to wood
- Pliers for removing old staples and tack strips
- Scissors or fabric shears for cutting material
- Upholstery needle and heavy-duty thread for sewing cushions
- Mallet for securing trim or wooden components
- Upholstery fabric (2-4 yards depending on chair size)
- High-density foam (1-2 sheets)
- Batting/Dacron (1 roll to add volume and smoothness)
- Dust cover fabric (1 yard for the bottom of the chair)
- Decorative trim or nailhead trim (optional)
Step-by-Step Instructions
- 1. Before you even touch a staple gun, you need to strip the chair down to its bones. Carefully remove the old fabric, pulling it away in large sections rather than ripping it into tiny shreds. I know it looks like a disaster zone once the old stuff is off, but keep the old fabric and any foam pieces you find; they act as a makeshift template for how the new fabric should wrap around the frame.
- 2. Inspect the “skeleton” of your chair for any structural wobbles. If the wooden frame feels loose, this is your moment to grab some wood glue and a clamp to tighten things up before you commit to the new look. There’s no point in putting beautiful new velvet over a chair that’s going to creak every time you sit down.
- 3. Now, let’s talk about the padding. If your old foam is crumbling into orange dust (it happens to the best of us), it’s time to swap it out for something fresh. I usually go for a high-density foam, but if you’re on a budget, even a layer of polyester batting can work wonders to smooth out the edges and give it that soft, inviting feel.
- 4. Lay your new fabric out on a clean floor—make sure it’s flat and free of wrinkles—and place the chair seat right in the center. When you start pulling the fabric over the edges, don’t try to pull it perfectly tight everywhere at once. Instead, focus on securing the center points of each side first to ensure the tension is even before you move to the corners.
- 5. The corners are where most people lose their cool, but they’re actually the most important part. Don’t aim for “factory perfect”; aim for functional and neat. Fold the excess fabric into neat, tight pleats—think of it like wrapping a gift—and staple them down firmly. If a corner looks a little chunky, don’t panic; as long as it’s secure and doesn’t create a bump, you’re doing just fine.
- 6. Once you’ve stapled all the sides, go back through and do a “stress test.” Grab the fabric and give it a firm tug to make sure nothing is going to pop loose the first time you use it. If you see any gaps or loose bits, just add a few more staples. It’s all about building a system that lasts, even if the edges aren’t quite as straight as a magazine photo.
The Real World Inventory of Upholstery Tools and Supplies
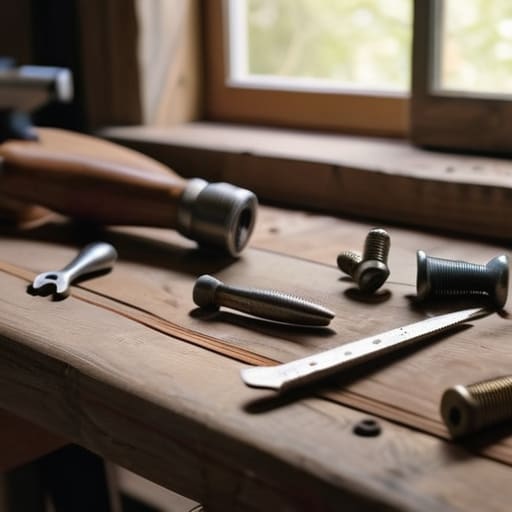
Before you dive in, let’s talk about what you actually need to have on your workbench. I’ve learned the hard way that nothing kills my momentum faster than being halfway through a project and realizing I’m missing a basic tool. You don’t need a professional workshop, but you do need a decent staple gun. When it comes to staple gun techniques for furniture, the key is having enough staples to keep things tight without jamming the mechanism every five minutes. I also highly recommend grabbing a heavy-duty seam ripper or a flat-head screwdriver; trust me, when you’re figuring out how to remove old chair fabric without splintering the wood, you’ll be glad you have them.
Don’t skimp on the guts of the chair, either. If the seat feels like sitting on a brick, it’s time for replacing chair foam and batting. I always suggest adding a fresh layer of polyester batting over your new foam; it softens the edges and gives you that professional, rounded look without the high-end price tag. Finally, keep a stash of heavy-duty upholstery thread on hand—the standard stuff in your sewing kit will snap the second you put any real tension on it.
Smart Fabric Selection for Upholstery That Actually Lasts
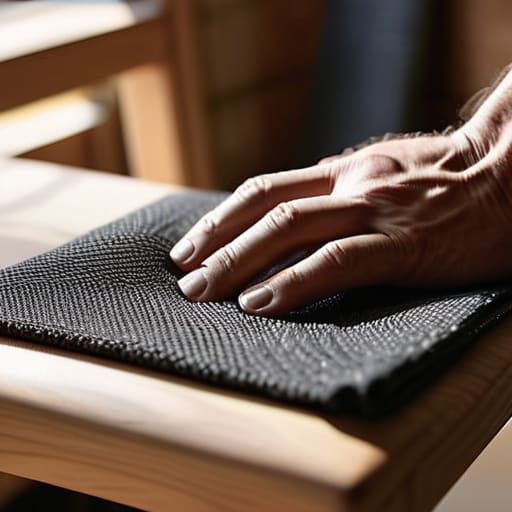
Look, I get the temptation to buy that gorgeous, high-end velvet you saw on Pinterest, but let’s get real: if you’re reupholstering a chair that’s going to live in a high-traffic dining nook or near a shedding dog, that fabric is going to look trashed in a month. When it comes to fabric selection for upholstery, you have to prioritize durability over pure aesthetics. I always tell people to check the “double rubs” on a fabric swatch; the higher the number, the better it handles the daily grind. If you’re working on a piece that gets heavy use, look for heavy weaves or performance fabrics that won’t pill the second you sit down.
Also, don’t forget that the fabric is only half the battle. If you’ve already gone through the hassle of how to remove old chair fabric and you’re staring at a worn-out seat, this is your golden opportunity to consider replacing chair foam and batting at the same time. It’s much easier to build a solid foundation now than to realize six months later that your beautiful new fabric is sagging over a hollowed-out cushion. Think about the long game—choose materials that can actually handle your real, messy, uncurated life.
Five Ways to Keep Your Sanity (And Your Chair) Intact
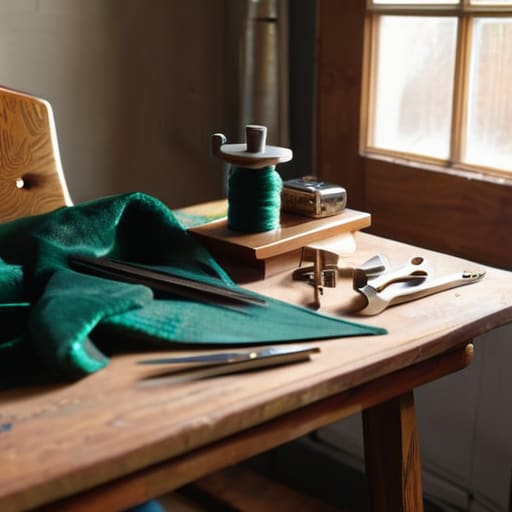
- Don’t toss the old fabric immediately. I know it looks like a shredded mess once you pull it off, but those old scraps are your literal roadmap for how the original maker tucked the corners and pulled the tension. Keep them in a pile until the job is done.
- Take way more photos than you think you need. Before you even touch a staple gun, snap pictures of the underside, the seams, and how the fabric meets the legs. Future-you will be so glad you have a visual guide when you’re staring at a pile of foam wondering where that one weird fold went.
- Work in small, manageable chunks. If you try to pull the entire fabric taut at once, you’re going to end up with a bunch of awkward wrinkles that no amount of tugging can fix. Do the center first, then work your way out to the edges in small, even increments.
- Embrace the “good enough” principle. If you’re staring at a tiny, microscopic wrinkle in a spot no one will ever see—like the very back of a dining chair—let it go. We’re aiming for a chair that looks great and feels solid, not a museum-grade masterpiece that leaves you exhausted.
- Test your staple gun before you commit. There is nothing more soul-crushing than getting halfway through a project only to realize your staples are too short or your gun is jamming. Do a few test shots on a scrap piece of wood first so you know your gear is actually up for the task.
The Philosophy of a Second Life
“Forget about chasing that pristine, showroom-floor finish; the real win is taking a piece of furniture that was headed for the curb and turning it into something that actually fits your life and holds your weight.”
Audrey Lin-McCallum
The Final Stitch
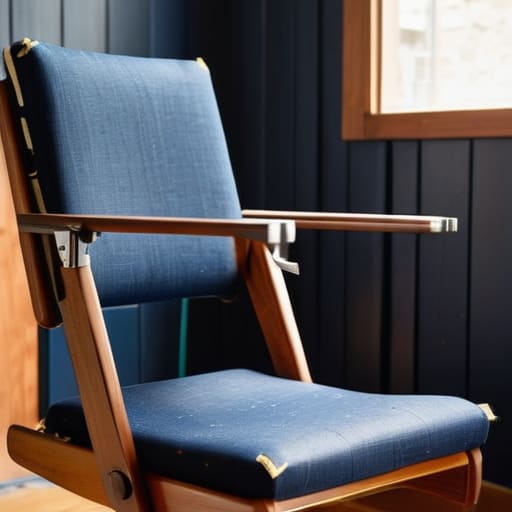
Look, if your chair isn’t going to end up in a high-end design magazine, please don’t let that stop you. You’ve gathered your tools, picked a fabric that can actually handle a Tuesday night takeout session, and navigated the messy reality of staples and foam. The most important thing to remember is that you don’t need a master craftsman’s precision to make something functional again. Whether your tension is slightly uneven or you have a rogue staple hiding in the corner, you’ve successfully taken something destined for a landfill and turned it into something that serves your life. It’s about the win of completion, not the pursuit of a flawless museum piece.
At the end of the day, this project is about more than just a seat in your living room; it’s about reclaiming a little bit of agency over your surroundings. We live in a world that constantly tells us to just buy the new, shiny version, but there is a quiet, massive satisfaction in saying, “I can fix this myself.” Don’t let the fear of a mistake keep you from starting. Once you sit down in that chair and realize you actually built this solution, you’ll realize that most of the overwhelm in adulthood can be tackled one small, manageable project at a time.
Frequently Asked Questions
I don't have a heavy-duty staple gun; can I actually get away with using a basic one from a hardware store kit?
Honestly? You can, but it’s going to be a bit of a workout. If you’re just tackling a small dining chair or a stool, a basic hardware store staple gun will get the job done. Just be prepared to use a little more muscle to ensure those staples seat deeply into the wood. If you find yourself struggling or the staples are just bending, don’t force it—that’s usually my cue to go grab a real tool.
How do I know if the foam underneath is actually dead and needs replacing, or if I can just pull a new fabric over the old stuff?
The “squeeze test” is your best friend here. Sit on the chair and press down firmly with your hands. If the foam feels springy and bounces back immediately, you’re golden to just swap the fabric. But if it feels crunchy, stays compressed, or you can literally feel the wooden frame underneath? That foam is dead. Don’t waste good fabric on a lumpy seat; grab a new slab of high-density foam instead.
What’s the best way to handle those tricky, rounded corners without the fabric bunching up and looking like a mess?
Honestly, those rounded corners are where most people want to throw in the towel, but they’re actually just a game of tension and tucking. The secret? Don’t try to pull the fabric tight across the whole curve at once. Work in small, radiating increments from the center outward. Think of it like pleating a skirt; make tiny, neat folds as you go. If you rush it, you’ll get those ugly bunches. Slow down, keep the tension even, and tuck those excess bits deep into the frame.
