I was sitting on my floor last Tuesday, staring at a gaping hole in my favorite vintage denim, wondering if it was finally time to just toss them in the donation bin. We’ve been conditioned to think that a loose thread or a tiny snag means a garment is officially dead, but that is such a waste of good fabric. Learning how to mend clothes isn’t about becoming a master seamstress or spending your entire weekend hunched over a sewing machine; it’s really just about extending the life of the things you actually love.
In this guide, I’m skipping the complicated embroidery tutorials and the expensive, specialized kits you’ll never use. Instead, I’m sharing the low-stress, realistic ways I handle repairs in my own tiny apartment using just a needle, some thread, and a bit of patience. We are going to cover the essential basics of how to mend clothes so you can fix those annoying little imperfections and get back to your actual life. It’s about building a wardrobe that is functional and durable, not one that is perfect for a social media feed.
Table of Contents
Guide Overview
Tools & Supplies
- Hand sewing needles of various sizes
- Fabric scissors for clean cuts
- Seam ripper for removing old threads
- All-purpose polyester thread in various colors
- Assorted fabric patches for holes
- Sewing notions kit containing pins and thimbles
Step-by-Step Instructions
- 1. First things first, grab your supplies. You don’t need a massive, professional sewing kit that takes up half your dresser; just find a needle, some thread that actually matches the color of your garment, and a pair of sharp scissors. If you’re dealing with a heavier fabric like denim, go ahead and grab a slightly thicker thread so you aren’t fighting it the whole time.
- 2. Turn your item inside out. I know, it feels counterintuitive, but you want to do all your heavy lifting on the back of the fabric. This ensures that if your stitching isn’t absolutely perfect, the messy part stays hidden against your skin instead of being front and center for the world to see.
- 3. If you’re dealing with a small hole or a fraying seam, start by knotting the end of your thread. Take your needle and thread it through the fabric from the wrong side to the right side. This “anchors” your work so you aren’t constantly worrying about the thread unraveling before you’ve even finished the first row.
- 4. For a basic hole, use a running stitch. This is just a simple up-and-down motion—think of it like a dashed line. Keep your stitches small and close together; if they’re too long, the repair will look wonky and might pull the fabric in weird directions. If you want something a bit sturdier for a spot that gets a lot of tension, try a backstitch, where you loop the thread back into the previous stitch to create a solid line.
- 5. If you’re mending a seam that has popped open, don’t just sew the two edges together blindly. Pin them in place first to make sure the garment still fits the way it should. There is nothing worse than fixing a seam only to realize you’ve accidentally shrunk the waistline by half an inch.
- 6. Once you’ve covered the damaged area, it’s time to tie it off. Bring your needle to the underside of the fabric one last time, pass it through the loop of your last stitch, and pull it tight to create a secure knot. Snip the excess thread with your scissors, leaving just a tiny bit of tail so the knot doesn’t slip out.
- 7. Finally, give the area a quick once-over. Smooth the fabric out with your hands to make sure there aren’t any weird puckers or bunches. If it looks okay and feels sturdy, you’re done. No need to spend three hours making it look like a piece of art—the goal here was functionality, and you nailed it.
Essential Sewing Kit Essentials for Busy Real Life Schedules
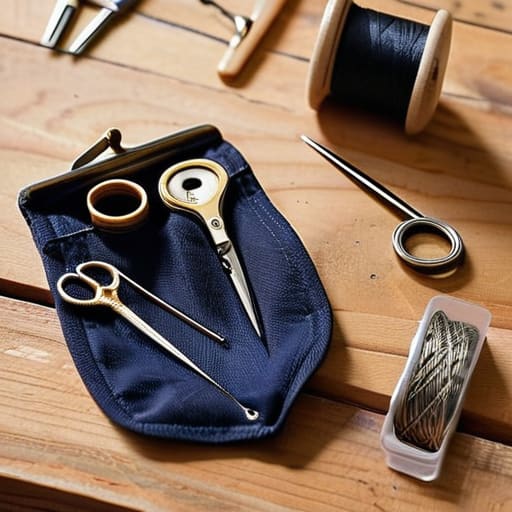
Look, I’m not telling you to go out and buy a floor-to-ceiling sewing cabinet or a professional-grade serger. If you’re anything like me, you probably just want to fix a loose hem before you head out the door. For a truly functional setup, focus on the sewing kit essentials that actually live in your bag or a small bin under the sink. You really only need a handful of high-quality needles, a few spools of versatile thread (black, white, and navy are my lifesavers), and a decent pair of small embroidery scissors. Keeping these items in one dedicated, portable pouch means you won’t spend twenty minutes hunting for a needle when you finally realize your favorite jeans have a tiny snag.
Beyond the basics, I always recommend keeping a small stash of fabric patch application scraps and some safety pins on hand for those “emergency only” moments. If you’re feeling a bit more adventurous, you can even lean into visible mending techniques by using contrasting thread colors to turn a tear into a design choice. It’s much more satisfying to embrace the character of a well-worn garment than to stress over a flaw that most people won’t even notice.
Mastering Needle and Thread Basics for Quick Fixes
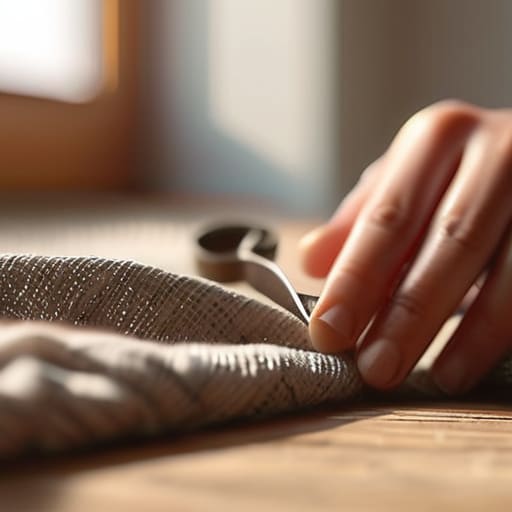
Honestly, the hardest part isn’t actually the sewing; it’s the mental hurdle of sitting down to do it. I used to look at a loose thread and think, that’s a three-hour project, when in reality, mastering a few needle and thread basics can turn that anxiety into a five-minute task. If you can learn to tie a decent knot and keep your tension even, you’re already halfway there. Don’t worry about making every stitch look like it came from a factory; the goal is stability, not perfection.
When you’re dealing with something more substantial, like a thinning heel in your favorite wool pair, don’t feel like you need to be a master tailor. Instead of getting intimidated, think of it as a simple repetitive motion. If you’re looking for a way to turn a flaw into a feature, you might eventually want to explore visible mending techniques, which use colorful threads to celebrate the repair rather than hiding it. But for now? Just focus on getting that thread through the eye and making sure the structural integrity is back. Small wins lead to better habits.
Five ways to keep your mending from becoming a whole thing
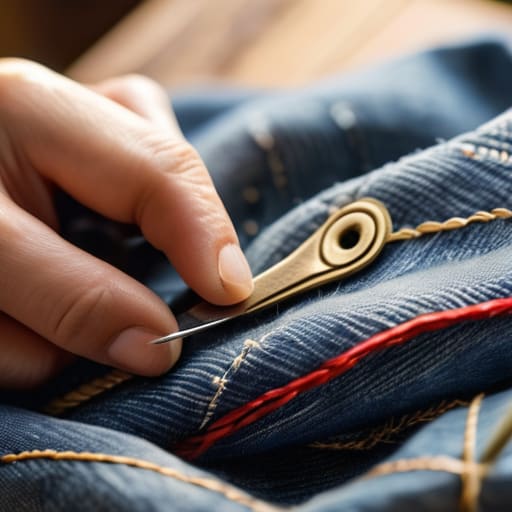
- Match your thread to the fabric, not the needle. It sounds obvious, but I’ve spent way too many afternoons staring at a seam that looks like a jagged scar because I grabbed the “close enough” navy blue instead of the exact shade.
- Don’t overthink the “perfect” stitch. If you’re just securing a loose button or closing a tiny gap in a seam, a quick, sturdy whipstitch is your best friend. It doesn’t need to look like it came from a boutique; it just needs to stay put.
- Use a scrap of fabric as a stabilizer. If you’re dealing with a hole in a thin t-shirt or a worn-out spot on a sweater, slide a small piece of matching fabric underneath before you start sewing. It gives you something to anchor to so you don’t accidentally make the hole bigger.
- Keep your mending station “grab-and-go.” I used to keep my sewing kit in a deep bin in the closet, which meant I never used it. Now, I keep my most-used needle, thread, and scissors in a small tin right on my desk. If it’s within arm’s reach, you’ll actually fix things.
- Embrace the “visible mend” when things are beyond a quick fix. If a hole is too big to hide, don’t stress about making it disappear. Use a contrasting thread color or a cool patch to turn the mistake into a design choice. It’s much more interesting than a boring, patched-up mess anyway.
## A Shift in Perspective
“Mending isn’t about preserving a museum piece; it’s about keeping your favorite things in rotation so you can stop stressing over a loose thread and get back to actually living your life.”
Audrey Lin-McCallum
The Beauty of a Quick Fix
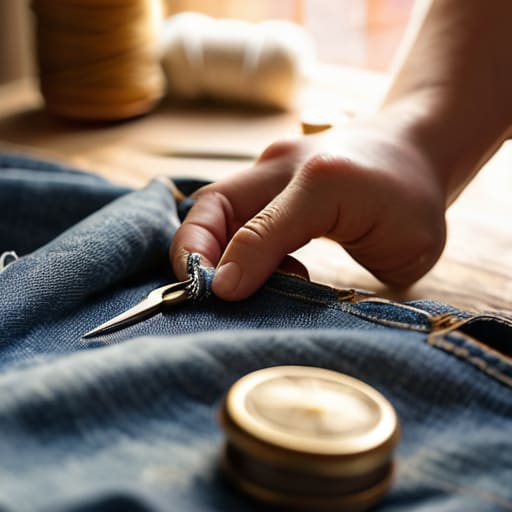
At the end of the day, mending isn’t about becoming a master tailor or spending your entire Saturday hunched over a sewing machine. It’s really just about having the right tools on hand—like that basic kit we talked about—and the confidence to tackle a loose button or a tiny snag before it turns into a disaster. Whether you’re using a simple running stitch to save a pair of jeans or just reinforcing a seam, the goal is to keep your clothes in rotation without the stress. Remember, the most functional wardrobe is the one you actually wear, not the one sitting pristine and untouched in a box because you’re afraid of a little wear and tear.
I know that when life gets loud and your to-do list is a mile long, picking up a needle might be the last thing on your mind. But there is something incredibly grounding about taking ten minutes to fix something with your own hands. It’s a small way to reclaim control and push back against that “throwaway” culture that makes us feel like everything is replaceable. Don’t aim for a flawless, invisible repair; just aim for something that works. You’re building habits that save you money, reduce waste, and make your daily life just a little bit smoother. You’ve got this.
Frequently Asked Questions
I don't have a sewing machine; can I really get decent results using just a needle and thread?
Honestly? Absolutely. I’ve spent more time mending things by hand at my kitchen table than I ever have sitting in front of a sewing machine. A machine is great for heavy-duty projects, but for a loose button, a small tear, or a fraying hem, a needle and thread are actually much more precise. It’s less intimidating, takes up zero extra space, and honestly, sometimes the hand-stitched look just feels more intentional.
How do I know if a tear is actually fixable or if I should just admit defeat and donate the item?
Look, I’ve been there—staring at a hole in a sweater wondering if it’s worth my Saturday. My rule of thumb? Check the fabric integrity. If the tear is clean and the surrounding material is still strong, it’s a go. But if the fabric is thinning everywhere or looks like it’s literally disintegrating, let it go. Don’t waste your energy fighting a losing battle; just donate it and clear the mental clutter.
What’s the best way to hide a patch or a mend so it doesn't look like a giant, obvious eyesore on my clothes?
Look, I get it. Sometimes you just want the fix to disappear. If you’re dealing with a small hole, try “invisible mending” by weaving thread through the existing fabric fibers—it’s tedious, but it works. If that’s too much, lean into the “visible mending” trend. Use a contrasting thread color or a cool embroidery patch. Instead of fighting the repair, make it look like a deliberate design choice. Honestly, a tiny bit of flair beats a messy, obvious stitch every time.
