There I was, sitting on my bathroom floor at 11:00 PM, staring at a puddle of water and listening to that rhythmic, maddening drip… drip… drip… that felt like it was drilling directly into my brain. I was convinced I’d have to call an expensive plumber or, worse, replace the entire fixture because I didn’t have a professional workshop. But here’s the thing: you don’t need a master’s degree in plumbing to figure out how to fix a leaky faucet. Most of the time, it’s just a tired washer or a loose screw, and treating it like a catastrophic home failure is exactly what makes DIY feel so overwhelming.
I’m not here to give you a lecture on high-end plumbing or suggest you buy a thousand-dollar toolkit. Instead, I want to show you how to tackle this with the basic tools you likely already have in your junk drawer. We’re going to walk through the actual, no-nonsense steps to identify the source of the leak and shut it down for good. My goal is to get that annoying sound to stop so you can finally get some peace and quiet without breaking your budget.
Table of Contents
Guide Overview
Tools & Supplies
- Adjustable wrench for loosening nuts
- Screwdriver (Phillips or flathead) for removing handles
- Allen wrench for removing set screws
- Replacement washers or O-rings (1 set)
- Plumber's grease (1 small tube)
Step-by-Step Instructions
- 1. First things first: shut off the water. I know, it sounds obvious, but there is nothing quite as soul-crushing as a DIY project turning into an unexpected indoor pool. Look under your sink for the shut-off valves—they usually look like small silver knobs—and turn them clockwise until they stop. Once you’ve done that, turn the faucet on to drain the remaining pressure and make sure nothing is still trickling.
- 2. Grab a towel and plug the drain. This is a tiny step that saves a massive headache later. If you drop a tiny screw or a washer down the drain, your afternoon just went from “quick fix” to “calling a plumber.” I always toss a washcloth over the drain before I start taking things apart, just so I have a safety net.
- 3. Time to get surgical. Using an adjustable wrench or a screwdriver (depending on your faucet style), carefully remove the handle. If your faucet has a decorative cap on top, you might need to pop it off with a flathead screwdriver first to reveal the screw underneath. Just be gentle; you aren’t trying to break the hardware, you’re just trying to get to the guts of the thing.
- 4. Inspect the cartridge or the stem. Once the handle is off, you’ll see the internal mechanism—this is usually where the culprit lives. If you have a single-handle faucet, you’re likely looking at a cartridge. If it’s a double-handle, it’s probably a stem with a rubber washer at the bottom. Look for cracks, mineral buildup, or worn-out rubber that looks like it’s seen better days.
- 5. Swap out the old parts for new ones. This is where my “multi-tool and notebook” habit comes in handy. I highly recommend taking the old part with you to the hardware store. Don’t try to guess the size based on a photo; “close enough” doesn’t work when you’re trying to stop a leak. Just match the old one exactly to the new one so the fit is seamless.
- 6. Reassemble everything in reverse order. Put the stem or cartridge back in, tighten the packing nut (but please don’t over-tighten it—you don’t want to crack the housing), and pop the handle back on. It’s tempting to rush this part, but taking an extra thirty seconds to make sure everything is seated correctly will save you from having to do this all over again tomorrow.
- 7. The moment of truth: turn the water back on. Go back under the sink, slowly turn the valves counter-clockwise, and then test your handiwork. Turn the faucet on and off a few times to clear out any air in the lines. If it stays dry and silent, you’ve officially won your afternoon back.
Identifying Common Causes of Leaking Faucets Without the Stress
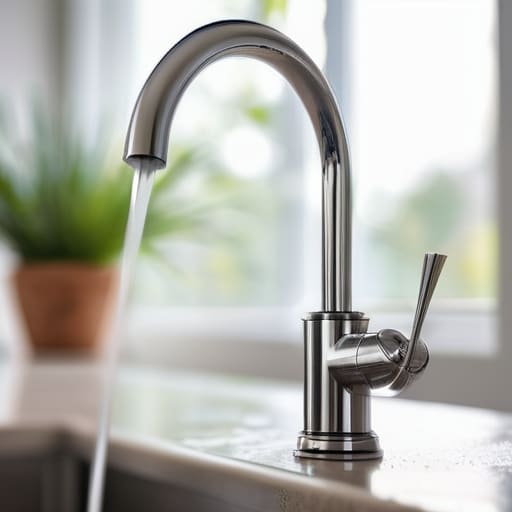
Before you dive into the actual repair, take a second to actually listen to what your sink is telling you. Most people assume they need a full overhaul, but the common causes of leaking faucets are usually much simpler—and cheaper—than you think. If the water is coming from the spout itself, you’re likely looking at a worn-out washer or a faulty cartridge. However, if it’s seeping out from around the handles, the culprit is probably a loose O-ring or a degraded seal. Identifying which part is acting up before you start tearing things apart will save you a massive headache (and a lot of unnecessary trips to the hardware store).
Don’t let the internal mechanics intimidate you. If you have a single-handle model, you’ll probably be doing some cartridge faucet troubleshooting to find the leak. It’s basically just a matter of isolating the moving parts. I always keep a small kit of basic plumbing tools for faucet repair in my utility drawer, mostly because having the right wrench on hand prevents that frantic “where is the screwdriver?” dance. Once you know whether you need to replace a tiny rubber piece or the entire cartridge, the actual work feels a lot more like a manageable task and less like a plumbing emergency.
The Essential Plumbing Tools for Faucet Repair You Actually Need
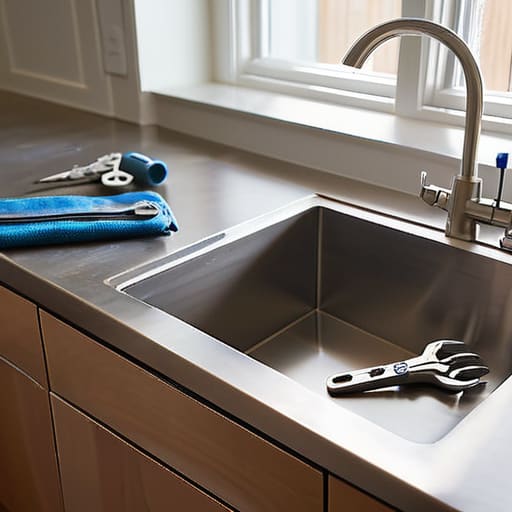
Before you dive in, let’s talk gear. I’ve learned the hard way that showing up to a repair job with just a butter knife is a recipe for a flooded kitchen. You don’t need a professional-grade workshop, but you do need a few reliable plumbing tools for faucet repair to avoid stripping screws or scratching your finish. At a minimum, grab a good adjustable wrench, a set of screwdrivers (both Phillips and flathead), and some needle-nose pliers. If you’re dealing with more complex cartridge faucet troubleshooting, having a specialized cartridge puller can save you a massive amount of frustration and prevent you from breaking something internal.
I also highly recommend keeping a small tub of plumber’s grease and some extra O-rings in your kit. Most of the time, you aren’t looking for a total overhaul; you just need to replace faucet washer components or reseal a connection that’s gone dry. Trust me, having these little bits on hand turns a potential two-hour ordeal into a quick thirty-minute fix. It’s all about being prepared so you can stop the drip and get back to your actual life.
Five Pro-Tips to Keep Your Sanity (and Your Sink) Intact
- Shut off the water before you even think about touching a wrench. I know, it sounds obvious, but there is nothing quite as humbling—or as soaking wet—as realizing you forgot to turn the valve under the sink and turning your bathroom into a mini indoor pool.
- Take photos of everything as you take it apart. I’m a big believer in “documenting the chaos.” When you’re staring at a pile of tiny washers and springs ten minutes later, a quick glance at your phone will save you from the “where does this piece go?” panic.
- Don’t go overboard with the expensive specialty tools. Most of the time, a decent adjustable wrench and a screwdriver are all you need. Save your money for better coffee or a new plant; you don’t need a professional plumber’s entire toolkit for a simple washer swap.
- Clean the “gunk” while you’re in there. Since you’ve already gone through the effort of dismantling the faucet, take a minute to wipe away any mineral buildup or lime scale. It’s a tiny bit of extra work now that prevents a massive headache later.
- Test it slowly. Once you think you’ve fixed it, turn the water back on gradually. Don’t just crank it wide open and hope for the best. Give it a slow introduction to the pressure so you can catch any lingering drips before you call it a day.
The Real Goal of a Quick Fix
“We aren’t trying to win a home renovation award here; we’re just trying to reclaim our peace of mind and stop that constant, rhythmic dripping from driving us crazy.”
Audrey Lin-McCallum
You’ve Got This
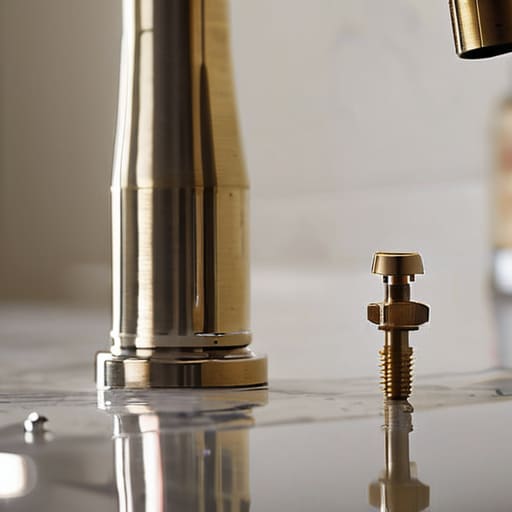
So, there you have it. We’ve gone from that annoying, rhythmic drip driving you crazy to a faucet that actually behaves. We identified the culprit—whether it was a worn-out washer or a faulty cartridge—gathered the few tools that actually mattered, and walked through the fix without needing a degree in civil engineering. It’s easy to let these little household annoyances pile up until they feel like a mountain of “adulting” failures, but remember: most of the time, it’s just a matter of swapping out a tiny part and giving yourself a little credit for tackling it.
At the end of the day, I don’t care if your toolbox is mismatched or if you had to wipe a bit of grease off your forehead to get the job done. What matters is that you stepped up, faced a problem, and solved it on your own terms. We aren’t aiming for a showroom-perfect life; we are just aiming for a life that works for us. Take that win, enjoy the sudden silence of a dry sink, and maybe treat yourself to a decent cup of coffee. You’ve earned it.
Frequently Asked Questions
I’ve already replaced the washer, so why is it still dripping?
Ugh, the “I fixed it but it’s still dripping” phase. I’ve been there, usually standing over a puddle at 10 PM. If the washer didn’t do the trick, you’re likely looking at a worn-out O-ring or a corroded valve seat. Sometimes, tiny bits of grit get trapped during the repair, preventing a clean seal. Don’t panic—it doesn’t mean you failed; it just means the hardware is being stubborn. Let’s dig a little deeper.
Is it worth trying to fix this myself, or am I about to flood my kitchen and need a professional?
Look, I get it—the fear of turning a tiny drip into a kitchen indoor pool is real. If it’s just a worn-out washer or a loose handle, you can absolutely handle it. But if you see water spraying from inside the wall or if the shut-off valves won’t budge, stop. Call a pro. Don’t let a $50 DIY attempt turn into a $2,000 plumbing nightmare just to save a few bucks.
Do I really need to turn off the main water valve, or can I just shut it off under the sink?
Honestly, try the shut-off valves under the sink first. It’s much less of a headache than hunting down the main valve and draining half the house. Just give those little knobs a firm turn clockwise. If they feel stuck or—heaven forbid—they start leaking when you touch them, stop immediately. That’s your cue to head to the main valve. Better to be safe than to turn a quick fix into a mini flood.
