I was standing in my tiny kitchen last Tuesday, staring at a mountain of expensive soy wax flakes and a thermometer that seemed to be judging my every life choice, wondering why I had ever thought DIY hobbyist life would be so aesthetic. I had spent forty dollars on supplies only to end up with a lumpy, scentless mess that looked more like a science experiment gone wrong than a cozy centerpiece. If you’ve ever felt like you need a professional laboratory just to figure out how to make candles that actually smell like something, trust me, I’ve been there. The truth is, most tutorials make this process look like a high-stakes chemistry exam, but it doesn’t have to be that way.
In this guide, I’m stripping away the fluff and the intimidating jargon to give you a system that actually works in a real-world kitchen. We aren’t aiming for Pinterest-perfect perfection here; we are aiming for functional, fragrant results that won’t leave your countertops covered in wax sludge. I’ll walk you through the essential gear, the temperature tricks that actually matter, and how to manage your scent loads without losing your mind. Let’s get into a process that fits into your schedule and actually works.
Table of Contents
- Step-by-Step Instructions
- Smart Candle Making for Beginners Skipping the Aesthetic Perfection
- Curating Essential Soy Wax Candle Making Supplies Without the Clutter
- Five Ways to Keep Your Candle Making From Becoming a Second Full-Time Job
- Forget the Pinterest Perfection
- The Messy, Beautiful Reality of Your First Batch
- Frequently Asked Questions
Guide Overview
Tools & Supplies
- Double boiler or heat-proof bowl for melting wax
- Thermometer to monitor temperature
- Pouring pitcher for easy handling
- Heat gun or lighter for smoothing tops
- Soy or paraffin wax (1-2 lbs)
- Candle wicks with metal tabs
- Fragrance oils (essential or synthetic)
- Candle jars or tins
- Wick centering tools or clothespins
Step-by-Step Instructions
- 1. First things first, let’s talk gear. You don’t need a professional laboratory, but you do need a few basics: soy wax flakes (they’re much more forgiving than paraffin), some cotton wicks, a couple of heat-safe glass jars, and a thermometer. I always keep a dedicated pouring pitcher in my kitchen specifically for this, because let’s be honest, nobody wants to scrub scented wax out of their everyday pasta pot.
- 2. Grab your wax and get it melting. Use a double boiler setup—basically a smaller pot inside a larger one filled with water—to keep the heat even. You want to melt the wax slowly; if you rush it with high heat, you risk scorching the wax or creating a messy, uneven burn later on. Just keep an eye on it and let it do its thing while you tidy up your workspace.
- 3. Once the wax is completely liquid and clear, pull it off the heat and let it cool down just a bit. This is where the thermometer comes in handy. You’re looking for a specific window to add your fragrance oils—usually around 185°F (85°C). If you add the scent while the wax is too hot, the fragrance can actually “burn off,” leaving you with a candle that smells like absolutely nothing once it’s lit.
- 4. While the wax is cooling slightly, prep your jars. This is the part people usually skip, but it’s the secret to a candle that doesn’t look wonky. Take your wicks and use a tiny bit of hot glue or a wick sticker to secure them to the exact center of the jar bottom. I like to use a clothespin or a popsicle stick across the top of the jar to hold the wick upright and centered while the wax sets.
- 5. Now comes the fun part: the pour. Slowly pour your scented wax into the jars, leaving about half an inch of space at the top. Don’t go too fast, or you’ll trap air bubbles in the wax, which leads to those annoying little holes on the surface. If you see a bubble, don’t panic; you can usually smooth it out with a hair dryer on a low setting once it starts to solidify.
- 6. Patience is a virtue, especially here. Let your candles sit undisturbed at room temperature for at least 24 hours. I know, I know, you want to light them immediately to see if they smell good, but if you cut this short, the wax won’t set properly and you’ll end up with a warped, cratered surface. Cover them loosely with a piece of cardboard if you have pets or kids who might bump the table.
- 7. Finally, trim those wicks. Once the wax is fully hard, snip the wick so it’s about a quarter-inch long. If the wick is too long, the flame will be huge and smoky; if it’s too short, it’ll drown in the wax. Once they’re trimmed, you’re officially in the business of making your own atmosphere, and honestly, that’s a pretty great feeling.
Smart Candle Making for Beginners Skipping the Aesthetic Perfection
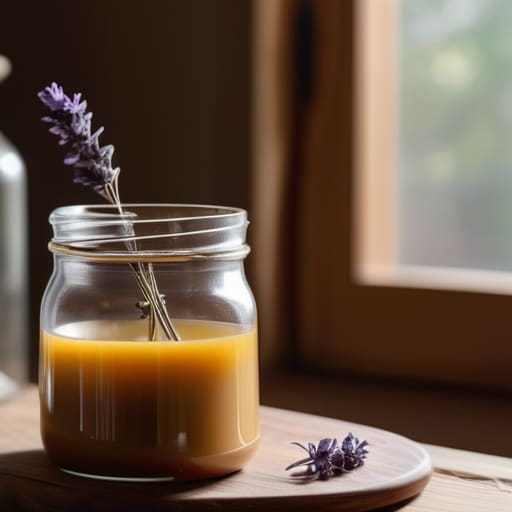
Look, I’ve seen those Pinterest boards where every candle looks like a piece of high-end sculpture, and honestly? It’s exhausting. If you’re just starting out, please don’t let the fear of a slightly uneven surface stop you from trying. When I first dove into candle making for beginners, I spent way too much time worrying about microscopic bubbles. In reality, a candle that smells amazing and burns evenly is a massive win. Focus on the function first: get your containers clean, your wicks centered, and your scent ratios right.
If you want to keep things simple, I highly recommend investing in quality soy wax candle making supplies rather than trying to DIY every single component from scratch. It’s much more forgiving for a busy schedule. Also, don’t feel like you need a laboratory-grade setup to get a decent scent throw. While some people swear by complex fragrance oils, I’ve found that using high-quality essential oils for scented candles gives you a much cleaner, more grounding vibe in your home without the chemical headache. Just aim for consistency, not perfection.
Curating Essential Soy Wax Candle Making Supplies Without the Clutter
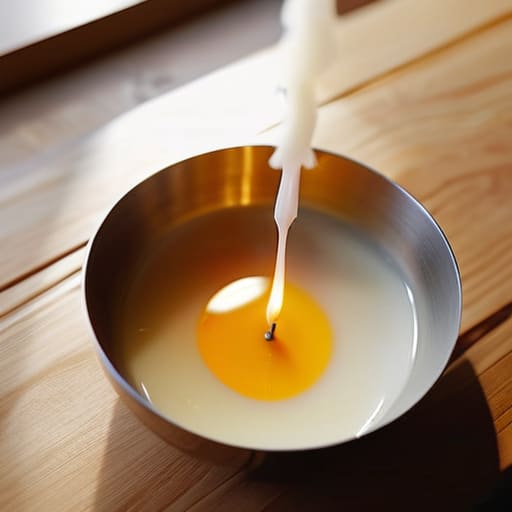
When you first start looking into candle making for beginners, it’s incredibly easy to fall into the trap of buying every single gadget on the market. I’ve been there—staring at a cart full of specialized thermometers and fancy pouring pitchers, wondering if I actually need them. Trust me, you don’t. To keep your workspace from becoming a cluttered mess, I recommend sticking to a “minimalist kit” approach. You really only need a reliable double boiler (or even just a heat-safe bowl over a pot of simmering water), a basic scale, and a decent thermometer. Everything else is just noise until you’ve mastered the basics.
When it comes to your actual soy wax candle making supplies, quality matters more than quantity. Instead of hoarding ten different scents, invest in a few high-quality essential oils for scented candles that you actually enjoy breathing in. For wicks, don’t overthink it; just find a few reliable cotton options that suit your jar sizes. My rule of thumb is to buy only what you can use in your next three batches. This keeps your supplies fresh, your budget intact, and your kitchen counters clear enough to actually make dinner later.
Five Ways to Keep Your Candle Making From Becoming a Second Full-Time Job
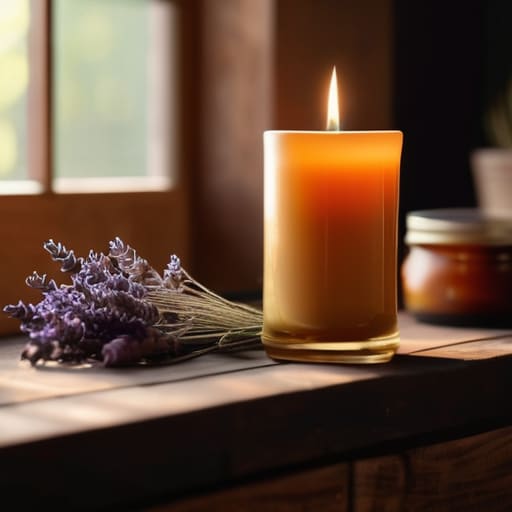
- Don’t go overboard with the scents; pick two or three versatile essential oils or fragrance oils that actually play nice together so you aren’t left with a cupboard full of half-used bottles you’ll never touch again.
- Embrace the “good enough” pour. If your candle surface looks a little wavy or uneven, don’t panic—just wait for it to set, and if it really bugs you, a quick pass with a hair dryer can smooth things right out.
- Keep your testing phase realistic. Instead of trying to make twenty different versions, just make one or two “test batches” to see how the wick actually burns in your specific space before you commit to a big production run.
- Use what you already have for containers. You don’t need to buy a dedicated set of expensive glass jars; old thrifted teacups or even sturdy mason jars work perfectly and add a bit of character without the extra clutter.
- Set up a dedicated “mess zone” rather than a dedicated “craft room.” A simple silicone mat on your kitchen counter means you can set up, make your batch, and clean it all away in twenty minutes without feeling like you’ve taken over your entire living space.
Forget the Pinterest Perfection
“At the end of the day, a candle doesn’t need to look like a piece of sculptural art to do its job; if it smells good and burns evenly without setting your kitchen on fire, you’ve already won.”
Audrey Lin-McCallum
The Messy, Beautiful Reality of Your First Batch
At the end of the day, making candles isn’t about achieving that flawless, Pinterest-perfect finish that looks like it belongs in a high-end boutique. It’s about having a functional system in your kitchen that allows you to create something soothing without losing your mind in the process. We’ve covered how to source only the essentials so your counters aren’t buried in clutter, and how to prioritize a steady pour over obsessive temperature tracking. If your first few attempts have a little bit of unevenness or a slightly off-center wick, don’t sweat it. You’ve successfully built a new skill and a way to brighten your space using nothing more than a few smart, manageable steps.
As you light that first candle and watch the flame flicker, I want you to remember that the goal here was never perfection—it was agency. You took a chaotic pile of raw materials and turned them into something that actually serves your home and your mood. Life is already complicated enough; your hobbies shouldn’t add to the overwhelm. Instead, let these small, DIY wins be a reminder that you can build a life that works for you, one small, fragrant project at a time. Now, go enjoy that scent and maybe leave the cleaning for tomorrow.
Frequently Asked Questions
I tried making a soy candle but it has a weird white film on top; did I mess up the temperature or is that just normal?
Don’t panic—you didn’t ruin it! That white film is actually just “frosting,” and it’s incredibly common with soy wax. It’s not a flaw; it’s just the wax crystals deciding to show off. It usually happens because the temperature dropped a bit too fast or the wax was slightly too cool when you poured. If it bothers you, you can gently smooth it with a hairdryer, but honestly? It’s perfectly functional.
Do I really need to buy those fancy fragrance oils, or can I get away with using essential oils from my kitchen cabinet?
Honestly? You can definitely try with essential oils, but it’s a bit of a balancing act. Kitchen oils are great for a subtle, natural vibe, but they don’t always play nice with wax—sometimes they just vanish the moment you light the wick. If you want a scent that actually fills the room without you having to hover over it, a decent fragrance oil is worth the small investment. Just don’t feel pressured to buy the expensive stuff.
How do I clean up the leftover wax without completely ruining my favorite saucepan or spending an hour scrubbing?
Don’t go straight for the scrub brush; you’ll just end up frustrated and covered in wax. Instead, while the pan is still slightly warm, pour in some hot water and a squirt of dish soap. Let it sit for a bit so the wax melts and floats to the top. Once it cools, you can just pour the hardened layer into the bin. It’s way faster than fighting a sticky mess for an hour.
