I was standing in my tiny bathroom last Tuesday, staring at a peeling, blackened strip of sealant around the tub, feeling that familiar wave of “adulting overwhelm.” I had this vision of a perfectly smooth, professional-grade bead that looked like it belonged in a luxury showroom, but let’s be real: I was just trying to stop the water from seeping into my floorboards. Most people think you need a steady hand like a surgeon to master how to caulk, but that is a total myth. You don’t need a pristine, Pinterest-perfect line to have a home that actually works; you just need a seal that keeps the moisture where it belongs.
In this guide, I’m stripping away the intimidation factor and giving you the actual, unvarnished way to get the job done. We aren’t going to obsess over making it look like a work of art; instead, I’ll show you how to pick the right stuff, prep your space without losing your mind, and apply it so it stays put. This is about functional maintenance, not a curated aesthetic. By the time we’re done, you’ll have a waterproof space and the confidence to tackle the next little leak that pops up.
Table of Contents
Guide Overview
Tools & Supplies
- Caulking gun to apply the sealant
- Caulk removal tool or utility knife to strip old material
- Wet rag or paper towels to clean up excess
- Caulk tube (silicone or acrylic) 1-2 tubes
- Painter's tape to ensure clean lines
Step-by-Step Instructions
- 1. First things first, you have to clear out the old stuff. If you’re trying to lay new caulk over old, peeling, or moldy bits, it’s going to fail, and you’ll be doing this all over again in three months. Grab a utility knife or a specialized caulk removal tool and carefully scrape out the old bead. I know it’s tedious, but a clean surface is the only way to ensure the new stuff actually sticks.
- 2. Once the old gunk is out, you need to clean the area like it’s your job. Use a bit of rubbing alcohol or a mild cleaner to get rid of any leftover residue, soap scum, or oils. If the surface isn’t completely dry and spotless, the new caulk will just bead up and peel away like a bad sunburn. Give it a few minutes to air dry before you move on.
- 3. Now, let’s talk about the prep work. Take your caulk tube and cut the tip at a very slight angle. I used to cut huge holes in these things thinking it would make it easier, but it actually just makes a massive, uncontrollable mess. A smaller hole gives you much better control, which is exactly what you want when you’re trying to navigate a tight corner.
- 4. Hold your caulk gun at a 45-degree angle and apply steady, even pressure as you move along the gap. Don’t try to do the whole room in one go; just focus on one continuous line at a time. If you hesitate or stop mid-way, you’ll end up with those awkward bumps that look like little mountains, and trust me, those are a pain to fix later.
- 5. This is the part where most people panic, but don’t. Once you’ve laid the bead, take a damp finger or a dedicated caulking tool to smooth it out. I usually just use my finger with a little bit of soapy water, but if you’re working with silicone, a quick swipe with a wet sponge works wonders. You aren’t trying to create a professional-grade sculpture here; you’re just leveling it out so it looks neat and stays sealed.
- 6. Finally, the hardest part: leave it alone. Most caulks need anywhere from 24 to 48 hours to fully cure before they can handle water or heavy use. I know it’s tempting to go in and “check on it” after an hour, but resist the urge. Let the chemistry do its thing so your hard work actually lasts.
The Right Gear Essential Caulking Tools and Materials
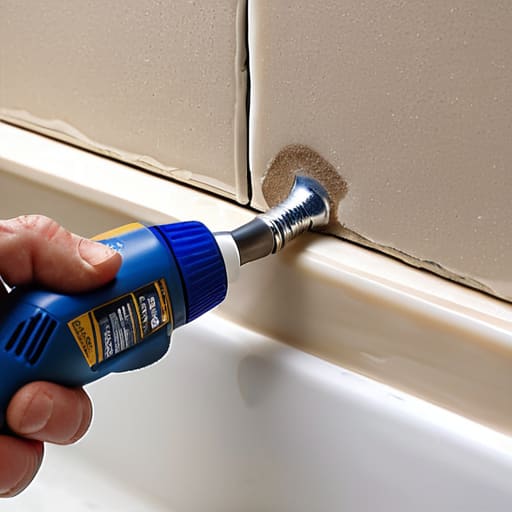
Before you even squeeze a single drop of sealant, let’s talk about the stuff that actually makes or breaks the job. I used to think I could just grab whatever tube was on sale, but I quickly learned that knowing your silicone vs acrylic caulk is the difference between a job that lasts years and one that peels off in a month. If you’re tackling wet areas like caulking bathtub seams, go with silicone—it’s waterproof and flexible. If you’re just filling a small gap in baseboards where you might want to paint over it later, acrylic is your best friend.
As for the hardware, please don’t try to DIY this with a cheap, flimsy applicator. A decent caulk gun makes a massive difference in how much control you have; if the pressure is inconsistent, your lines are going to look like a toddler drew them. You’ll also want a few utility knives for removing old caulk and a small bucket of soapy water. Trust me, having a wet finger or a dedicated smoothing tool ready to go is the secret to smoothing caulk bead without making a massive, sticky mess of your countertops.
Choosing Your Weapon Silicone vs Acrylic Caulk
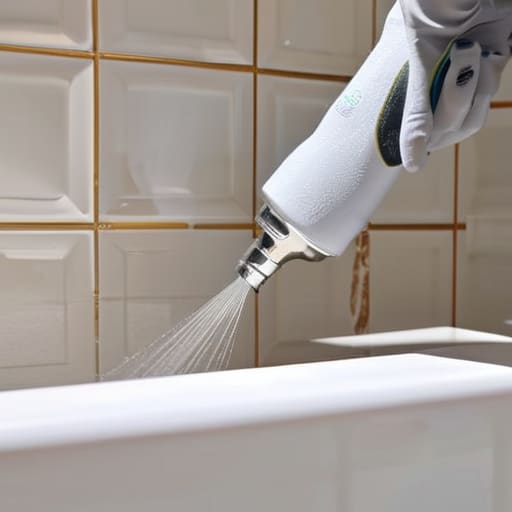
This is where most people freeze up at the hardware store, staring at a wall of tubes feeling completely overwhelmed. Here’s the lowdown: the choice between silicone vs acrylic caulk really just comes down to where the moisture is going to live. If you’re tackling a project like caulking bathtub seams or anything near a shower, you want silicone. It’s waterproof, flexible, and won’t crack when your house shifts slightly, though it can be a little more finicky to work with if you aren’t careful.
Acrylic, on the other hand, is much more forgiving for “dry” areas. If you’re caulking window gaps or baseboards, acrylic is your best friend because it’s easier to clean up and you can even paint over it once it dries. I usually opt for acrylic for my trim because I actually care about the color matching. Just remember, if you’re dealing with a wet zone, don’t settle for acrylic—you’ll be back to removing old caulk and starting over in six months when the mold moves in.
Pro-Tips for When You’re Definitely Not a Professional
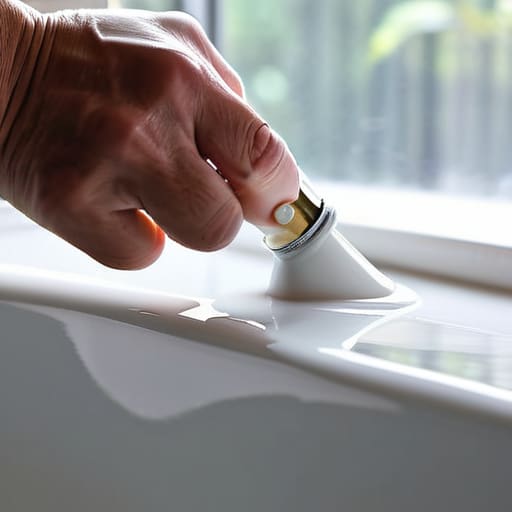
- Clean the old stuff out first. I know, it’s tedious, but if you try to layer new caulk over old, crusty residue, it’s going to peel off in a week and you’ll be doing this all over again. Grab a putty knife or even just a screwdriver and get that surface smooth.
- Don’t skip the painter’s tape if you’re nervous. If you aren’t confident in your steady hand, lay down two strips of tape—one on each side of the gap—leaving just the space for the caulk in the middle. It’s a total lifesaver for keeping things looking clean without the stress.
- Use a wet finger to smooth it out. This is the oldest trick in the book for a reason. After you run the bead, dip your finger in a little bit of soapy water and lightly glide it over the line. It helps the caulk settle into the gap and gives it a much smoother finish than trying to do it dry.
- Work in small sections. Don’t try to caulk your entire bathtub in one go thinking you’re a hero. You’ll end up with a giant, half-dried mess. Just do one small stretch at a time so you actually have time to smooth it before it starts to skin over.
- Keep a bucket of cleaning water nearby. You will get caulk on things you didn’t intend to, and once it dries, it’s a nightmare to scrub off. Having a damp rag ready to wipe away your mistakes immediately makes the whole process way less frantic.
## The Perfectionist’s Trap
“Look, if you spend three hours trying to make a bead of caulk look like a professional architectural installation, you’re going to burn out before you even finish the sink. Focus on the seal, not the symmetry; a slightly wonky line that actually keeps the water out is a million times better than a beautiful line that lets your floor rot.”
Audrey Lin-McCallum
Done is Better Than Perfect
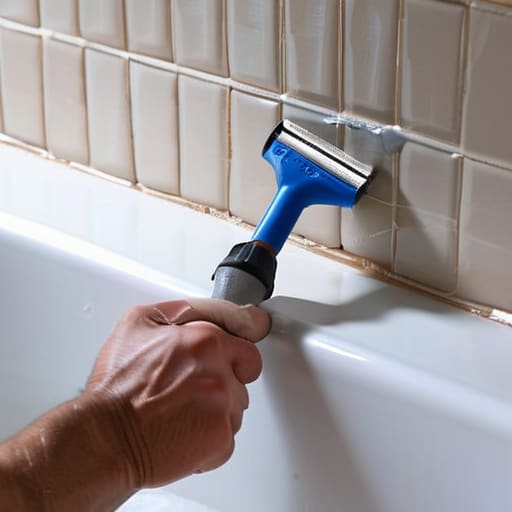
At the end of the day, you’ve done the hard part. You picked the right material, gathered your tools, and actually faced that messy gap in your backsplash or tub. Whether you opted for the flexibility of silicone or the easy cleanup of acrylic, the goal was the same: preventing water from turning your home into a DIY disaster zone. If your line isn’t a perfectly straight, professional-grade masterpiece, don’t sweat it. As long as the seal is tight and the gap is covered, you have successfully upgraded your space’s functionality and protected your investment.
I know that staring at a half-finished project can feel a little overwhelming, especially when you’re trying to squeeze home maintenance into a busy week. But remember, these small, tactical wins are exactly how we keep our lives from feeling chaotic. You didn’t just fix a crack; you built a better system for your home. Take a step back, grab a coffee, and appreciate the fact that you tackled something real today. Life is messy, but your home doesn’t have to be leaky, and that is a massive win in my book.
Frequently Asked Questions
Can I caulk over old, crusty caulk, or do I absolutely have to scrape it all off first?
Look, I get the temptation to just layer new stuff over the old to save time, but please—don’t do it. If you caulk over crusty, peeling mess, the new layer won’t actually bond to the surface. It’ll just peel off in a big, sad sheet within a few weeks. It’s frustrating, I know, but take the extra twenty minutes to scrape it down. A clean surface is the only way to make this stick.
What’s the move if I mess up the first pass and make a total disaster of the line?
First, take a deep breath. You haven’t ruined your life, and you haven’t ruined your bathroom. If the line looks like a jagged mountain range, don’t try to “fix” it by adding more caulk on top—that just creates a gummy, thick mess. Grab a putty knife or a damp rag and scrape the excess away while it’s still wet. If it’s already dried, just peel it off and start fresh. Better a clean restart than a permanent eyesore.
How long do I actually have to wait before I can get it wet or use the shower again?
The short answer? Check the tube. I know, I know—reading fine print is the last thing anyone wants to do mid-project—but every brand has a different cure time. Most silicone will be fine in 24 hours, but if you’re in a rush, look for “quick-dry” options. Just please, for the love of your sanity, don’t test it by jumping in the shower after two hours. If it isn’t fully cured, you’re just creating a soggy, expensive mess.
