I was sitting on my floor last Tuesday, staring at a gaping hole in my favorite vintage Levi’s, feeling that familiar wave of “adulting” defeat. Most people will tell you that once the denim starts fraying at the inner thigh or blowing out at the knee, it’s officially time to head to the thrift store for a replacement. But honestly? That’s just a waste of good fabric and money. Learning how to patch jeans isn’t about turning your clothes into a high-fashion embroidery project; it’s about making things work so you can keep wearing what you love without feeling like you’re wearing a costume.
In this guide, I’m stripping away the complicated sewing jargon and the “perfectly curated” DIY aesthetics that make most tutorials feel intimidating. I’m going to show you a few pragmatic, low-effort ways to fix those holes using stuff you probably already have in a junk drawer or a scrap bin. We aren’t aiming for invisible repairs here—we’re aiming for functional fixes that actually hold up to real life. Let’s get your favorite pair back in rotation without spending a fortune or losing your entire afternoon to a sewing machine.
Table of Contents
Guide Overview
Tools & Supplies
- Fabric scissors for cutting patch shapes
- Sewing needle for hand stitching or machine needle for sewing machines
- Denim scrap or fabric patch 1 piece
- Heavy-duty thread 1 spool
Step-by-Step Instructions
- 1. First things first, grab your jeans and find the damage. I like to turn them inside out so I can see exactly how much “give” the fabric has left. If the hole is small, you might just need a simple patch, but if it’s a gaping crater, you’ll want to trim away any loose, fraying threads so you aren’t trying to sew over a mess.
- 2. Next, you need your patch material. You can go the “aesthetic” route with a cool vintage scrap, but if you just want these to be wearable again, find some old denim from a pair you never wear or even a sturdy cotton fabric. Cut your patch so it’s at least an inch larger than the hole on all sides; you need that extra room to anchor the repair.
- 3. Lay your jeans flat on a hard surface—don’t do this on a carpet unless you want threads getting stuck in your rug. Place the patch on the inside of the leg, directly underneath the hole. Pin it in place with some sewing pins so it doesn’t shift around while you’re trying to work, because there is nothing more frustrating than a patch that keeps sliding mid-stitch.
- 4. Now, grab your needle and some heavy-duty thread. If you have embroidery floss, that works great for a more decorative look, but standard all-purpose thread is fine for a quick fix. Start sewing from the underside of the patch, using a running stitch or a whip stitch around the edges of the hole to secure the fabric to the patch.
- 5. If you’re feeling a bit more ambitious (or if the hole is particularly large), try a “darning” technique. This involves sewing back and forth across the hole in a grid pattern, essentially weaving new threads into the existing structure of the denim. It takes a little longer, but it’s much more durable for high-stress areas like the knees.
- 6. Once you’ve finished your stitching, give the area a gentle tug to make sure everything feels secure. If the threads look a bit messy, you can carefully trim the excess with your scissors. I usually find that a quick trip to the laundry helps settle the new stitches into the fabric, making the whole repair look a lot more natural and less like a “project.
Skip the Aesthetic Visible Mending Techniques That Actually Work
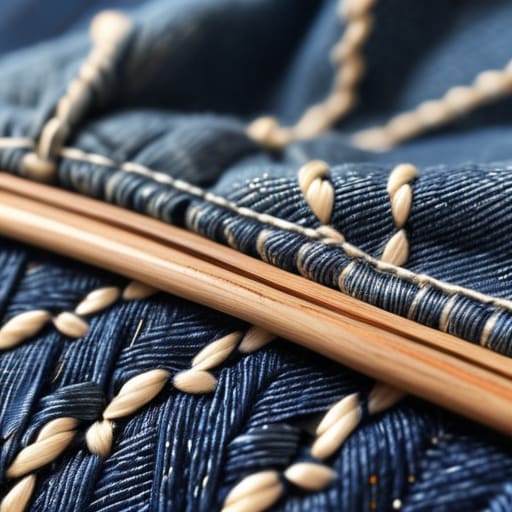
Look, I know there’s a lot of pressure online to make your repairs look invisible, like the damage never even happened. But honestly? I’ve never been a fan of trying to hide the history of my clothes. Instead of stressing over a perfect match, I’ve really leaned into visible mending techniques that turn a blowout into a design choice. If you have a small fray, you can use contrasting thread colors to create a pattern that looks intentional rather than accidental. It’s much more rewarding to see a little bit of “character” on your favorite pair than to spend three hours trying to make a repair vanish.
If you aren’t quite ready to commit to a full-blown embroidery project, don’t overlook the practical stuff. Sometimes, a quick fix with iron-on denim patches is exactly what you need to stabilize a thinning area before it becomes a gaping hole. Just a heads-up: if you’re going the patch route, make sure you’re using a heavy-duty needle. Using a standard flimsy one is a recipe for frustration. My rule of thumb is to embrace the imperfection—it makes the garment feel more like yours and less like something pulled off a mannequin.
Essential Denim Sewing Supplies for a Quick Functional Fix
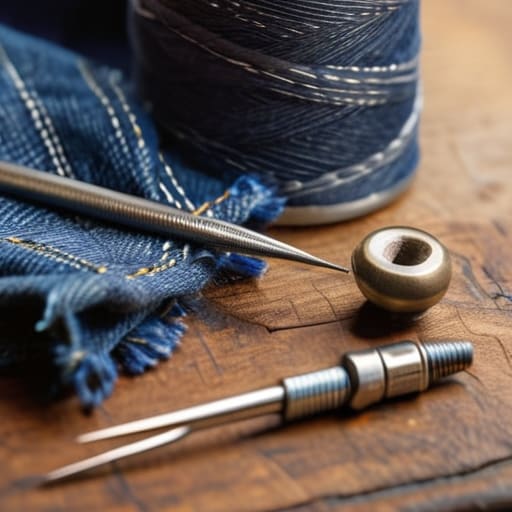
Look, you don’t need a professional tailor’s studio to get this done, but you also shouldn’t be trying to fight heavy denim with a flimsy sewing kit from a dollar store. If you’re serious about making a repair that doesn’t immediately unravel, you need the right denim sewing supplies on hand. I always keep a small kit in my junk drawer specifically for these moments. At the very least, grab a pack of heavy-duty needles; a standard thin needle will likely snap or bend when you’re trying to pierce through thick seams. A dedicated darning needle for jeans is a total game-changer if you’re going for a more textured, woven look.
If you’re in a rush or don’t feel particularly “crafty” today, don’t stress. You can use iron-on denim patches as a quick bridge to keep the hole from spreading until you have more time for a proper stitch. Just a heads-up: I’ve found that fabric glue for denim can be a lifesaver for stabilizing frayed edges before you start sewing, preventing that annoying bunching that happens when you’re learning how to sew a hole in jeans for the first time.
Five Pro-Tips to Keep Your Patches from Falling Apart
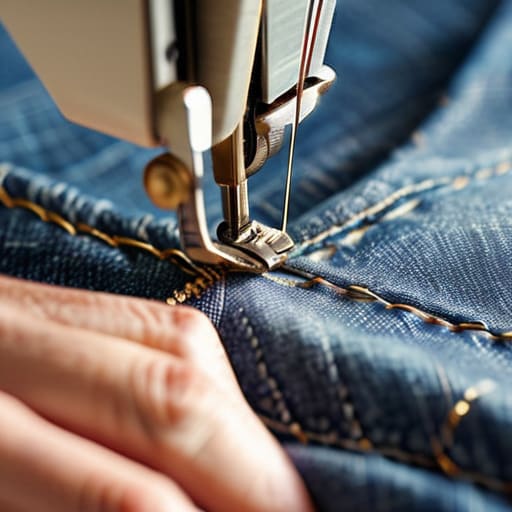
- Don’t skip the ironing step; pressing your patch and your denim flat before you even touch a needle makes everything so much easier to manage.
- Match your thread weight to the denim, not the patch, because if the thread is too flimsy, it’s going to snap the first time you actually sit down in those jeans.
- Always try to patch from the inside if you want a cleaner look, but if the hole is too messy for that, just lean into the visible mending and make it a feature.
- Test your tension on a scrap piece of fabric first, because nothing ruins a quick fix faster than puckering the denim and making it look like a topographical map.
- If you’re patching a high-stress area like the inner thigh, go bigger than you think you need to; a tiny patch in a high-friction zone is just going to tear right through again in a week.
## On the Value of a Good Repair
“A patch isn’t a flaw or a sign that you’re failing at maintenance; it’s just a little bit of history added to a garment that actually deserves to stay in your rotation.”
Audrey Lin-McCallum
The Long Game with Your Denim
At the end of the day, patching your jeans isn’t about achieving some Pinterest-perfect embroidery project; it’s about making a choice to keep things in rotation. We’ve covered everything from grabbing the right heavy-duty needle to choosing between a discrete patch or leaning into that visible mending look. Whether you’re doing a quick fix to get through a work week or taking the time to reinforce a high-stress area like the inner thigh, the goal is the same: function over perfection. You don’t need a master’s degree in tailoring to make your clothes last longer; you just need a little bit of patience and the right scrap of fabric.
I know that when life gets loud and your to-do list is a mile long, spending twenty minutes with a needle and thread might feel like one more chore. But there is something incredibly grounding about taking a broken object and making it whole again. It’s a small, manageable win in a world that constantly tells us to just buy something new. So, don’t let a little fraying stop you from wearing your favorite pair. Grab your kit, find a comfortable spot, and remember that building a sustainable wardrobe starts with these tiny, intentional moments of repair.
Frequently Asked Questions
Can I still wash my jeans in a machine after I've patched them, or will the repair fall apart?
Yes, you absolutely can, but let’s be smart about it. I treat my patched denim like a delicate vintage find—not because it’s fragile, but because I want the work to last. Turn them inside out to protect the stitches, use a cold cycle, and for the love of all things organized, skip the dryer. Air drying is your best friend here. It keeps the fabric from shrinking and prevents your repair from fraying prematurely.
What should I do if the hole is in a high-stress area, like the inner thigh or the pocket corner?
If the hole is in a high-stress spot like the inner thigh or a pocket corner, a simple patch won’t cut it—it’ll just rip right off again. You need reinforcement. I always use an iron-on interfacing or a scrap of sturdy denim underneath the hole first. This creates a “foundation” to sew into. Once you’ve stabilized it, use a tight zigzag stitch or a heavy-duty whipstitch to lock everything in place.
Is there a way to patch my jeans without actually owning a sewing machine?
Honestly? Absolutely. I actually prefer hand-sewing for most of my denim repairs. A sewing machine can feel a bit intimidating, and frankly, it’s overkill for a small hole or a thinning patch. All you really need is a sturdy needle, some heavy-duty thread, and a little patience. It takes a bit longer, sure, but it gives you way more control over the tension, which is huge when you’re working with thick seams.
