I was standing in my tiny living room, staring at a stack of half-read paperbacks and a dying succulent that had nowhere to call home, when I realized my “minimalist” dream was actually just a cluttered mess. I’d spent hours scrolling through interior design feeds, convinced that I needed a professional contractor and a massive budget to achieve that airy, high-end look. But here’s the truth: you don’t need a master carpenter or a perfectly curated lifestyle to pull off a successful floating shelves diy project. You just need a level, a drill, and the willingness to embrace a little sawdust along the way.
In this guide, I’m skipping the fluff and the “perfect aesthetic” nonsense to show you how to actually get these things on your walls. I’ll walk you through the sturdy, realistic methods I use to ensure my shelves don’t end up bowing under the weight of my books or, worse, crashing onto the floor. We’re going to focus on functional installation and choosing materials that fit your real-world needs. Let’s stop dreaming about those Pinterest boards and actually start building something that works for your space.
Table of Contents
Guide Overview
Tools & Supplies
- Drill and bits for pilot holes and wall mounting
- Level to ensure shelves are straight
- Saw for cutting wood to length
- Measuring tape for precision
- Wood planks (2-3 pieces)
- Floating shelf brackets or internal rods (set of 2-4)
- Wall anchors and screws (1 pack)
- Wood stain or paint (1 small can)
Step-by-Step Instructions
- 1. First things first, we need to grab our supplies. You don’t need a professional workshop, but you do need the right basics so you aren’t mid-project and realizing you’re missing a crucial piece. Grab some wood (I usually go for something sturdy like pine if I’m on a budget), some heavy-duty floating shelf brackets, a drill, a level, and a stud finder. Honestly, don’t skip the stud finder; trying to anchor these into just drywall is a one-way ticket to a pile of broken ceramics on your floor.
- 2. Once you have your gear, it’s time to find your “sweet spot” on the wall. Use your stud finder to locate the wooden studs behind your drywall. I like to mark these with a little pencil dot so I don’t forget where they are. If your layout doesn’t line up perfectly with the studs, don’t panic—that’s why we have heavy-duty wall anchors—but hitting those studs whenever possible is going to make your shelf feel way more secure.
- 3. Now, let’s get those brackets up. This is the part where most people get frustrated, so grab your level. Hold the bracket against the wall at your desired height and place the level on top. You want to make sure that bubble is perfectly centered. Once it’s straight, mark your holes through the bracket and start drilling. If you’re using screws into studs, go slow; you want a tight, snug fit without stripping the wood.
- 4. Next, we need to prep the wood itself. If you bought your lumber pre-cut, you’re golden, but if you’re feeling ambitious, give it a quick sand with some medium-grit sandpaper. I personally love a slightly rustic look, so I don’t aim for a mirror finish, but you definitely want to smooth out any splinters before you try to slide it onto the brackets. If you’re planning on staining or painting, do that now and let it dry completely.
- 5. Time for the “magic” moment: sliding the shelf onto the brackets. Carefully align the holes in your wooden plank with the protruding arms of the brackets. It might take a little bit of wiggling and patience, but once it’s seated, give it a gentle tug to make sure it’s locked in. If there’s a gap, you might need to check if your wood is perfectly straight or if your brackets are slightly off—it’s usually a quick adjustment rather than a total redo.
- 6. Finally, do one last “wiggle test.” Give the shelf a firm (but not violent) press to ensure it isn’t bowing or shifting. If it feels solid, you’re ready to decorate. My rule of thumb? Don’t go overboard with the heavy books right away. Start with a few lighter items and build up your display as you get comfortable with how much weight the system is actually holding.
Finding Studs Without Losing Your Mind
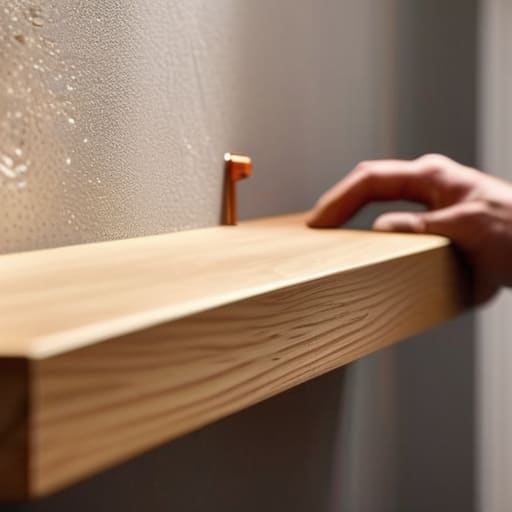
Look, I know the moment you pull out that little plastic device and it starts beeping erratically, you just want to throw the whole project out the window. We’ve all been there. When you’re working on custom wood shelving projects, the math usually makes sense, but the walls? They have a mind of their own. My best advice is to not trust a single reading. If your stud finder gives you a hit, mark it, then move a few inches in either direction to confirm you’re actually hitting solid wood and not just a stray piece of debris or a wire.
If you find yourself in a spot where the studs just aren’t lining up with where you want your shelves to live, don’t panic. You can still achieve that clean, modern minimalist shelf design by using heavy-duty anchors, but you have to be realistic about your floating shelf weight capacity. If you’re planning to display a collection of heavy ceramic vases, you really need to find those studs. If it’s just a few lightweight succulents, you can get away with a bit more flexibility. Just measure twice and drill once—your sanity (and your decor) will thank you.
Choosing Wood Shelf Mounting Hardware That Holds Real Stuff
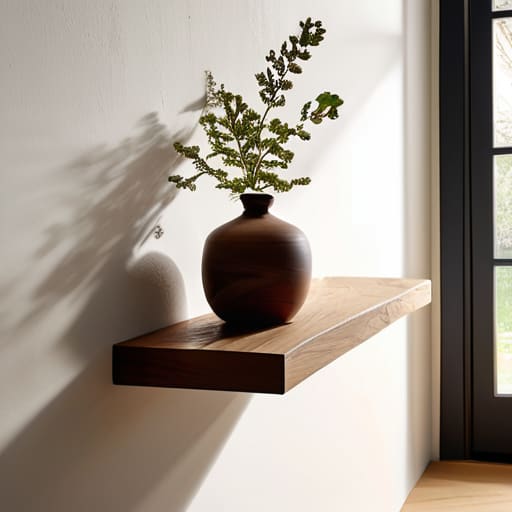
Look, we’ve all been there: you spend three hours sanding down a beautiful piece of reclaimed oak, mount it perfectly, and then the second you add a single heavy ceramic vase, the whole thing performs a slow-motion dive toward the floor. It’s heartbreaking. The secret to avoiding that disaster isn’t just about finding the studs; it’s about the wood shelf mounting hardware you choose. If you’re going for that seamless, high-end look, you’re likely leaning toward a hidden bracket installation. These are great, but they require you to be brutally honest with yourself about what you’re actually going to put on the shelf.
Before you commit to your design, you need to calculate your floating shelf weight capacity. If you’re planning on a library of heavy hardcover books, a lightweight decorative bracket just won’t cut it. You’ll want heavy-duty steel rods that sink deep into the wall. I always tell my friends to shop for hardware based on their actual lifestyle, not just a photo they saw online. If you’re building these for a kitchen to hold heavy stoneware, over-engineer the support. It’s much easier to over-prepare than it is to patch drywall after a shelf collapse.
Five Things I Wish I Knew Before I Hammered My First Shelf
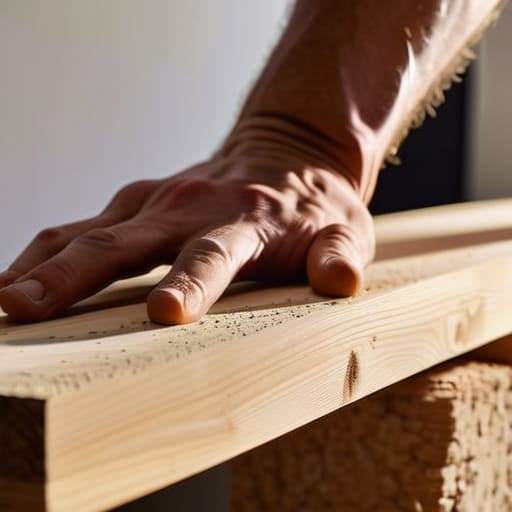
- Don’t overstuff them. I know, I know—the goal is to clear clutter, but if you treat a floating shelf like a heavy-duty storage bin, it will sag, and you’ll be back at the hardware store by Tuesday.
- Measure twice, drill once, and then measure a third time. There is nothing quite as soul-crushing as realizing your “perfectly centered” shelf is actually two inches to the left of your plant stand.
- Sanding is not optional. If you skip the fine-grit sandpaper because you’re in a rush, you’re going to end up with splinters every time you reach for a book, and trust me, that’s a vibe nobody wants.
- Use a level, not your eyes. Your eyes will lie to you. They’ll tell you that slightly crooked shelf looks “charming” or “boho,” but your brain will know the truth, and it’ll drive you crazy every time you walk past it.
- Embrace the imperfection. If there’s a tiny gap or a knot in the wood that looks a bit wonky, just leave it. It’s a real shelf in a real home, not a showroom display, and that’s actually the point.
Forget the Picture-Perfect Pinterest Look
“Look, we aren’t building these shelves to win a home decor award; we’re building them so we finally have a place to put our books and coffee mugs without them cluttering up every flat surface in the apartment. If they’re sturdy and they hold your stuff, you’ve already won.”
Audrey Lin-McCallum
Done is Better Than Perfect
At the end of the day, we’ve covered a lot of ground—from hunting down studs like a detective to picking hardware that won’t buckle under the weight of your actual life (looking at you, heavy cookbooks). It’s easy to get bogged down in the “what ifs” of DIY, but remember that the goal here isn’t to create a museum-quality installation; it’s to create a functional surface that gives you back some breathing room. You’ve got the right wood, you’ve found the studs, and you’ve got the tools. Now, it’s just about getting it onto the wall and moving on to the next thing on your to-do list.
I know that staring at a pile of lumber and a drill can feel a little daunting when you’re already juggling a million other adult responsibilities. But there is something incredibly grounding about taking a chaotic corner of your home and imposing a little bit of order on it with your own two hands. Don’t worry if the line isn’t laser-straight or if there’s a tiny scuff on the corner; those are just signs that a human lived here. Build the shelves, clear the clutter, and let your space finally start working for you instead of against you. You’ve got this.
Frequently Asked Questions
Can I actually use these shelves for heavy stuff like a stack of hardcover books, or are they strictly for lightweight decor?
Look, I get it. I’ve seen too many “aesthetic” shelves buckle under the weight of a single heavy cookbook. If you’re planning on stacking hardcover books, you can’t just wing it. You absolutely can use them for heavy stuff, but it’s all about the math: you need to hit those studs or use heavy-duty anchors, and your brackets need to be beefy. Don’t let a beautiful shelf become a pile of debris.
What do I do if my wall is drywall and I can't find a stud anywhere near where I want the shelf?
Look, we’ve all been there—staring at a blank patch of drywall like it’s personally offending us. If the studs just aren’t cooperating, don’t panic and don’t try to force it with cheap plastic plugs. Grab some heavy-duty toggle bolts. They’re a lifesaver. They grip the back of the drywall to distribute the weight, so you can actually hang your books or plants without the whole thing coming crashing down.
How do I make sure the shelf doesn't look like it's tilting or sagging after I've mounted it?
Trust me, there is nothing more soul-crushing than finishing a project only to realize your shelf is leaning like the Tower of Pisa. To avoid the “sagging shelf” heartbreak, use a bubble level—not your phone’s level app, which can be wonky. Place it on the shelf after mounting, then micro-adjust your screws. If you’re using thicker wood, double-check that your brackets are perfectly flush against the wall before you tighten everything down for good.
