I used to think that if I couldn’t source 72-hour fermented sourdough and a professional-grade stone oven, I was basically just making glorified toast. I spent way too many Friday nights staring at intimidating, twenty-step recipes, convinced that learning how to make homemade pizza required a culinary degree and a massive kitchen renovation. But after a particularly disastrous attempt involving a flour-covered ceiling and a dough that had the consistency of wet cement, I realized something crucial: perfection is the enemy of a good dinner. You don’t need a curated, artisanal setup to get a delicious, crispy crust; you just need a system that actually works for a normal human schedule.
In this guide, I’m stripping away the pretension and the expensive gear. I’m going to show you my low-stress, high-reward approach to building a pizza night that doesn’t leave you exhausted and covered in a layer of fine white dust. We’re focusing on functional techniques and manageable steps that prioritize flavor over “aesthetic” perfection. By the time we’re done, you’ll have a reliable method for making incredible pies in your own kitchen, without the unnecessary kitchen chaos.
Table of Contents
Recipe Details
Ingredients
- 2 cups all-purpose flour
- 1 teaspoon active dry yeast
- 1 teaspoon sugar
- 3/4 cup warm water
- 1/2 teaspoon salt
- 1/2 cup tomato sauce
- 1.5 cups shredded mozzarella cheese
- 1/4 cup sliced pepperoni
Recipe Instructions
Step 1
First things first, let’s get the dough moving. If you’re using store-bought dough to save your sanity (which, honestly, I highly recommend on a Tuesday), just let it sit on the counter for at least 30 minutes. Cold dough is stubborn and will fight you when you try to stretch it. If you’re making it from scratch, mix your flour, yeast, water, and salt in a bowl until it’s a shaggy mess, then knead it until it feels smooth. It doesn’t need to be a perfect sphere; it just needs to be manageable.
Step 2
While that dough is relaxing, crank your oven up as high as it will go. Most home ovens max out around 500°F, and you want that stone or baking sheet to be absolutely screaming hot before anything touches it. If you have a pizza stone, slide it in now. If not, a heavy upside-down baking sheet works just fine. We’re aiming for that crispy bottom, not a soggy cracker situation.
Step 3
Now, let’s prep the toppings, but let’s keep it realistic. Don’t feel like you need to chop twenty different vegetables. I usually stick to a good mozzarella, some pepperoni, and maybe some fresh basil. The trick here is to drain your toppings. If you’re using fresh mozzarella or canned mushrooms, pat them dry with a paper towel. The last thing we need is a puddle of lukewarm water turning your beautiful creation into a soup.
Step 4
Time to assemble. Grab a piece of parchment paper—this is my favorite low-effort hack for moving the pizza onto the hot stone without burning your hands or making a massive mess. Stretch your dough out on the paper. It doesn’t have to be a perfect circle; a rustic, slightly wonky shape actually looks much better and feels less intimidating. Spread a thin layer of sauce, add your cheese, and scatter your toppings.
Step 5
Slide the parchment paper (and the pizza) onto your hot baking sheet or stone. Bake it for about 8 to 12 minutes. You’re looking for the cheese to be bubbly and slightly browned, and the crust to have those beautiful charred spots. Once it’s done, pull it out, let it sit for just two minutes so the cheese sets, and then slice it up. It’s not a gourmet Italian masterpiece, but it’s hot, delicious, and yours.
The Best Pizza Dough Recipe for Real Life Schedules
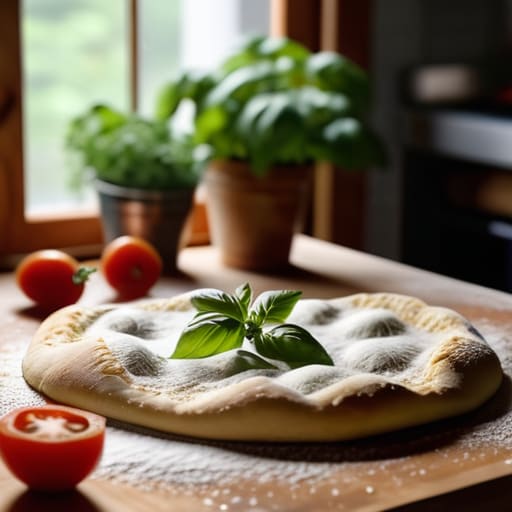
Look, I know the internet is flooded with “authentic” recipes that require a forty-eight-hour cold ferment and a specialized stone oven. If you’re working a nine-to-five and trying to keep a house from falling apart, that’s just not realistic. This is the best pizza dough recipe for those of us who want something delicious without turning our kitchens into a laboratory. The secret isn’t some obscure flour; it’s just about managing your timing. If you have an extra hour, let the dough sit in a warm spot, but if you’re starving right now, don’t stress the science—it’ll still taste better than anything delivered in a cardboard box.
Once you’ve got your base, don’t feel pressured to go overboard with the toppings. I usually stick to a few high-quality staples so I’m not standing over the counter for twenty minutes. If you want to experiment, try some easy pizza toppings ideas like hot honey over pepperoni or a quick pesto drizzle. The goal here is a system that works for your Tuesday night, not a culinary masterpiece that leaves you too exhausted to actually enjoy it.
Mastering Yeast Dough Fermentation Tips for Busy People
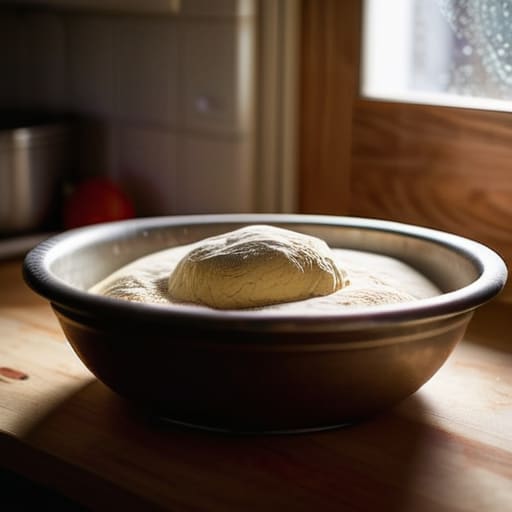
Look, I get it. The idea of “fermentation” sounds like something that requires a laboratory and a week of undivided attention, but it’s actually your best friend when you’re trying to meal prep. If you have a spare afternoon on a Sunday, you can mix your dough, let it rise, and then shove it in the fridge. This cold fermentation is one of those game-changing yeast dough fermentation tips that does the heavy lifting for you while you’re busy living your life. It develops a much deeper flavor and makes the dough easier to stretch, so you aren’t fighting a rubbery mess on your counter.
If you’re in a massive rush, don’t panic. You can still get a decent result with a faster rise at room temperature, but you might lose that slight tang. Just keep an eye on it; you want it to look bubbly and relaxed, not like it’s about to stage a coup in your mixing bowl. Once you’ve mastered the timing, you can start playing around with crispy pizza crust techniques, like using a preheated stone or even a cast-iron skillet, to make sure that hard-earned flavor actually gets the crunch it deserves.
Five Ways to Keep the Pizza Process from Taking Over Your Entire Evening

- Stop obsessing over the shape. If your dough looks more like a lumpy cloud than a perfect circle, who cares? It’s still going to taste delicious once it hits the heat, and honestly, the “rustic” look is much easier to achieve when you aren’t fighting a losing battle with a rolling pin.
- Pre-heat your pan or stone like your life depends on it. Most people pull their pizza out too early because they’re hungry, but if you aren’t cranking that oven to its highest setting at least 30 minutes prior, you’re going to end up with soggy bread instead of a crispy crust.
- Less is actually more when it comes to toppings. I know it’s tempting to pile on the pepperoni and veggies, but heavy toppings weigh down the dough and create a literal puddle of grease in the middle. Stick to a few high-quality ingredients so the crust can actually do its job.
- Use a little bit of oil on your hands if you’re working with a sticky dough. I used to spend ten minutes scrubbing flour out from under my fingernails after every bake, but a quick swipe of olive oil makes the handling process way smoother and saves a massive amount of cleanup time.
- Let your dough come to room temperature before you even think about stretching it. If you try to work with cold dough straight from the fridge, it’s going to fight you every step of the way and snap back like a rubber band. Give it an hour to chill out, and it’ll behave much better.
## The Reality Check
“Forget the fancy wood-fired oven or the thirty-minute proofing window; if your dough is edible and your kitchen isn’t a disaster zone, you’ve already won the night.”
Audrey Lin-McCallum
The Final Slice

At the end of the day, making your own pizza isn’t about achieving that elusive, blistered Neapolitan crust you see on Instagram. It’s about having a reliable system in place so that when Tuesday night feels like a total landslide, you have a delicious, predictable meal ready to go. Remember, the secret isn’t in fancy imported flour; it’s in managing your fermentation timing and prepping your toppings so you aren’t scrambling while the oven is preheating. If the dough is a little sticky or the shape looks more like a topographical map than a perfect circle, it doesn’t matter. It’s going to taste incredible regardless, and more importantly, it’s going to be yours.
I know that sometimes the idea of “cooking from scratch” feels like just one more chore on an already overflowing to-do list. But I promise you, there is something deeply grounding about working with your hands and seeing a tangible result from a little bit of flour and water. Don’t let the fear of a messy kitchen stop you from trying. We aren’t aiming for culinary perfection here; we are aiming for functional joy. So, grab your apron, pull out that multi-tool if you need to scrape some extra dough off the counter, and just start making. You’ve totally got this.
Frequently Asked Questions
I don't have a pizza stone—can I just use a regular baking sheet or a cast-iron skillet?
Honestly, please don’t let a missing pizza stone stop you. I’ve spent way too much time stressing over “proper” gear when a standard baking sheet works just fine. If you want a crispier bottom, flip the sheet upside down—it creates a flatter surface for better heat contact. Even better? Use a cast-iron skillet. It holds heat like a dream and gives you that gorgeous, slightly charred crust without the fancy equipment.
My dough isn't rising like it's supposed to; did I accidentally kill the yeast?
Don’t panic—you probably haven’t committed a culinary crime. The most common culprit? Water that was a little too hot. Yeast is finicky; if your water felt like a warm bath, it might have been hot enough to toast it. Check your temperature next time (aim for lukewarm, not scalding). If the water was fine, your yeast might just be old. Honestly, if it’s a total bust, just toss it and start fresh. It’s just flour and water, not a life sentence.
Can I prep the dough a few days in advance, or does it have to be used the same day?
You absolutely can—in fact, I’m a huge advocate for it. If you’re staring down a busy Tuesday, prep that dough on Sunday and tuck it in the fridge. A slow cold ferment in the refrigerator actually develops a much better flavor than rushing it the same day. Just pull it out about two hours before you want to bake so it can lose that chill and relax. It’s one less thing to stress about mid-week.
