I was standing in my tiny kitchen last Tuesday, staring at a thrifted wooden chair that had seen much better decades, feeling that familiar wave of “why did I buy this?” panic. I had all these Pinterest boards full of flawless, matte-finish furniture, but my reality was a cramped apartment and a very questionable budget. Most tutorials make you feel like you need a professional studio setup to get results, but here is the truth about how to spray paint: you don’t need a perfect environment to get a functional, beautiful result. You just need to stop treating every DIY project like it’s a high-stakes art installation and start treating it like the quick win it actually is.
In this guide, I’m skipping the fluff and the overly expensive gear lists to show you the actual, gritty process. I’ll walk you through the essential prep steps that keep you from wasting money on ruined cans, how to manage the inevitable overspray in a small space, and the secret to layering coats without the dreaded drips. We aren’t aiming for museum-quality perfection here; we are aiming for projects that look great and actually fit into your real, busy life.
Table of Contents
Guide Overview
Tools & Supplies
- Spray paint cans for applying color
- Masking tape for protecting edges
- Drop cloth for surface protection
- Sandpaper for smoothing surfaces
- Spray paint (1-3 cans depending on surface area)
- Primer (1 can for better adhesion)
- Clear coat (1 can for durability)
Step-by-Step Instructions
- 1. First things first, you have to prep the surface. I know, I know—it’s the part everyone wants to skip so they can get to the fun stuff, but if you try to paint over dust or old grease, your finish is going to look like a textured nightmare. Grab a sponge and some mild soap or a bit of degreaser and give it a good scrub. If you’re working with wood, a quick sand with some medium-grit sandpaper will make a world of difference, but don’t go overboard trying to make it smooth as glass; we just want the grit gone.
- 2. Next, we need to talk about the zone. Do not—I repeat, do not—try to do this in your living room unless you want your sofa to become a permanent part of your decor. Find a spot with decent airflow, like a garage, a balcony, or even just a corner of the yard. Lay down some old newspapers or a cheap drop cloth. I usually keep a roll of cardboard handy because it’s much easier to toss in the recycling once the job is done than it is to scrub paint out of a rug.
- 3. Now, let’s get the item ready for its new look by masking off the tricky bits. If your piece has hinges, handles, or any parts that definitely shouldn’t be colorful, cover them up with painter’s tape. I’ve learned the hard way that “it’ll probably be fine” is a lie we tell ourselves right before we spend twenty minutes trying to scrape dried spray paint off a brass knob. Be intentional with your tape so you aren’t playing cleanup crew for hours later.
- 4. Before you even touch the trigger, give that spray can a thorough shake. This isn’t just a suggestion; it’s how you make sure the pigment and the propellant are actually mixed. Shake it like you mean it for at least a full minute. If you don’t, you’ll end up with a can that spits out clumps of thick paint instead of a fine mist, and that is a recipe for frustration.
- 5. When you’re ready to spray, remember the golden rule: thin coats are your best friend. Instead of trying to cover the whole thing in one heavy pass, start your spray just off to the side of the object, sweep across it in a steady motion, and then stop. It’s much better to do three light, slightly translucent layers than to try one thick coat that ends up dripping and running down the sides like a sad, colorful waterfall.
- 6. Once the first layer is down, give it some breathing room. I know the urge to immediately check if it looks good is strong, but let it dry for at least 15 to 20 minutes before hitting it with the next pass. If you rush this, you’ll just end up re-wetting the bottom layer and creating a gooey mess. Patience is a tool, just like your sandpaper.
- 7. Finally, once you’re happy with the coverage, remove the tape while it’s still slightly tacky. If you wait until the paint is bone-dry and rock-hard, the tape might actually pull up tiny flakes of your new finish. Peel it back slowly and steadily. If you’ve followed these steps, you’ll have something that looks purposefully updated rather than a DIY disaster, and you can get back to actually using your stuff.
Smart Surface Preparation for Real Life Results
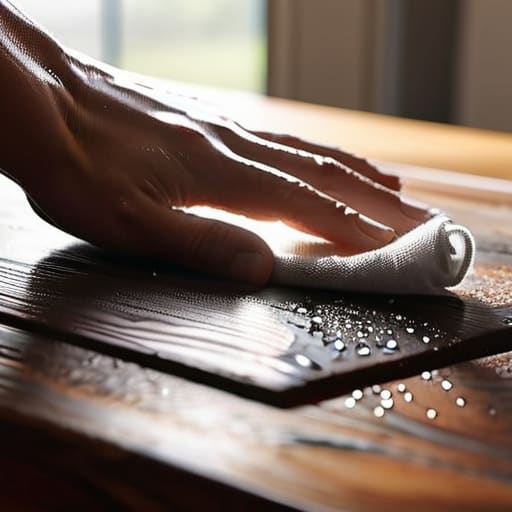
Look, I know the temptation to just grab a can and start spraying is real, especially when you’ve finally cleared a spot on your dining table to work. But if you skip the prep, you’re basically inviting a headache. I used to think I could get away with a quick wipe-down, but I quickly learned that even a tiny bit of dust or finger oil can cause the paint to bead up. If you want to avoid the heartbreak of a peeling finish, investing a little time in spray paint surface preparation is non-negotiable. Grab some degreaser or even just mild dish soap and a rag; getting that surface truly clean is the difference between a finish that lasts and one that flakes off in a month.
Also, let’s talk about the “oops” factor. Most of my DIY fails come from being too impatient. If you’re working on something vertical, less is always more. I’d rather apply three thin, light coats than one heavy layer that ends up looking like a melted candle. This is your best defense for preventing spray paint drips and ensuring the texture stays smooth. If you’re feeling ambitious, a quick layer of primer can act as a great bridge between the old surface and your new color, making the whole process much more forgiving.
Choosing the Best Spray Paint for Diy Projects That Last
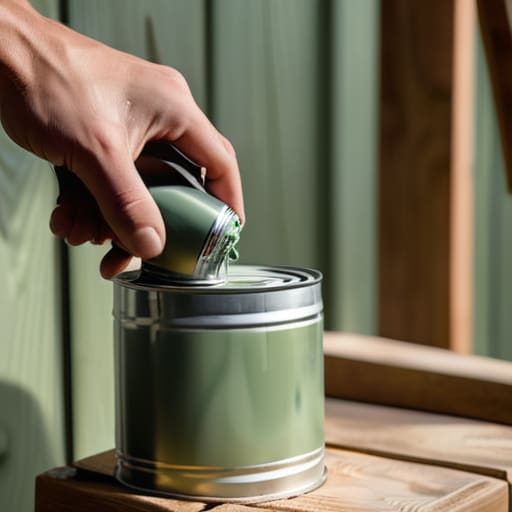
Look, I know the hardware store aisle can feel like a sensory overload nightmare, but don’t just grab the cheapest can because it’s on sale. If you’re working on something that’s going to see actual use—like a wooden chair or a metal lamp—you need to invest in the best spray paint for DIY projects that actually adheres to different textures. I usually look for brands that promise a fine mist; cheap cans tend to come out in heavy globs, which is a one-way ticket to a headache when you’re trying to avoid a mess.
If you’re working with something tricky like plastic or smooth metal, don’t skip the primer for spray painting. It’s the difference between a finish that looks professional and one that starts peeling off in three weeks. Also, a quick tip from my own failed experiments: always check the label for the spray paint drying time before you decide to move the item or add a second coat. Patience is annoying, but it beats having to sand down a tacky, half-dried disaster later that evening.
Five Ways to Avoid a Total Spray Paint Disaster
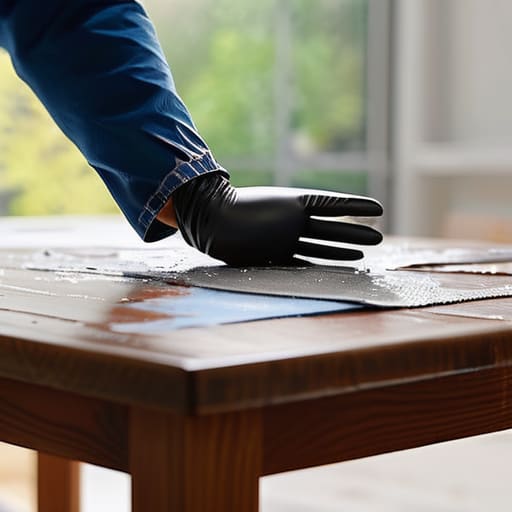
- Don’t try to be a hero with one thick coat. It’s tempting to want to cover everything in thirty seconds, but you’ll just end up with those annoying, thick drips that take forever to sand down. Think thin, light mists—it’s much better to do three quick passes than one heavy, messy one.
- Check the wind before you even crack the seal. I know, I know, you’re probably working on your balcony or in the driveway, but a sudden gust can turn your project into a fine mist of color all over your neighbor’s car or your own laundry. If it’s breezy, wait for a calm window.
- Keep that can moving. This is the golden rule. If you hold the spray in one spot for even a second too long, you’re going to get a puddle. Keep your arm moving in a steady, sweeping motion, and start your spray just before you hit the object, stopping only after you’ve passed it.
- Don’t forget the “invisible” prep work. I’ve learned the hard way that even if a surface looks clean, it probably isn’t. A quick wipe with a tack cloth or a damp rag to get rid of that fine layer of dust makes a massive difference in whether the paint actually sticks or just peels off in a month.
- Give it more time to dry than you think it needs. I used to think that if it felt dry to the touch, I was good to go. Spoiler alert: I wasn’t. If you touch it too early, you’ll leave fingerprints in the finish. Let it sit. Your future, non-sticky self will thank you.
The Perfectionist’s Trap
“The goal isn’t to make that old side table look like it just came off a showroom floor; the goal is to make it look like something you actually want to live with. If the finish isn’t museum-grade but it’s durable and it makes your space feel like home, you’ve already won.”
Audrey Lin-McCallum
Done is Better Than Perfect
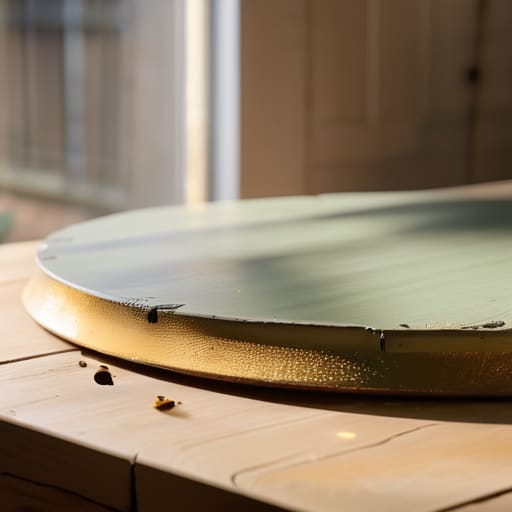
At the end of the day, spray painting isn’t about achieving a factory-grade, showroom finish that looks like it came off an assembly line. It’s about taking that chipped side table or that boring plastic planter and giving it a second life without breaking the bank. Just remember: keep your surfaces clean, don’t get greedy with the layers, and always give it plenty of drying time before you try to move it. If you skip the prep or rush the coats, you’ll spend more time fixing mistakes than you would have spent just buying something new. Stick to the basics, keep your workspace ventilated, and you’ll find that the process is much more manageable than it seems.
I know how easy it is to get paralyzed by the fear of a drip or a missed spot, but please, don’t let the fear of a minor imperfection stop you from starting. We live in a world that constantly pushes this hyper-curated, “perfect” aesthetic, but there is so much more joy in a home that feels lived-in and personal. Even if your first attempt isn’t a total masterpiece, you’ve built a new skill and reclaimed something that was headed for the landfill. That’s a massive win in my book. Now, grab your mask, head outside, and just see what happens.
Frequently Asked Questions
How do I stop the paint from looking all blotchy and uneven?
Look, we’ve all been there—staring at a piece of furniture that looks more like a Dalmatian than a finished product. The secret isn’t more paint; it’s actually less. You’re likely trying to cover everything in one go. Instead, aim for thin, “misty” layers. It feels counterintuitive, but three light coats will always beat one heavy, gloopy one. Keep your hand moving in steady sweeps, and let it dry between rounds. Patience pays off.
Can I actually spray paint something if I don't have a massive backyard or a garage?
Honestly, you don’t need a sprawling backyard or a pristine garage to pull this off. I’ve done plenty of projects on a tiny apartment balcony or even just by a cracked-open window with a fan running. The trick is managing the drift. Just find a corner with decent airflow, lay down some heavy-duty drop cloths (cardboard works in a pinch!), and keep your coats light. It’s more about controlling the mess than having a dedicated workshop.
Is it worth it to use a primer, or can I just dive straight in and save the extra step?
Look, if you’re painting a piece of wood that’s already smooth and clean, you might get away with skipping it. But if you’re dealing with metal, plastic, or anything with a slick finish? Please, use a primer. I’ve learned the hard way that skipping this step usually leads to peeling or “alligatoring” a few weeks later. It’s an extra thirty minutes now to save you three hours of sanding and re-doing it later.
