I was standing in my tiny kitchen last Tuesday, staring at a mountain of half-empty plastic bottles and wondering why my “eco-friendly” lifestyle felt so much like clutter management. I’d seen those polished, aesthetic videos online claiming that learning how to make soap requires a laboratory-grade setup and a degree in chemistry, but honestly? That’s just a recipe for overwhelm. I realized that I didn’t need a sterile studio or a massive budget; I just needed a system that worked within the cramped reality of my apartment and my actual, messy schedule.
In this guide, I’m stripping away the intimidating jargon and the “perfect” Pinterest expectations to show you the real way to approach this craft. We aren’t aiming for a boutique showroom; we are building a functional routine that lets you create high-quality, useful bars without turning your home into a hazardous zone. I’ll walk you through the essential tools, the safety basics, and a streamlined process for how to make soap that actually fits into your life, rather than becoming another overwhelming hobby sitting on your to-do list.
Table of Contents
Guide Overview
Tools & Supplies
- Digital scale for precise measurements
- Stick blender for emulsifying oils and lye
- Heat-resistant glass beaker for lye solution
- Silicone molds for shaping the soap
- Coconut oil 500g
- Olive oil 500g
- Sodium hydroxide (Lye) 140g
- Distilled water 330g
- Essential oils 30ml
Step-by-Step Instructions
- 1. First things first, we need to get your workspace set up so you aren’t scrambling halfway through. Clear off a decent amount of counter space—ideally something non-porous like granite or laminate—and grab your gear. You’ll need a digital scale (don’t even think about using measuring cups; precision is everything here), a stainless steel pot, a silicone spatula, and a stick blender. Most importantly, lay out your safety gear: gloves, goggles, and long sleeves. I know it feels a bit dramatic, but playing it safe is much better than a minor kitchen mishap.
- 2. Once your station is prepped, it’s time to handle the lye. This is the part that makes people nervous, but if you follow the golden rule—always add the lye to the water, never the other way around—you’ll be fine. Weigh your distilled water in your scale and then weigh your lye separately. Slowly pour the lye into the water and stir it with a stainless steel spoon. It’s going to get hot and might give off some fumes, so don’t lean over the bowl and make sure your window is cracked open. Set it aside to cool down.
- 3. While that lye-water mixture is chilling, go ahead and weigh out your oils. For a solid, reliable bar that won’t turn into mush in your soap dish, I usually go with a mix of coconut oil for bubbles and olive oil for moisture. Melt your solid fats in your pot over low heat, then add your liquid oils. You’re aiming for a temperature that’s roughly in the same ballpark as your lye water—around 100°F (38°C)—so you don’t shock the mixture when they finally meet.
- 4. Now, the moment of truth: combining the two. Carefully pour your lye water into your pot of oils. Grab your stick blender and start pulsing it. You aren’t just stirring; you’re using that blender to create an emulsion. You’re looking for what we call “trace,” which is basically when the mixture reaches the consistency of pudding or a thin custard. When you lift the blender and the drips leave a visible trail on the surface, you’ve hit the sweet spot.
- 5. If you’re feeling fancy, this is when you add your extras. I usually toss in a teaspoon of dried lavender or a splash of essential oil, but don’t feel like you need a complex scent profile to make this work. Stir your additives in quickly with your spatula before the mixture gets too thick. Once everything is incorporated, pour the soap batter into your mold. If you’re using a silicone mold, it’s a breeze; if you’re using a wooden box, make sure you’ve lined it with parchment paper first.
- 6. Tap your mold firmly on the counter a few times to shake out any trapped air bubbles that might be hiding in the corners. Cover the top with a piece of cardboard and a towel to keep the heat in, then leave it alone. You’ll want to let it sit for about 24 to 48 hours. I know, the waiting game is the hardest part, but if you try to cut it too early, you’ll just end up with a sticky, frustrating mess.
- 7. Once the soap is firm to the touch, pop it out of the mold and slice it into bars using a sharp knife. Don’t worry if the edges aren’t perfectly straight; imperfect is fine as long as it cleans well. Now, the final hurdle: you have to let these bars “cure” in a cool, dry place for about four to six weeks. This allows the water to evaporate and makes the bar harder and longer-lasting. It’s a bit of a test of patience, but your skin will thank you for the wait.
Mastering Cold Process Soap Making Methods for Real Life
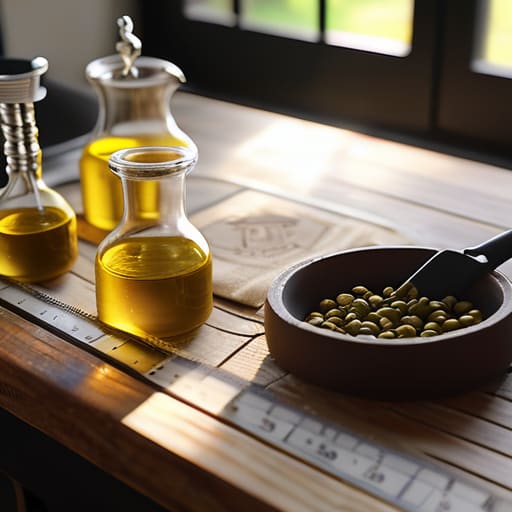
Look, I know the science behind cold process soap making methods can feel a bit intimidating when you first stare at a pile of ingredients. You might be tempted to wing it, but please, for the sake of your kitchen (and your skin), don’t. I always tell my friends to invest in a decent lye and oils ratio calculator before they even touch a beaker. Getting those measurements precise isn’t about being a perfectionist; it’s about making sure your soap actually cures properly and doesn’t end up being a weird, greasy mess that fails to lather.
When it comes to the actual “feel” of your soap, I’m a huge advocate for keeping things simple. You don’t need a chemistry degree to select high-quality natural soap ingredients for skin; just focus on nourishing fats like olive or shea butter. If you’re feeling adventurous with scents, I love using essential oils for natural soap, but remember to start small with your dilutions. You want a subtle, calming aroma that lingers, not a scent so aggressive it takes over your entire apartment. Keep it functional, keep it clean, and most importantly, keep it safe.
Smart Soap Making Safety Equipment for Your Actual Kitchen
Look, I get it. Setting up a “lab” sounds intimidating when you’re just trying to squeeze a hobby into your Tuesday night between freelance calls and laundry. But when you’re working with lye, you can’t exactly wing the safety part. You don’t need a professional-grade setup, but you do need the right soap making safety equipment to keep your kitchen from becoming a hazard zone. I always keep a dedicated set of goggles and heavy-duty nitrile gloves in a specific bin. If you’re using your regular cooking tools, please, for the love of all things organized, label them clearly or—better yet—keep a separate kit just for your soap projects.
Beyond the basics, think about your workspace layout. I like to clear a wide perimeter on my counter so I’m not rushing or bumping into things while handling caustic materials. If you’re planning on experimenting with various essential oils for natural soap, make sure you have a well-ventilated area or a window cracked open. It’s not just about being careful; it’s about creating a flow where you feel calm and in control rather than frantic. Safety isn’t about being paranoid; it’s just about building a system that lets you focus on the fun part.
Five Tiny Tweaks to Save Your Sanity (and Your Soap)
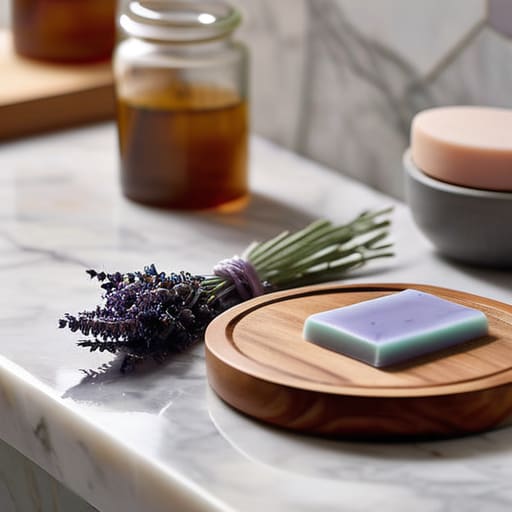
- Don’t get hung up on “perfect” scents. If you’re trying a new essential oil blend for the first time, make a tiny sample batch first. There is nothing more soul-crushing than realizing you’ve spent forty bucks on oils only to find out they smell like a damp basement once they hit the lye.
- Embrace the mess by prepping your “station” before you even touch the lye. I’m talking about having your scale, your stick blender, and your molds laid out like a mission control center. If you’re hunting for a spatula while your oils are cooling, you’re just asking for a headache.
- Forget the fancy, expensive silicone molds if you’re just starting out. I actually love using old, sturdy plastic food containers from the thrift store—just make sure they’re brand new and specifically for soap. It’s much easier on the budget and much better for the planet.
- If your soap batter looks a little too thick or “volcanoes” during the cure, don’t panic. It’s usually just a temperature hiccup. You don’t need a laboratory-grade thermometer to get good results; you just need to pay attention to how the texture feels against your spatula.
- Give yourself permission to fail a batch. Seriously. I once made a batch that was so soft it felt like brie cheese. Instead of tossing it, I just used it as a “liquid soap” in my shower. It still cleaned my skin, and it didn’t go to waste. It’s about function, not perfection.
My Philosophy on the Process
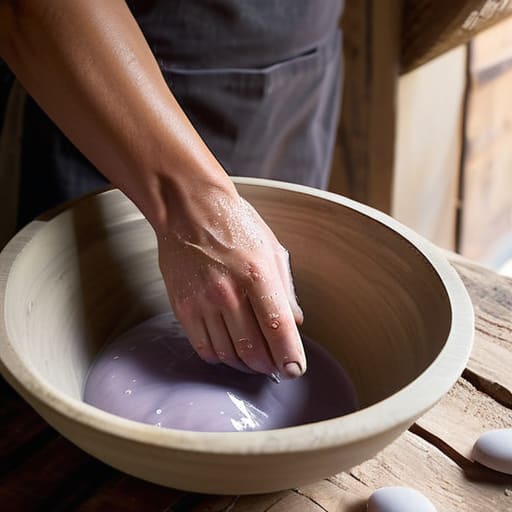
“Forget the idea that your first batch needs to look like something from a high-end boutique; if it cleans your skin and doesn’t ruin your kitchen counters, you’ve already won the game.”
Audrey Lin-McCallum
The Real-World Soap Maker's Wrap-Up
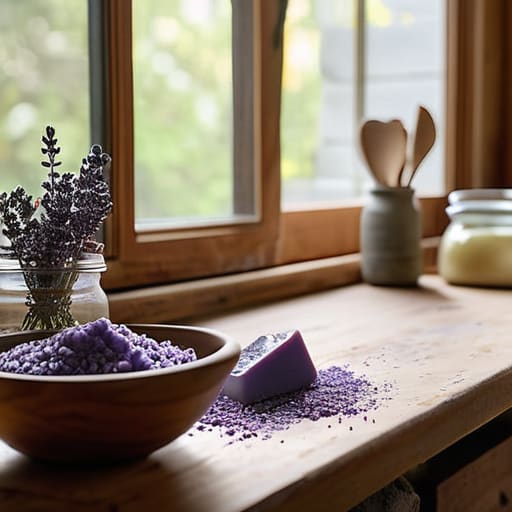
At the end of the day, making your own soap isn’t about achieving some Pinterest-perfect, artisanal masterpiece on your first try. It’s about understanding your gear, keeping your workspace safe, and choosing a method like cold process that actually works with your lifestyle rather than against it. You don’t need a laboratory-grade setup to get started; you just need a bit of patience, the right safety basics, and a willingness to get your hands a little messy. Once you nail down your rhythm and stop worrying about the minor imperfections, you’ll realize that you’ve built a functional system that saves you money and keeps your skin happy without adding a mountain of stress to your weekly to-do list.
If your first batch comes out a little lopsided or the scent isn’t exactly what you imagined, please don’t let it discourage you. I’ve definitely had days where my “organized” soap station ended up looking like a chemistry experiment gone wrong, but that’s just part of the process. The goal isn’t perfection; it’s the satisfaction of knowing exactly what’s going onto your skin. So, grab your notebook, clear off a corner of your counter, and just start making. You’re building a skill that fits into your real, busy life, and honestly, that’s a much bigger win than a perfectly symmetrical bar of soap.
Frequently Asked Questions
I don't have a dedicated workshop space; can I actually do this in my small kitchen without making a massive, oily mess?
Honestly, I’ve been there. I used to try and squeeze my projects into my tiny apartment kitchen, and let me tell you, the cleanup was a nightmare. But yes, you can totally do this without turning your cooking space into a slip-and-slide. The trick is “zoning.” Clear one specific counter, lay down heavy-duty silicone mats or even cheap parchment paper, and keep your tools in a single tray. If you contain the mess early, you won’t be scrubbing lye off your backsplash for hours.
Do I really need to spend weeks waiting for the soap to cure, or is there a way to use it sooner?
Look, I get it. When you’ve spent an afternoon elbow-deep in oils and lye, you want to actually use the thing, not stare at it on a shelf for a month. If you’re in a rush, you can switch to “Melt and Pour” soap—it’s ready immediately. But for cold process? You really shouldn’t skip the cure. It makes the bar harder and gentler on your skin. Just make up a batch when you have the headspace.
What happens if I mess up a batch and the texture comes out weird—is it still safe to use on my skin?
Honestly, take a deep breath—it happens to the best of us. If the texture is just a bit grainy or lumpy, it’s usually fine and perfectly safe to use. However, if it feels slimy, oily, or gives you a weird tingle, stop immediately. That usually means the oils didn’t emulsify properly or the lye wasn’t balanced. Don’t toss it yet, though; we can usually repurpose “failed” batches as laundry soap!
