I was mid-sentence on a frantic Zoom call when my vacuum cleaner decided to stage a coup, slamming right into the drywall and leaving a gaping, jagged crater in my living room. My first instinct wasn’t to call a professional; it was to stare at that hole and wonder if I should just move houses to avoid the hassle. We’ve been conditioned to think that home repairs require a massive toolkit and a weekend-long commitment, but honestly, learning how to patch a hole in the wall shouldn’t feel like a crisis. It’s usually just a twenty-minute detour that you can handle without losing your mind.
In this guide, I’m skipping the professional contractor jargon and getting straight to the stuff that actually works for real people with real schedules. I’ll show you how to tackle everything from those annoying tiny nail punctures to the “oops, I moved a heavy bookshelf” sized dents using just a few basic supplies. My goal is to help you get that surface smooth and ready for paint without you having to spend your entire Saturday covered in white dust. We’re going to fix this, get it looking decent, and get you back to your life.
Table of Contents
Guide Overview
Tools & Supplies
- Putty knife for spreading compound
- Sanding block for smoothing surfaces
- Spackle knife for applying filler
- Spackle or joint compound (1 small tub)
- Sandpaper (medium and fine grit)
- Patch kit or mesh tape (1 roll)
Step-by-Step Instructions
- 1. First things first, grab your multi-tool or a utility knife and clean up the edges of the hole. If there are any loose bits of drywall or crumbling plaster sticking out, just trim them away. You want the area to be relatively flat so your patch doesn’t end up looking like a lumpy mountain range once you’re done.
- 2. Next, you’re going to need a patch. If it’s a tiny nail hole, a bit of spackle is plenty, but if you’ve actually managed to punch a hole in the wall (hey, it happens to the best of us), grab a self-adhesive mesh patch. Stick it right over the damage and press it down firmly so it’s really seated against the surface.
- 3. Now, grab your putty knife and a tub of lightweight spackle. Apply the first layer of spackle over the patch, spreading it out a bit wider than the hole itself. Don’t try to get it perfect on the first pass; your goal is just to fill the void and get a relatively level surface. If it looks a little messy, don’t panic—that’s what the next step is for.
- 4. Once that first layer is dry (give it a little time, I know, it’s tempting to rush), take your putty knife and sand it down lightly with some fine-grit sandpaper. You’re just looking to knock off the high spots. If you see any divots or gaps, go in with a second, thinner layer of spackle to smooth things over.
- 5. After your second layer has dried completely, give the whole area one last, gentle sanding. You want the patch to feel completely seamless when you run your hand over it. If you can feel a bump, it’s going to show up under the light later, so keep sanding until it’s smooth as butter.
- 6. Finally, it’s time for the part everyone dreads: the paint. Wipe away any leftover white dust with a damp cloth so the paint actually sticks. Dab a little bit of your wall color over the spot, starting from the center and feathering it outwards toward the edges. This prevents a weird “halo” effect and helps the repair blend right in with the rest of the wall.
Essential Wall Repair Tools and Materials for Real Life
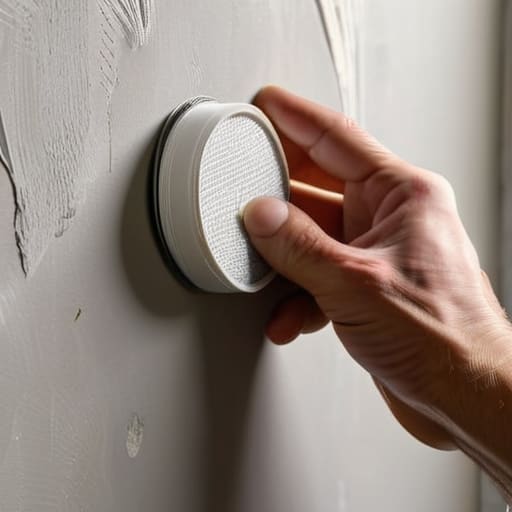
Look, you don’t need to go out and buy a professional contractor’s entire toolkit just to fix a single dent from a moving day mishap. If you’re dealing with a tiny nick or a nail hole, honestly, just grab a drywall patch kit for small holes from the local hardware store. They usually come with everything pre-packaged, which saves you from having a half-used tub of compound sitting in your utility closet for the next three years.
However, if you’ve managed to make a much larger crater in the wall—maybe a rogue door handle or a heavy shelf mishap—you’ll need to step it up. For those bigger projects, you’re going to want some mesh tape for drywall repair to give the patch some structural integrity. Without it, that patch is just going to crack the moment someone bumps into it.
Lastly, don’t skimp on the sanding block. I know, nobody actually enjoys getting dusty, but if you want to sand drywall smooth enough that you can’t see where the repair happened, you can’t just wing it with a crumpled piece of sandpaper. A decent sanding sponge makes the job ten times faster and significantly less frustrating.
Mastering the Drywall Patch Kit for Small Holes
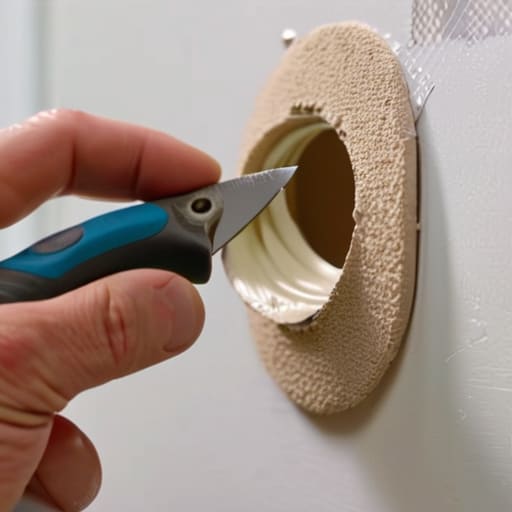
If you’re staring at a few annoying divots or a hole left by a misplaced Command strip, don’t go buying a whole tub of heavy-duty joint compound. Honestly, a drywall patch kit for small holes is your best friend here. These kits usually come with a little mesh patch that’s much easier to manage than trying to bridge a gap with nothing but wet paste. I’ve found that the trick is to center that mesh piece over the damage first. It gives you a solid foundation so your filler doesn’t just sink into the void like it’s disappearing into a black hole.
Once the patch is in place, focus on your spackling compound application. You don’t need to be a master plasterer; just aim for a thin, even layer that covers the mesh. If you pile it on too thick, you’ll end up spending an hour trying to sand drywall smooth later, which is a recipe for frustration. Think of it as building layers rather than one giant mountain of goop. Keep it light, keep it level, and you’ll be back to decorating in no time.
Pro-Tips to Keep You From Losing Your Mind (and Your Weekend)
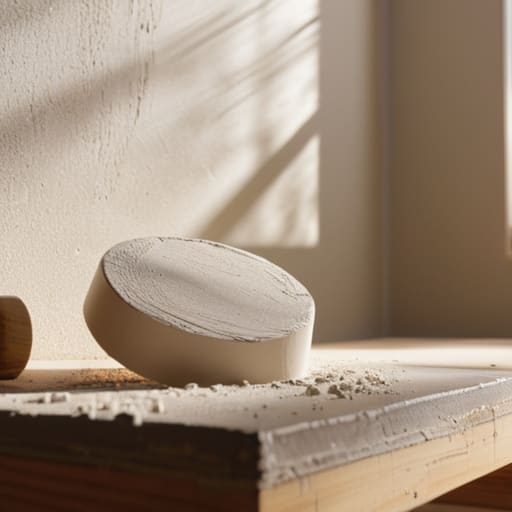
- Don’t try to be a hero with one thick layer. I know it’s tempting to just glob the spackle on and call it a day, but you’ll end up with a mountain of uneven mess. Do thin, skim-coat layers instead. It takes an extra ten minutes, but it saves you an hour of sanding later.
- Sanding is where most people give up, but it’s actually the most important part. If you don’t sand that patch until it’s flush with the rest of the wall, you’re going to see a weird “bump” under your paint no matter how many coats you use. Just grab a fine-grit sanding sponge and be patient.
- Check your lighting before you start painting. I’ve learned the hard way that a patch can look perfect under my warm living room lamp but look like a total crater when the morning sun hits it. Shine a flashlight across the wall at an angle to catch any bumps or dips you missed.
- If you’re working with a textured wall—you know, that bumpy “orange peel” look—don’t just leave the patch smooth. It’ll look like a bald spot. Grab a cheap can of spray texture to mimic the pattern before you paint, or you’ll be staring at that mistake every single day.
- Keep a damp rag handy. Spackle and joint compound can get messy fast, and if it dries on your baseboards or your favorite rug, it’s a massive headache to clean up. A quick wipe-down as you go keeps the “project” from turning into a “disaster zone.”
## The Perfectionist's Trap
“Don’t let a little dent in the drywall convince you that your home is falling apart. We aren’t aiming for a museum-grade restoration here; we’re just trying to make the space functional again so you can stop staring at the hole and start enjoying the room.”
Audrey Lin-McCallum
The Finish Line
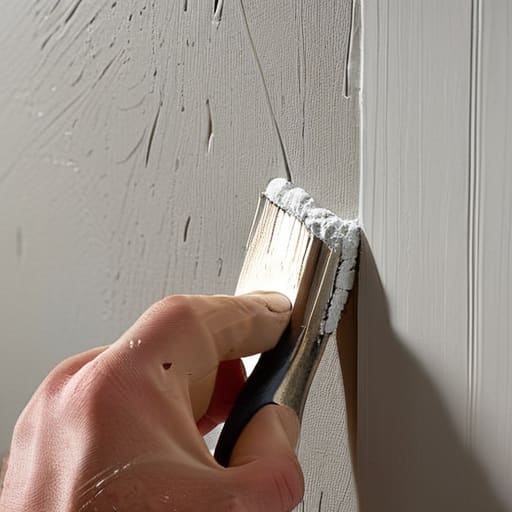
At the end of the day, patching a hole isn’t about achieving some architectural masterpiece; it’s just about making your space feel whole again. Whether you used a quick-fix mesh patch for that accidental door handle dent or went the slightly more involved route with a bit of spackle and sandpaper, the goal was simply to close the gap. Remember, the secret isn’t in having a professional-grade workshop, but in having the right basic tools and the patience to let things dry properly before you start sanding. If your first attempt looks a little lumpy, don’t panic—just a light sand and a second thin layer of filler usually does the trick. It’s all about incremental progress over perfection.
I know that staring at a damaged wall can feel like just one more thing on an already overflowing to-do list, but look at what you just did. You took a tiny bit of chaos and applied a practical solution without calling in a contractor or spending your entire Saturday at a big-box hardware store. That’s how we win back our time and our sanity. Your home doesn’t need to look like a showroom to be a sanctuary; it just needs to be a place that actually works for you. So, grab your notebook, check that repair off your list, and go enjoy your weekend. You’ve earned it.
Frequently Asked Questions
What if I accidentally applied too much spackle and now it looks like a giant, messy bump on my wall?
Don’t panic—we’ve all been there. I once turned a tiny nail hole into what looked like a miniature mountain. The trick is to let it dry completely first; trying to fix wet spackle just creates a muddy mess. Once it’s hard, grab a sanding sponge and lightly buff that bump down until it’s flush with the wall. If it’s really egregious, just apply a second, thinner layer once the first is smooth.
Do I really have to sand it down every single time, or can I just skip straight to painting?
Look, I get the temptation to skip the sanding—it’s messy, dusty, and feels like a chore. But honestly? If you skip it, you’re going to see a weird, bumpy outline under your paint. It’ll look like a scar rather than a fix. If you’re chasing perfection, sand it. But if you’re just trying to make it “good enough” for a rental, at least do a quick, light pass with fine-grit sandpaper so the texture doesn’t scream for attention.
How do I match the paint color if I don't have the original can sitting in my closet?
The “lost paint can” panic is real, but don’t worry—you don’t need to be a color theorist to fix this. Your best bet is to scrape a tiny flake of the original paint off the wall (near a baseboard is usually safest) and take it to a local hardware store. They can scan it and mix a custom sample for you. If that’s too much work, just buy a tiny sample pot of a close match and test it first.