I was sitting on my living room floor last Tuesday, surrounded by a chaotic sea of tangled silver wire and tiny glass beads that seemed determined to migrate into my rug, feeling completely defeated. I had seen those gorgeous, high-end tutorials online, but my attempt at diy jewelry making felt less like “artistic expression” and more like a high-stakes engineering disaster. We’ve all been there—staring at a pile of supplies that costs more than our grocery budget, wondering why we can’t just make one simple, wearable necklace without it looking like a craft store exploded.
The truth is, you don’t need a professional studio or a massive investment to create pieces you actually want to wear. In this guide, I’m stripping away the fluff and the intimidating jargon to show you how to build a functional toolkit and master the basics without losing your mind. We aren’t aiming for museum-quality perfection here; we are focusing on manageable techniques that fit into your actual life. I’ll show you how to make jewelry that looks intentional and polished, even if you only have twenty minutes between project deadlines to pull it together.
Table of Contents
Guide Overview
Tools & Supplies
- Needle-nose pliers for gripping and bending wire
- Wire cutters for trimming metal and cord
- Beading mat to prevent rolling
- Assorted glass or stone beads (1 pack)
- Jewelry wire or elastic cord (1 spool)
- Lobster clasps and jump rings (1 set)
Step-by-Step Instructions
- 1. First things first, clear off a space on your table—and I mean actually clear it. You don’t need a professional studio, but you do need a flat surface where you won’t lose a tiny bead in the cracks of your floorboards. Grab a small tray or even just a shallow bowl to hold your components so they don’t go rogue while you’re working.
- 2. Sort your supplies into little piles or containers. I know, it feels like an extra step, but trying to find that one specific clasp in a mountain of mixed metal is the fastest way to lose your momentum. Group your beads by color, your findings (that’s just jewelry-speak for the metal bits like hooks and clasps) by type, and your stringing material by length.
- 3. Measure out your base material—whether it’s wire, cord, or elastic—and add an extra two or three inches to whatever length you think you need. I’ve learned the hard way that nothing is more frustrating than getting to the very end of a necklace only to realize you’re a half-inch short of closing the loop.
- 4. Start stringing your beads. This is the part where you can actually relax and lean into the process. Don’t feel like you have to follow a rigid pattern from a Pinterest photo; just play with the rhythm of colors and textures until it looks like something you’d actually wear on a Tuesday morning.
- 5. Secure your ends. If you’re using wire, this is where you’ll use your pliers to make a simple loop; if you’re using cord, you might need a knot or a bit of glue. If you’re feeling overwhelmed by the technical side, just remember that function beats perfection—as long as it stays on your neck, you’ve done your job.
- 6. Attach your findings, like your earring hooks or your necklace clasp. This is the moment where all those loose beads finally become a “thing.” Double-check that everything is secure by giving it a gentle tug before you call it a day.
- 7. Take a second to actually put it on. If it feels heavy, or if the colors look a bit off in your bathroom mirror, don’t sweat it. You can always unstring a few beads and try again later. The goal isn’t a masterpiece; it’s something wearable that you made with your own two hands.
Essential Bead Supplies That Actually Make Sense
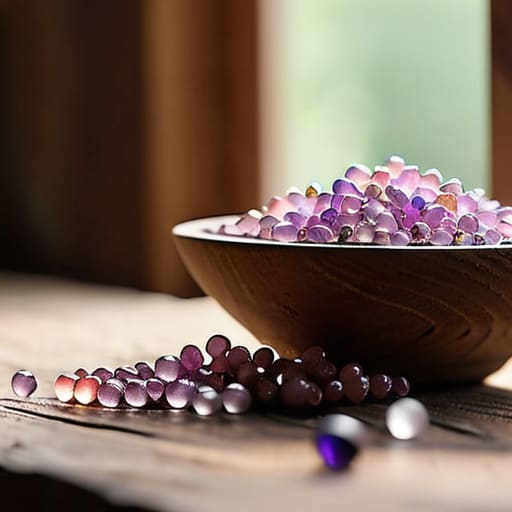
Look, when you first walk into a craft store, it’s easy to get swept up in the “everything must be rainbow” phase. You’ll see massive kits with a thousand different types of beads, and honestly? Most of them will just sit in a plastic bin gathering dust. My advice is to ignore the flashy sets and focus on a few essential bead supplies that actually have staying power. Start with a decent mix of glass seed beads and maybe some semi-precious stones if you’re feeling fancy. Quality over quantity is the name of the game here; if the beads look cheap or uneven, your finished piece is going to feel that way, too.
As for the hardware, don’t skimp on the jewelry making tools for beginners. You really only need three things to start: round-nose pliers, chain-nose pliers, and a wire cutter. If you’re feeling a bit more ambitious, you might want to look into a jewelry wire wrapping tutorial to add some custom flair to your pieces. Just remember, you don’t need a professional studio to make something beautiful—you just need a small, organized tray and enough patience to get through your first few loops.
Mastering Jewelry Making Tools for Beginners Without the Stress
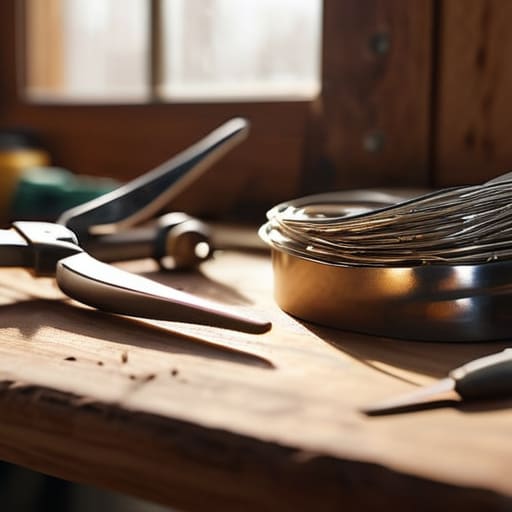
Look, I know the first time you walk into a craft store, it feels like you’re being interrogated by a wall of shiny, expensive-looking metal. It’s overwhelming. But here’s the secret: you don’t need a professional studio to get started. When people ask me about the best jewelry making tools for beginners, I always tell them to ignore the massive, pre-packaged kits. Most of those sets include things you’ll never touch. Instead, just grab a decent pair of round-nose pliers and some wire cutters. If you learn how to use jewelry pliers correctly—meaning you aren’t just squeezing things blindly but actually controlling the tension—you’re already ahead of the curve.
The goal isn’t to master every complex jewelry making technique in one weekend. It’s about having the right leverage to close a loop without flattening it into a pancake. I used to get so frustrated when my wire would kink or my beads would slip, but once I realized that tools are just extensions of my hands, the stress evaporated. Keep your workspace small, keep your tools within arm’s reach, and don’t overthink the gear. You’re building something for yourself, not for a museum.
Five Ways to Keep Your Jewelry Making From Becoming a Total Mess
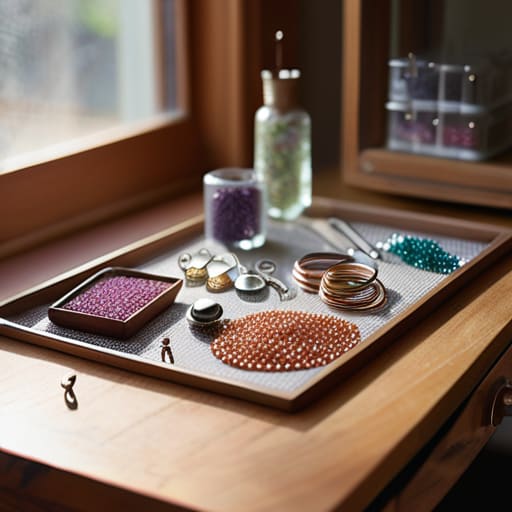
- Don’t go overboard on the bead variety right away. It’s tempting to buy every color of the rainbow, but you’ll end up with a mountain of tiny glass pieces you’ll never use. Start with three or four cohesive color palettes so your pieces actually look intentional rather than like a random grab bag.
- Invest in a decent bead mat or even just a piece of felt. There is nothing more soul-crushing than spending twenty minutes hunting for a single seed bead that rolled under your desk. A soft surface keeps everything contained and saves your sanity.
- Learn the “prototype” method. Before you commit to using your expensive, high-quality gemstones, string a rough version together with cheap plastic beads. It’s much easier to realize a design is awkward when it costs fifty cents than when it costs fifty dollars.
- Keep your workspace organized, but don’t aim for perfection. I use small magnetic trays or even old ice cube trays to sort my findings and beads. If you spend more time organizing than actually creating, you’ve turned a hobby into a chore.
- Embrace the “good enough” rule. If a knot is a little wonky or a jump ring is slightly asymmetrical, don’t scrap the whole project. Most people won’t notice the tiny imperfections, and life is too short to spend three hours perfecting a necklace you’re just going to wear to a casual coffee date.
## The Real Goal of Making Something
“Stop trying to make your jewelry look like a Pinterest board and just focus on making something that feels like you; if the clasp is a little wonky but you actually love wearing it, you’ve already won.”
Audrey Lin-McCallum
Finding Your Flow
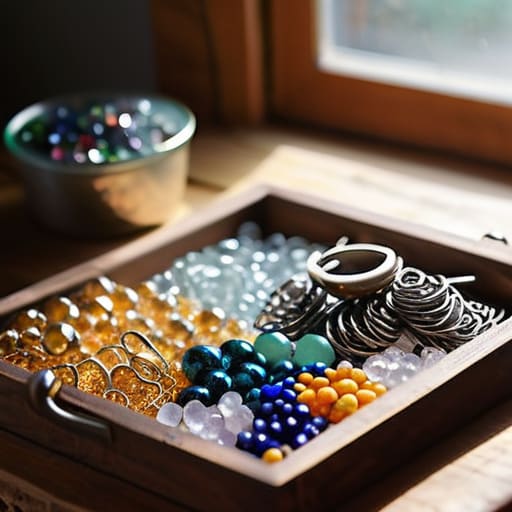
Look, I know it can feel like a lot when you’re staring at a pile of loose beads and a handful of pliers, but we’ve already done the heavy lifting. We’ve sorted through the essential supplies, picked out the tools that won’t break your spirit (or your budget), and walked through the basic mechanics of how to actually put something together. The most important thing to remember is that you don’t need a professional studio or a massive investment to get started. Just focus on the basics that work for you, keep your workspace organized so you aren’t hunting for tiny jump rings for twenty minutes, and let the process unfold at your own pace.
At the end of the day, these pieces aren’t going to end up in a museum, and that is perfectly okay. Whether you end up with a slightly wonky necklace that you wear every single day or a pair of earrings that are a little more “experimental” than intended, you’ve created something tangible with your own hands. Jewelry making is just another way to reclaim a bit of agency in a world that often feels like it’s moving too fast. So, grab your notebook, clear off a small corner of your table, and just start making something—even if it’s imperfect, it’s yours.
Frequently Asked Questions
How do I stop my necklaces from tangling into a giant knot every time I put them in my jewelry box?
Ugh, the “jewelry knot” is the absolute worst. I used to spend twenty minutes every morning untangling chains instead of actually getting ready. My go-to fix? Use a straw. Thread one end of your necklace through a reusable straw and clasp it shut; it keeps the chain taut so it can’t loop around itself. If you’re traveling, hang them on a small command hook inside a cabinet door. It’s not “aesthetic,” but it actually works.
I don't want to spend a fortune—is there a way to make these look high-end without buying expensive gold or silver?
Honestly, I used to think you needed solid gold to make anything look “real,” but that’s just a budget killer. The secret is focusing on weight and finish. Look for gold-filled components instead of cheap plating—they last way longer and don’t turn your skin green. Also, skip the plastic-looking beads and go for glass, stone, or even high-quality ceramic. If the materials feel substantial in your hand, people will assume they’re expensive.
What's the best way to organize all these tiny beads so I'm not constantly digging through a messy bin?
Honestly, the “big bin” method is a recipe for a headache. I swear, I used to spend half my crafting time just hunting for that one specific shade of seafoam green. My go-to is a clear acrylic organizer with small, individual compartments—it lets you see everything at a glance without the digging. If you’re tight on space, those little pill organizers work wonders too. Just keep it visual so you can actually find what you need.