I was standing in my living room last Tuesday, staring at a stack of framed prints and a handful of mismatched nails, feeling that familiar, heavy sense of decision paralysis. My apartment was starting to feel less like a home and more like a storage unit for things I intended to deal with “eventually.” We’ve all been there—staring at a blank wall, convinced that knowing how to hang a picture requires a degree in architecture or a specialized toolkit that costs more than my monthly groceries. But here’s the truth: you don’t need a perfectly curated gallery wall to make a space feel lived-in; you just need to stop overthinking the process and actually get those frames off the floor.
In this guide, I’m stripping away the intimidating jargon and the “perfect” Pinterest aesthetics to show you the real way to get things on your walls. I’ll walk you through the actual mechanics of how to hang a picture without turning your drywall into Swiss cheese or losing your sanity to a crooked level. We’re going to focus on functional systems—the kind of quick, sturdy methods that work for real people with busy schedules. Whether you’re working with heavy vintage finds or just some lightweight snapshots, we’ll get your walls looking intentional and, most importantly, finished.
Table of Contents
Guide Overview
Tools & Supplies
- Tape measure and pencil for marking placement
- Hammer for driving nails or hooks
- Level to ensure the frame is straight
- Picture frame and hardware (1 unit)
- Nails, screws, or wall anchors (1 pack)
Step-by-Step Instructions
- 1. Grab your gear before you even think about touching a nail. You’ll need a pencil, a hammer, a level (or a leveling app on your phone—no judgment there), a measuring tape, and your picture. I always keep a small multi-tool in my pocket for when I realize I forgot a screwdriver, but for this, just make sure you have the basics ready so you aren’t running back and forth to the junk drawer.
- 2. Figure out exactly where you want the center of the image to sit. Don’t just eyeball it and hope for the best; that’s how you end up with a gallery wall that looks like it’s sliding off the wall. I like to mark a light pencil dot at eye level—usually about 57 to 60 inches from the floor—and then work outward from there based on the size of your frame.
- 3. Measure the hardware on the back of the frame. This is where most people trip up. Flip your picture over and see if it has a wire, a sawtooth hanger, or a single D-ring. If it’s a wire, pull it taut toward the top of the frame with your finger and measure the distance from the top of the wire to the top of the frame. That’s the magic number you’ll use to find your nail placement.
- 4. Mark your spot with precision (but not too much precision). If your frame has a wire, subtract that “magic number” you just found from your eye-level mark. Use your pencil to make a tiny, barely visible dot where the nail actually needs to go. If you’re worried about making a mess, you can always put a tiny piece of painter’s tape on the wall first and draw your mark on that.
- 5. Hammer in your nail or screw with intention. If you’re hanging something heavy, don’t be afraid to use a sturdy anchor or even find a stud. I tend to drive the nail in at a slight downward angle; it’s a small trick, but it helps the weight of the frame pull the nail into the wall rather than pulling it straight out.
- 6. The moment of truth: hang the frame and check your work. Once it’s up, pull your level out. If you don’t have a level, just look at it from the side to make sure it isn’t tilting like a sinking ship. If it’s slightly off, don’t panic—just nudge it until it looks right to your eye.
- 7. Do a quick “vibration test.” Give the wall a little tap or walk heavily nearby to see if the frame rattles or shifts. If it feels a bit loose, you might want to add a tiny piece of museum putty or even a bit of folded painter’s tape to the bottom corners of the frame. It keeps everything steady and prevents those annoying little scratches on your paint.
Choosing Your Gear a Real World Picture Hanging Hardware Guide
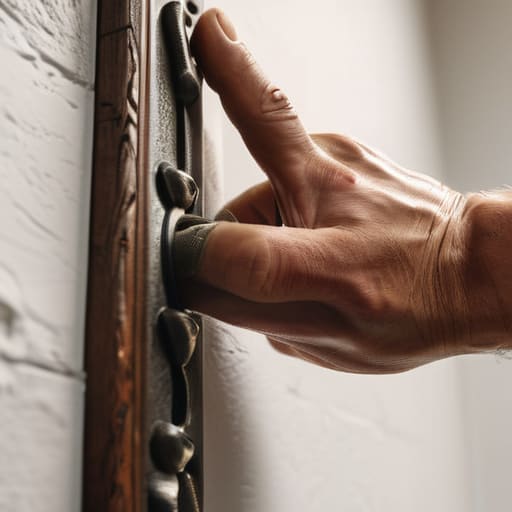
Look, you don’t need a professional contractor’s toolkit to get this done, but you also shouldn’t rely on a single tiny nail for a massive, ornate mirror. My rule of thumb is to match the weight of the piece to the hardware. If you’re dealing with something substantial, like a thick wooden frame, you’re looking at hanging heavy frames on drywall using anchors or heavy-duty picture hooks. These are designed to bite into the wall rather than just skimming the surface, which is the difference between a cozy living room and a sudden trip to the repair shop.
For my renter friends or anyone living in a space where “damage” is a four-letter word, the debate of command strips vs nails is real. Command strips are lifesavers for lightweight prints and posters, but let’s be honest: they aren’t going to hold up a vintage landscape I found at a flea market. If you’re going the strip route, just make sure you’ve cleaned the wall with rubbing alcohol first—it’s a tiny step that makes a massive difference in whether that art stays put or ends up in a heap on the floor.
Command Strips vs Nails Finding What Actually Works for You
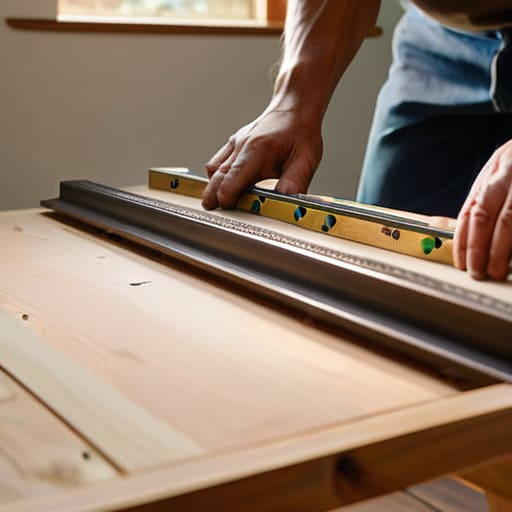
Look, I’ve been there—staring at a beautiful piece of art and a blank wall, paralyzed by the fear of making a permanent hole in my rental. This is where the classic command strips vs nails debate usually kicks in. If you’re living in an apartment and don’t want to lose your security deposit, Command Strips are your best friend for lightweight prints or small frames. They’re low-stress and easy to reposition. However, if you’re trying to tackle the task of hanging heavy frames on drywall, please, do not trust a piece of adhesive. You’ll end up with a shattered frame and a very messy floor.
For anything with some actual heft, I always reach for a nail or a screw. It feels a bit more permanent, sure, but it’s the only way to ensure your heavy mirror or oversized landscape doesn’t become a projectile. If you’re planning a complex gallery wall, I suggest starting with the heaviest pieces first using nails to anchor the space, then using strips for the smaller, lighter accents. It’s all about finding that balance between security and convenience so you can actually enjoy your space instead of constantly worrying about what’s sliding off the wall.
Pro-Tips for When You’re Tired of Measuring Everything
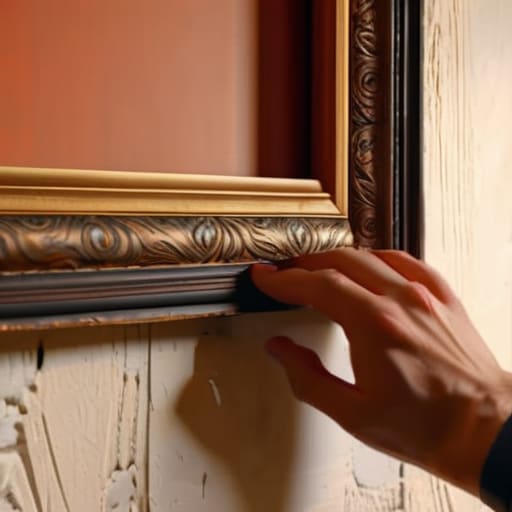
- Stop staring at the wall and start using painter’s tape. If you’re indecisive about placement, tape out the dimensions of the frame on your wall first. It lets you step back, see the scale, and realize that the “perfect” spot you’ve been obsessing over is actually way too high.
- Use the “paper template” trick to save your sanity. Trace your frame onto some old packing paper or newspaper, cut it out, and tack that to the wall instead. It lets you test the height and the grouping without making a single hole in your drywall.
- Don’t feel pressured to follow a straight line if your furniture doesn’t. If you’re hanging art above a slightly wonky vintage sideboard, it’s okay if the art follows that vibe. Sometimes a little organic placement feels more “lived-in” and less like a sterile museum.
- Level it, but don’t obsess over the millimeter. A bubble level is your best friend, but if you’re hanging a gallery wall with ten different pieces, don’t let one slightly crooked frame derail your entire afternoon. If it looks right to the naked eye, call it a win and move on.
- Always account for the “wire sag.” If your frame has a hanging wire on the back, don’t just measure to the top of the frame. Pull the wire taut toward the top with your finger, measure that distance, and that is your actual hanging point. Otherwise, you’ll end up with a picture that sits much lower than you planned.
The Philosophy of the Wall
A perfectly level frame is great, but a room that feels lived-in is better. Don’t let the fear of a crooked nail keep your walls bare; just hang it, live with it for a week, and adjust when it actually starts to bother you.
Audrey Lin-McCallum
The Final Result
At the end of the day, whether you went with heavy-duty anchors for that oversized vintage mirror or played it safe with some Command Strips for a lightweight print, the goal is the same: getting your stuff off the floor and onto the walls. Remember that it’s okay to experiment with your hardware and not have everything perfectly level on the first try. You’ve got the right tools, you’ve picked the right method for your specific wall type, and most importantly, you’ve done the legwork to make sure your art isn’t going to end up in a heap on the rug tomorrow morning.
Don’t let the fear of a single stray nail hole keep your walls looking cold and unfinished. Your home is a living, breathing space that is meant to evolve alongside you, which means it’s okay to move things around when your flow changes. If a frame looks better two inches to the left next month, move it. We aren’t building a museum; we’re building a sanctuary that reflects who you are right now. So, grab that level, take a breath, and just get it up there. You’ve totally got this.
Frequently Asked Questions
What do I do if I accidentally hit a stud or, even worse, a wire while trying to hang something?
First, take a breath. If you hit a stud, honestly? You just got lucky—that’s the strongest spot in the wall. Just pull the nail out and reposition. But if you hit a wire or a pipe, stop immediately. If there’s no spark or leak, don’t panic, but don’t keep drilling. Grab a cheap stud finder with wire detection for your next project; it’s a tiny investment that saves a massive headache (and a very expensive repair bill).
How can I hang a heavy mirror or a large piece of art without it looking like it's constantly tilting to one side?
The “leaning” thing is the worst—it’s like the piece is slowly trying to escape your wall. For heavy stuff, skip the single nail. I always use two hooks spaced apart; it creates a wider base of support that fights gravity much better. Also, pro tip: use a bit of museum putty or even just a tiny piece of double-sided tape on the bottom corners. It keeps the frame seated so it stays level.
Is there a way to hang pictures without leaving those annoying little holes in my rental walls?
I feel your pain. Living in a rental means playing a constant game of “will I lose my security deposit over this?” The good news is you don’t have to live in a blank white box. Command Strips are the obvious go-to, but honestly, if you’re hanging something slightly heavier, look into adhesive hook systems designed specifically for renters. Just, please, follow the removal instructions to the letter—peeling them straight down is the secret to keeping those walls pristine.
