I was standing in my tiny balcony garden last Tuesday, staring at a pile of scrap cedar and a half-empty box of nails, wondering why every single tutorial online made this look like a masterclass in fine cabinetry. Most guides make you feel like you need a professional workshop and a degree in architecture just to figure out how to build a birdhouse that won’t fall apart in the first rainstorm. Honestly? If you’re waiting for the “perfect” moment or the perfect set of tools to start, you’re going to be waiting forever. I’ve learned the hard way that a bird doesn’t care if your joints are seamless; they just need a dry, sturdy spot to raise a family.
In this guide, I’m stripping away the fluff and the expensive, unnecessary gadgets. I’m going to show you a way to build something functional and durable using basic tools you probably already have tucked away in a junk drawer. We aren’t aiming for a Pinterest-perfect centerpiece here; we are building a reliable little sanctuary that fits into your actual life and your actual budget. Let’s get to work.
Table of Contents
Guide Overview
Tools & Supplies
- Hand saw or miter saw for cutting wood
- Hammer for assembling pieces
- Drill with small bits for pilot holes and entrance hole
- Tape measure for precise dimensions
- Untreated cedar or pine board (1" x 6" x 4')
- Galvanized nails or exterior screws (approx. 20)
- Wood glue (waterproof)
Step-by-Step Instructions
- 1. First things first, let’s talk materials. You don’t need to run out and buy a massive sheet of expensive cedar unless you’re feeling particularly fancy. Honestly, any untreated wood will do—think scraps from an old project or a basic piece of pine from the local hardware store. Just make sure you avoid anything pressure-treated, because those chemicals are not exactly what you want your local bird family inhaling all day. Grab a handful of galvanized nails or screws so they don’t rust when the weather gets messy.
- 2. Once you’ve got your wood, it’s time to do some basic measuring and cutting. I know, “math” is a scary word, but we’re keeping this simple. You’ll need six pieces: a floor, a roof, a back, a front, and two sides. If you don’t have a power saw, don’t panic; a simple hand saw works just fine if you’re willing to put in a little elbow grease. Just try to keep your lines as straight as you can so the house doesn’t end up looking like a leaning tower of bird poop.
- 3. Now, let’s tackle the entrance hole. This is the most important part because different birds have different “doorway” preferences. For most common backyard birds, a hole about 1.5 inches in diameter is the sweet spot. Use a drill with a spade bit to make the opening on your front panel. Pro tip: don’t add a perch right below the hole. I know it looks cute in movies, but it actually just gives predators a perfect little handle to hang onto while they’re raiding the nest.
- 4. Time to start putting the pieces together. Start by nailing your sides to the floor, then attach the back panel. I usually like to leave the back a little bit longer than the rest of the house so you have some extra surface area to nail it to a tree or a fence later. Use your multi-tool to check if everything is square as you go. If it’s a little wonky, don’t sweat it; the birds aren’t going to leave a one-star review on Yelp because the walls are slightly crooked.
- 5. Attach your front panel next, but here is where we get a little strategic. Instead of nailing the front shut permanently, try using just two screws at the top so it can act as a hinge. This is a total lifesaver when nesting season is over and you need to scoop out the old nesting material. If you don’t make it easy to clean, the house will just become a breeding ground for bacteria next year, and nobody wants that.
- 6. Finally, pop that roof on. Make sure it has a decent overhang to keep the rain from splashing directly into the entrance hole. If you have some leftover scraps, you can even glue a bit of extra wood to the top to create a little “awning” effect. Before you hang it up, give the whole thing a quick sand to get rid of any nasty splinters. You don’t need to paint it—in fact, leaving it natural and weathered is actually better for the birds—so just find a sturdy spot, get it mounted, and go grab a coffee while you wait for your new neighbors to move in.
Choosing the Best Wood for Birdhouses and Real Durability
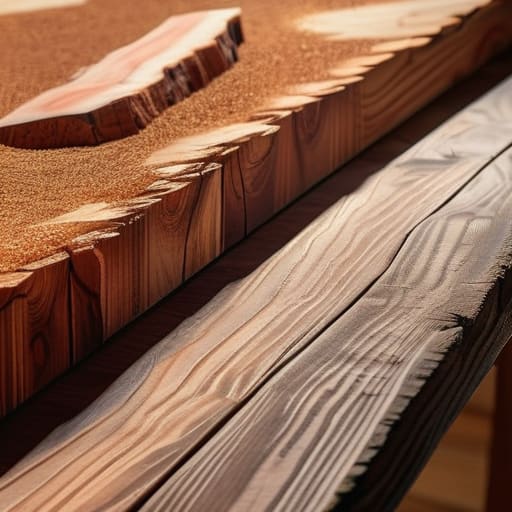
Look, I know it’s tempting to just grab whatever scrap piece of cedar or pine is sitting in your garage, but if you want this thing to last more than one season, you need to be a little picky. When it comes to finding the best wood for birdhouses, you really want something naturally rot-resistant like cedar, redwood, or cypress. Avoid the pressure-treated stuff at all costs—the chemicals used to preserve it aren’t exactly friendly to feathered neighbors. If you’re working with thinner scraps, just make sure they’re thick enough to provide some actual insulation against the elements.
Once you’ve picked your timber, don’t go overboard with your woodworking tools for birdhouses. You don’t need a professional-grade workshop; a decent handsaw and a drill are plenty. The real trick is protecting birdhouses from weather without making them toxic. Skip the heavy paints or glossy varnishes on the inside. If you absolutely must finish the exterior to make it look a bit more intentional, stick to a light, non-toxic water sealant. It’s about finding that balance between something that looks decent in your garden and something that actually survives a summer thunderstorm.
Essential Woodworking Tools for Birdhouses Without the Fluff
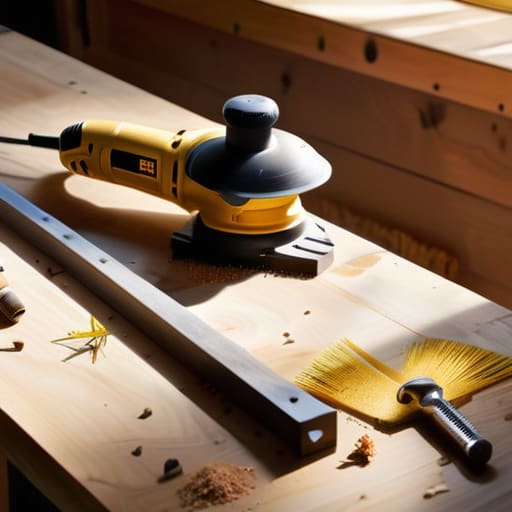
Look, you don’t need a garage full of industrial machinery to get this done. I’ve spent way too much time staring at expensive tool catalogs when a simple hand saw and a hammer would have sufficed. For basic woodworking tools for birdhouses, honestly, just grab a reliable drill with a few different bits and a measuring tape. If you’re feeling ambitious, a cordless drill is a lifesaver when you’re attaching a birdhouse roof and trying to keep everything square without a second pair of hands to hold the wood steady.
The real trick isn’t having the fanciest gear; it’s having the right bits for the job. If you’re aiming for specific species, like bluebirds, you’ll need a spade bit or a hole saw to get that safe birdhouse entrance hole size just right. If the hole is too big, predators move in; too small, and your feathered neighbors are stuck outside. Keep it simple, keep it precise, and don’t worry about the stuff you don’t actually need. We’re building a home here, not a museum piece.
Five Reality Checks Before You Start Sawing
- Skip the fancy paint or stains on the outside. Most of those chemicals are pretty nasty for the birds, and honestly, a raw wood look fits the vibe better anyway. If you absolutely must decorate, stick to the very bottom or the very top where they won’t be pecking at it.
- Forget about making it look like a miniature Victorian mansion. Birds are looking for a safe, boring hole in a wall, not a design statement. Keep the entrance hole the right size for your target species and nothing else; if it’s too big, predators are going to treat it like an all-you-can-eat buffet.
- Don’t forget the drainage. I’ve seen so many “perfect” birdhouses that end up being little swimming pools because someone forgot to drill a few small holes in the bottom. You want a dry home, not a damp one.
- Make sure you include a way to clean it out once a year. If you glue or screw the whole thing shut permanently, you’re basically building a single-use habitat. Add a hinge or a couple of removable screws on one side so you can clear out the old nesting material come spring.
- Avoid adding a perch. I know, they look cute in those Pinterest photos, but birds don’t actually need them to get inside, and those little sticks just give predators a convenient handle to hang onto while they try to get to the eggs. Keep it simple and keep it safe.
The Philosophy of the Project
“At the end of the day, that bird doesn’t care if your miters are mathematically perfect or if you used a high-end cordless drill; they just need a sturdy roof and a place that feels safe. Build it to work, not to win an award.”
Audrey Lin-McCallum
Finishing Your Project Without the Stress
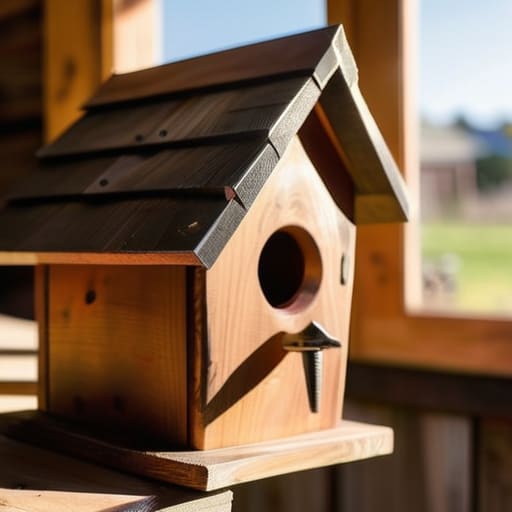
At the end of the day, building this birdhouse isn’t about achieving some master carpenter level of perfection. You’ve picked your wood, gathered the basic tools you actually need, and followed the steps to get a functional structure together. Whether your edges are a little rough or your measurements are slightly off, what matters is that you’ve created something tangible and useful for your local ecosystem. You didn’t need a massive workshop or a thousand-dollar kit to make this happen; you just needed to show up and get your hands a little dirty, which is a win in my book.
Once that birdhouse is hung up, try not to obsess over whether it looks like something out of a high-end home decor magazine. The real magic happens when you sit back with a coffee and actually see a bird move in. We spend so much time trying to curate “perfect” lives that we often forget how much joy comes from simply making things work. This little project is proof that you can build something meaningful even in the middle of a chaotic week. So, hang it up, step away from the workbench, and let nature take it from here.
Frequently Asked Questions
Do I really need to paint it, or will that mess with the birds?
Honestly? Skip the paint. I know it looks a bit raw and unfinished, but birds are picky about their real estate. Most paints and stains release fumes that can actually be toxic to them, and bright colors can attract predators. If you really want to level up the look, use a food-safe, water-based sealer or just let it weather naturally. A little gray patina adds character without making the birds’ home a chemical hazard.
How often am I actually going to have to clean this thing out?
Honestly? Once a year is usually plenty, ideally in late winter before the nesting season kicks into high gear. You want to clear out the old nesting material so you aren’t inadvertently inviting parasites or mold into the new home. If you notice a specific bird is using it heavily, you might check in a bit sooner, but don’t overthink it. Just a quick scoop and a wipe-down, and you’re good to go.
Is it okay if I hang this near my garden plants, or will it attract too many bugs?
Honestly, don’t sweat it. Hanging it near your garden is actually a win-win. While you might get a few more curious bugs, most of them are actually the “good guys” your plants need. Plus, if you’re hosting birds, they’ll be doing a massive favor by snacking on the pests that usually munch on your greens. It’s all about that natural ecosystem. Just keep it a few feet away from any delicate seedlings to be safe.
