I was staring at a literal mountain of paperbacks stacked precariously on my floor—a growing hazard in my tiny apartment—when I realized that my “minimalist” lifestyle was actually just unorganized chaos. Most DIY guides online make you feel like you need a professional-grade workshop and a degree in carpentry just to figure out how to build a bookshelf that doesn’t wobble when you breathe on it. But here’s the truth: you don’t need a Pinterest-perfect studio or a massive budget to get your books off the floor and into a system that actually works.
In this guide, I’m stripping away the fluff and the intimidating jargon to show you a way to build something sturdy and functional without losing your mind. We aren’t aiming for a museum-quality masterpiece; we are aiming for a reliable, custom solution that fits your specific nook and your real-world schedule. I’ll walk you through the essential tools, the smartest ways to measure twice so you only cut once, and how to assemble everything using nothing more than a few basic supplies and a bit of grit. Let’s get to work.
Table of Contents
Guide Overview
Tools & Supplies
- Circular saw or hand saw for cutting boards
- Power drill for driving screws
- Measuring tape for precise dimensions
- Sandpaper for smoothing edges
- Level to ensure stability
- 1×4 or 1×6 lumber (approx. 4-5 boards)
- Wood screws (1.5 inch, 1 box)
- Wood glue for extra stability
- Wood stain or paint for finishing
Step-by-Step Instructions
- 1. First things first, let’s talk gear. You don’t need a professional carpenter’s workshop to do this, but you do need the basics. Grab a drill, some wood screws, a measuring tape, a level, and a saw (a simple hand saw works if you’re patient, but a circular saw will save your sanity). I always keep a sturdy pencil tucked behind my ear because, trust me, you will lose it three times before you even finish the first cut.
- 2. Next, we need to pick our wood. Since we’re aiming for functional rather than “museum-quality,” I usually recommend pine or even high-quality plywood. It’s affordable and doesn’t require a PhD to work with. Measure your space twice—seriously, do it twice—and then sketch out your dimensions on a piece of paper. You’re looking for two long side pieces, a top, a bottom, and a few adjustable or fixed shelves.
- 3. Now comes the part that usually makes people sweat: the cutting. If you aren’t confident with a saw, most big-box hardware stores will actually make the cuts for you if you bring in your measurements. If you’re doing it yourself, find a flat surface, mark your lines clearly, and take it slow. Remember, a slightly wonky edge can always be hidden by a bit of sandpaper or a clever trim, so don’t aim for perfection.
- 4. Once you have your pieces, it’s time to prep for assembly. I’m a big fan of using a pilot hole—it’s a tiny hole you drill before driving the screw in. This prevents the wood from splitting open, which is the fastest way to turn a fun DIY project into a frustrating mess. Line up your side pieces with your bottom shelf, mark your spots, and drill those little holes.
- 5. Let’s get building. Start by screwing the bottom and top pieces into your side panels. If you have a square tool, use it here to make sure everything is at a right angle. If you don’t have a square, just use the corner of a book or a piece of cardboard to check. Once the outer frame is solid, it’s time to slide in those middle shelves. I like to use shelf pins if I want them to be adjustable, but if you want something sturdier and simpler, just screw them directly into the sides.
- 6. Before you call it a day, give the whole thing a quick sand. You don’t need to spend hours on this; just hit the edges and any rough spots with some medium-grit sandpaper so you don’t get a splinter the first time you grab a paperback. If you’re feeling fancy, you can add a coat of stain or paint, but honestly? A simple clear sealant is enough to protect it and let the natural wood grain do the talking.
- 7. Finally, let’s make sure this thing doesn’t tip over and crush your cat. This is the non-negotiable step: anchor it to the wall. Use a simple L-bracket or a furniture strap. It might feel a little overkill for a small shelf, but it gives you that peace of mind that allows you to actually enjoy your new space without constantly worrying about stability.
Smart Custom Bookshelf Plans Over Curated Aesthetics
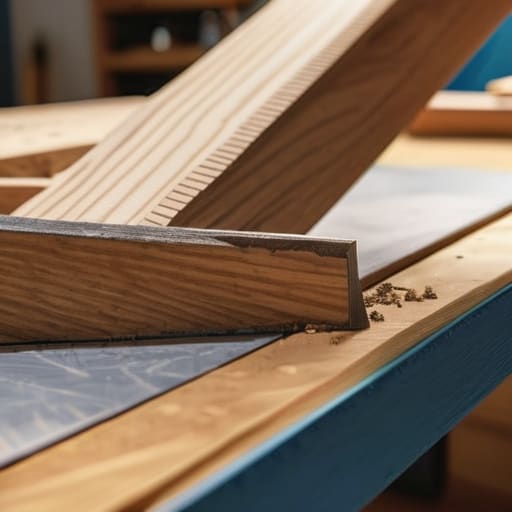
Look, I get it. You scroll through Pinterest and see these massive, floor-to-ceiling built-ins that look like they belong in a library in Vermont. It’s beautiful, but let’s be real: most of us don’t have the floor space or the massive budget for a professional installation. Instead of chasing a look that requires a degree in carpentry, I recommend focusing on custom bookshelf plans that prioritize your actual storage needs. Do you have a collection of heavy hardcovers that need support, or are you mostly storing lightweight paperbacks and knick-knacks? Knowing this upfront dictates whether you need a heavy-duty frame or something a bit more airy.
The secret to making a DIY project feel “high-end” without the stress is all in the details of a sturdy shelving design. If you skip the prep work, you’ll end up with sagging boards within a month. Spend an extra ten minutes on measuring and cutting lumber with precision, and don’t be afraid to use basic woodworking tools for beginners to get those edges clean. If the wood looks a little rough, don’t panic—a simple sanding session and a decent stain can hide a multitude of “character” marks. It’s about creating something that holds your life together, not something that wins an interior design award.
Essential Woodworking Tools for Beginners and Real Schedules
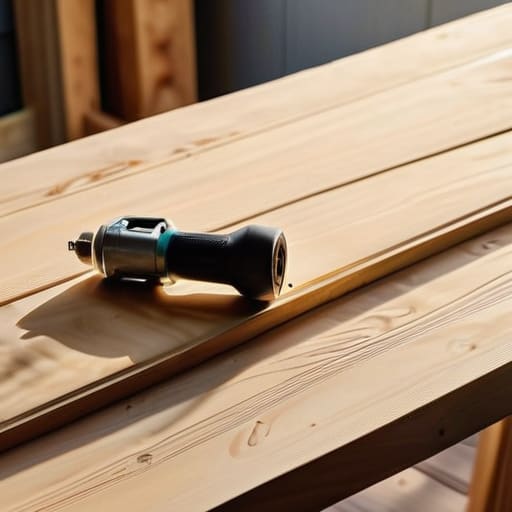
Look, I get it. You walk into a hardware store and suddenly feel like you need a professional workshop just to put up a few planks. You don’t. When I first started, I thought I needed every gadget in the aisle, but the truth is that most of us are working with limited space and even more limited time. For a successful project, you really only need a solid foundation of woodworking tools for beginners: a reliable drill, a circular saw (or even just a local shop that does the heavy lifting for you), a level, and a decent measuring tape.
The secret to avoiding a weekend-long headache is focusing on the precision of your measuring and cutting lumber before you ever pick up a screw. If your cuts are off by even a fraction, you’ll spend more time troubleshooting than actually enjoying your new space. Also, don’t skimp on your shelf mounting hardware. I’ve seen too many “quick projects” end in a pile of books on the floor because someone used cheap drywall anchors instead of proper anchors or studs. Get the right hardware the first time, and you won’t have to do this twice.
Five Ways to Keep This Project From Becoming a Total Headache
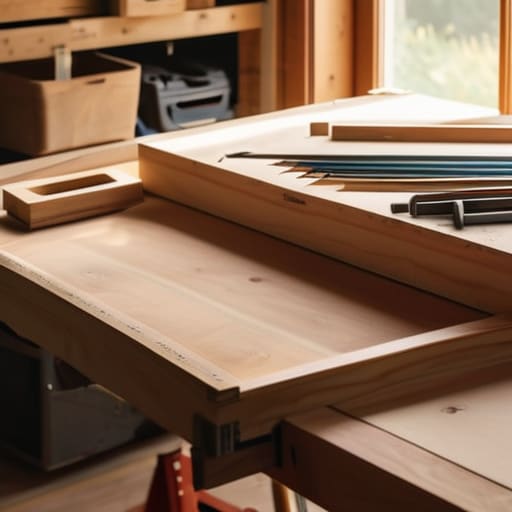
- Measure twice, but more importantly, measure three times. I’ve learned the hard way that “close enough” is a lie we tell ourselves right before we realize our books are leaning at a 45-degree angle.
- Don’t overcomplicate your wood choice. You don’t need expensive, exotic hardwoods to make this work; a decent plywood or even some reclaimed scraps will do the job perfectly fine if you treat them with a little love.
- Think about your actual stuff, not just “books” in a general sense. If you have massive art books or heavy binders, make sure your shelf spacing accounts for that height so you aren’t fighting your own furniture later.
- Use a little bit of “cheat” hardware. If you aren’t a pro at joinery, don’t feel bad about using pocket holes or even simple wood screws and plugs; the goal is a sturdy shelf, not a museum piece.
- Leave a little wiggle room in your dimensions. Houses aren’t perfectly square—trust me, I know—so if you’re building a shelf to fit into a specific nook, give yourself a tiny bit of breathing room so you aren’t fighting a battle with a hammer just to slide it in.
The Real Goal of DIY
Forget about making a piece of furniture that looks like it belongs in a showroom; build something that actually holds your life together and gives your space some breathing room.
Audrey Lin-McCallum
Getting It Off the Floor and Into Your Life
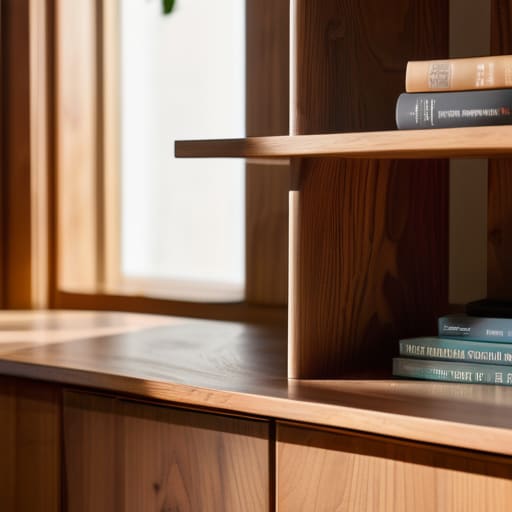
At the end of the day, building this bookshelf isn’t about achieving some master carpenter status or having a piece of furniture that looks like it belongs in a high-end catalog. It’s about the fact that you took the time to measure, cut, and assemble something that actually serves a purpose in your space. You’ve got the right tools, you’ve navigated the plans, and you’ve prioritized functionality over a perfect finish. Whether there are a few slightly uneven edges or the wood grain isn’t perfectly uniform, it doesn’t matter. What matters is that you now have a stable, organized system for your books instead of a messy pile on the floor or a cramped corner that feels chaotic.
I know how easy it is to get paralyzed by the idea that if a project isn’t “perfect,” it’s a failure. But please, give yourself some grace here. The goal was to solve a problem, and you did exactly that. Every time you slide a book onto those shelves, I want you to remember that you built this with your own two hands, fitting it into the realities of your busy schedule. You’re building a life that works for you, one manageable project at a time. Now, go grab a coffee, clear off your workbench, and enjoy the satisfaction of a job well done.
Frequently Asked Questions
I don't have a garage or a dedicated workshop; can I actually pull this off in a small apartment?
Look, I’ve spent half my life building things on kitchen tables and floor mats, so I get the panic. You absolutely can. You just have to trade the heavy-duty workshop vibe for a “contained mess” strategy. Invest in a good dust mask, some heavy-duty drop cloths to protect your floors, and maybe a small shop vac. If you plan your cuts and keep your workspace contained, your living room can totally handle a project.
What's the best way to make sure the whole thing doesn't wobble or lean once it's actually standing?
The “wobble factor” is the absolute worst, especially if you’re working with slightly uneven floors. First, check your squareness—if your corners aren’t a perfect 90 degrees, it’ll lean forever. I always swear by adding a simple back panel; even a thin piece of plywood acts like a brace to stop that side-to-side swaying. If it’s still rocking, grab some felt pads or adjustable leveling feet. It’s not about perfection; it’s about stability.
If I'm on a tight budget, are there cheaper wood alternatives that won't make the shelf look like a total disaster?
Look, I get it—hardwood prices are absolutely wild right now. If you’re watching your budget, don’t feel bad about skipping the expensive oak. Honestly, high-quality plywood is your best friend here. If you sand it well and use a decent edge banding, it looks intentional and sleek, not cheap. You could also try pine; it’s budget-friendly and takes stain beautifully if you prep it right. Just focus on a clean finish rather than the price tag.